Backyard Birds – Part 37
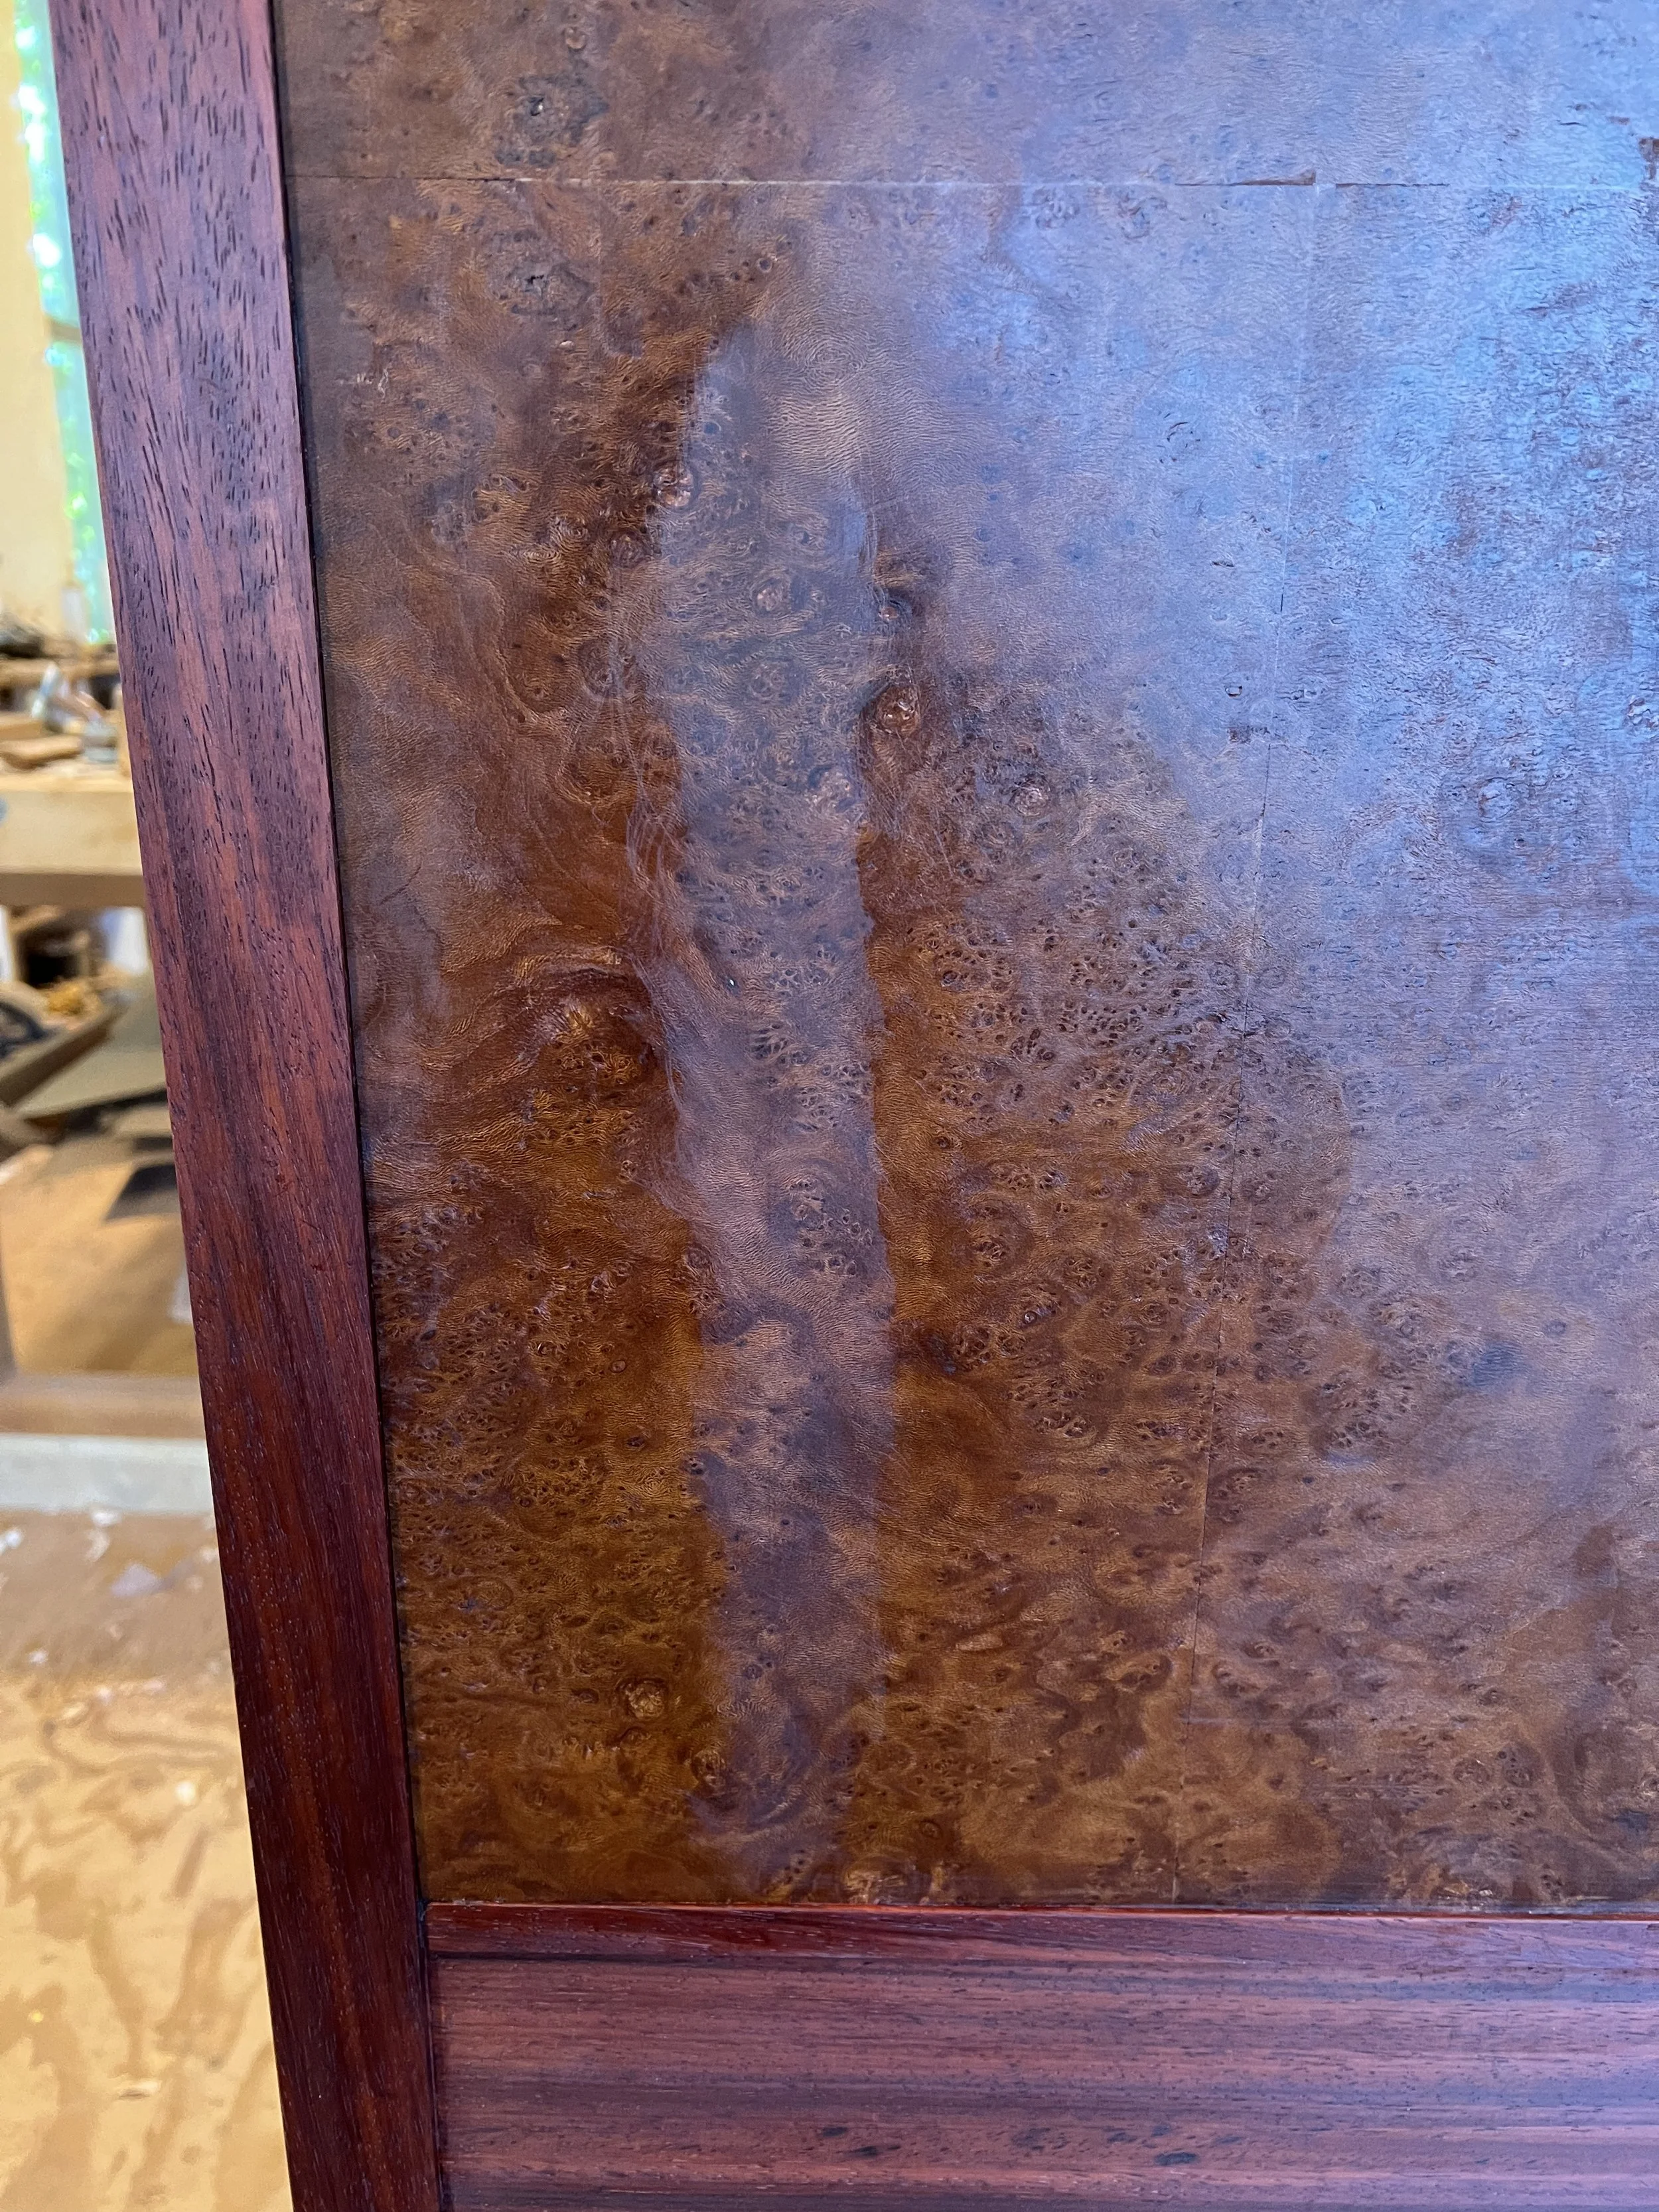
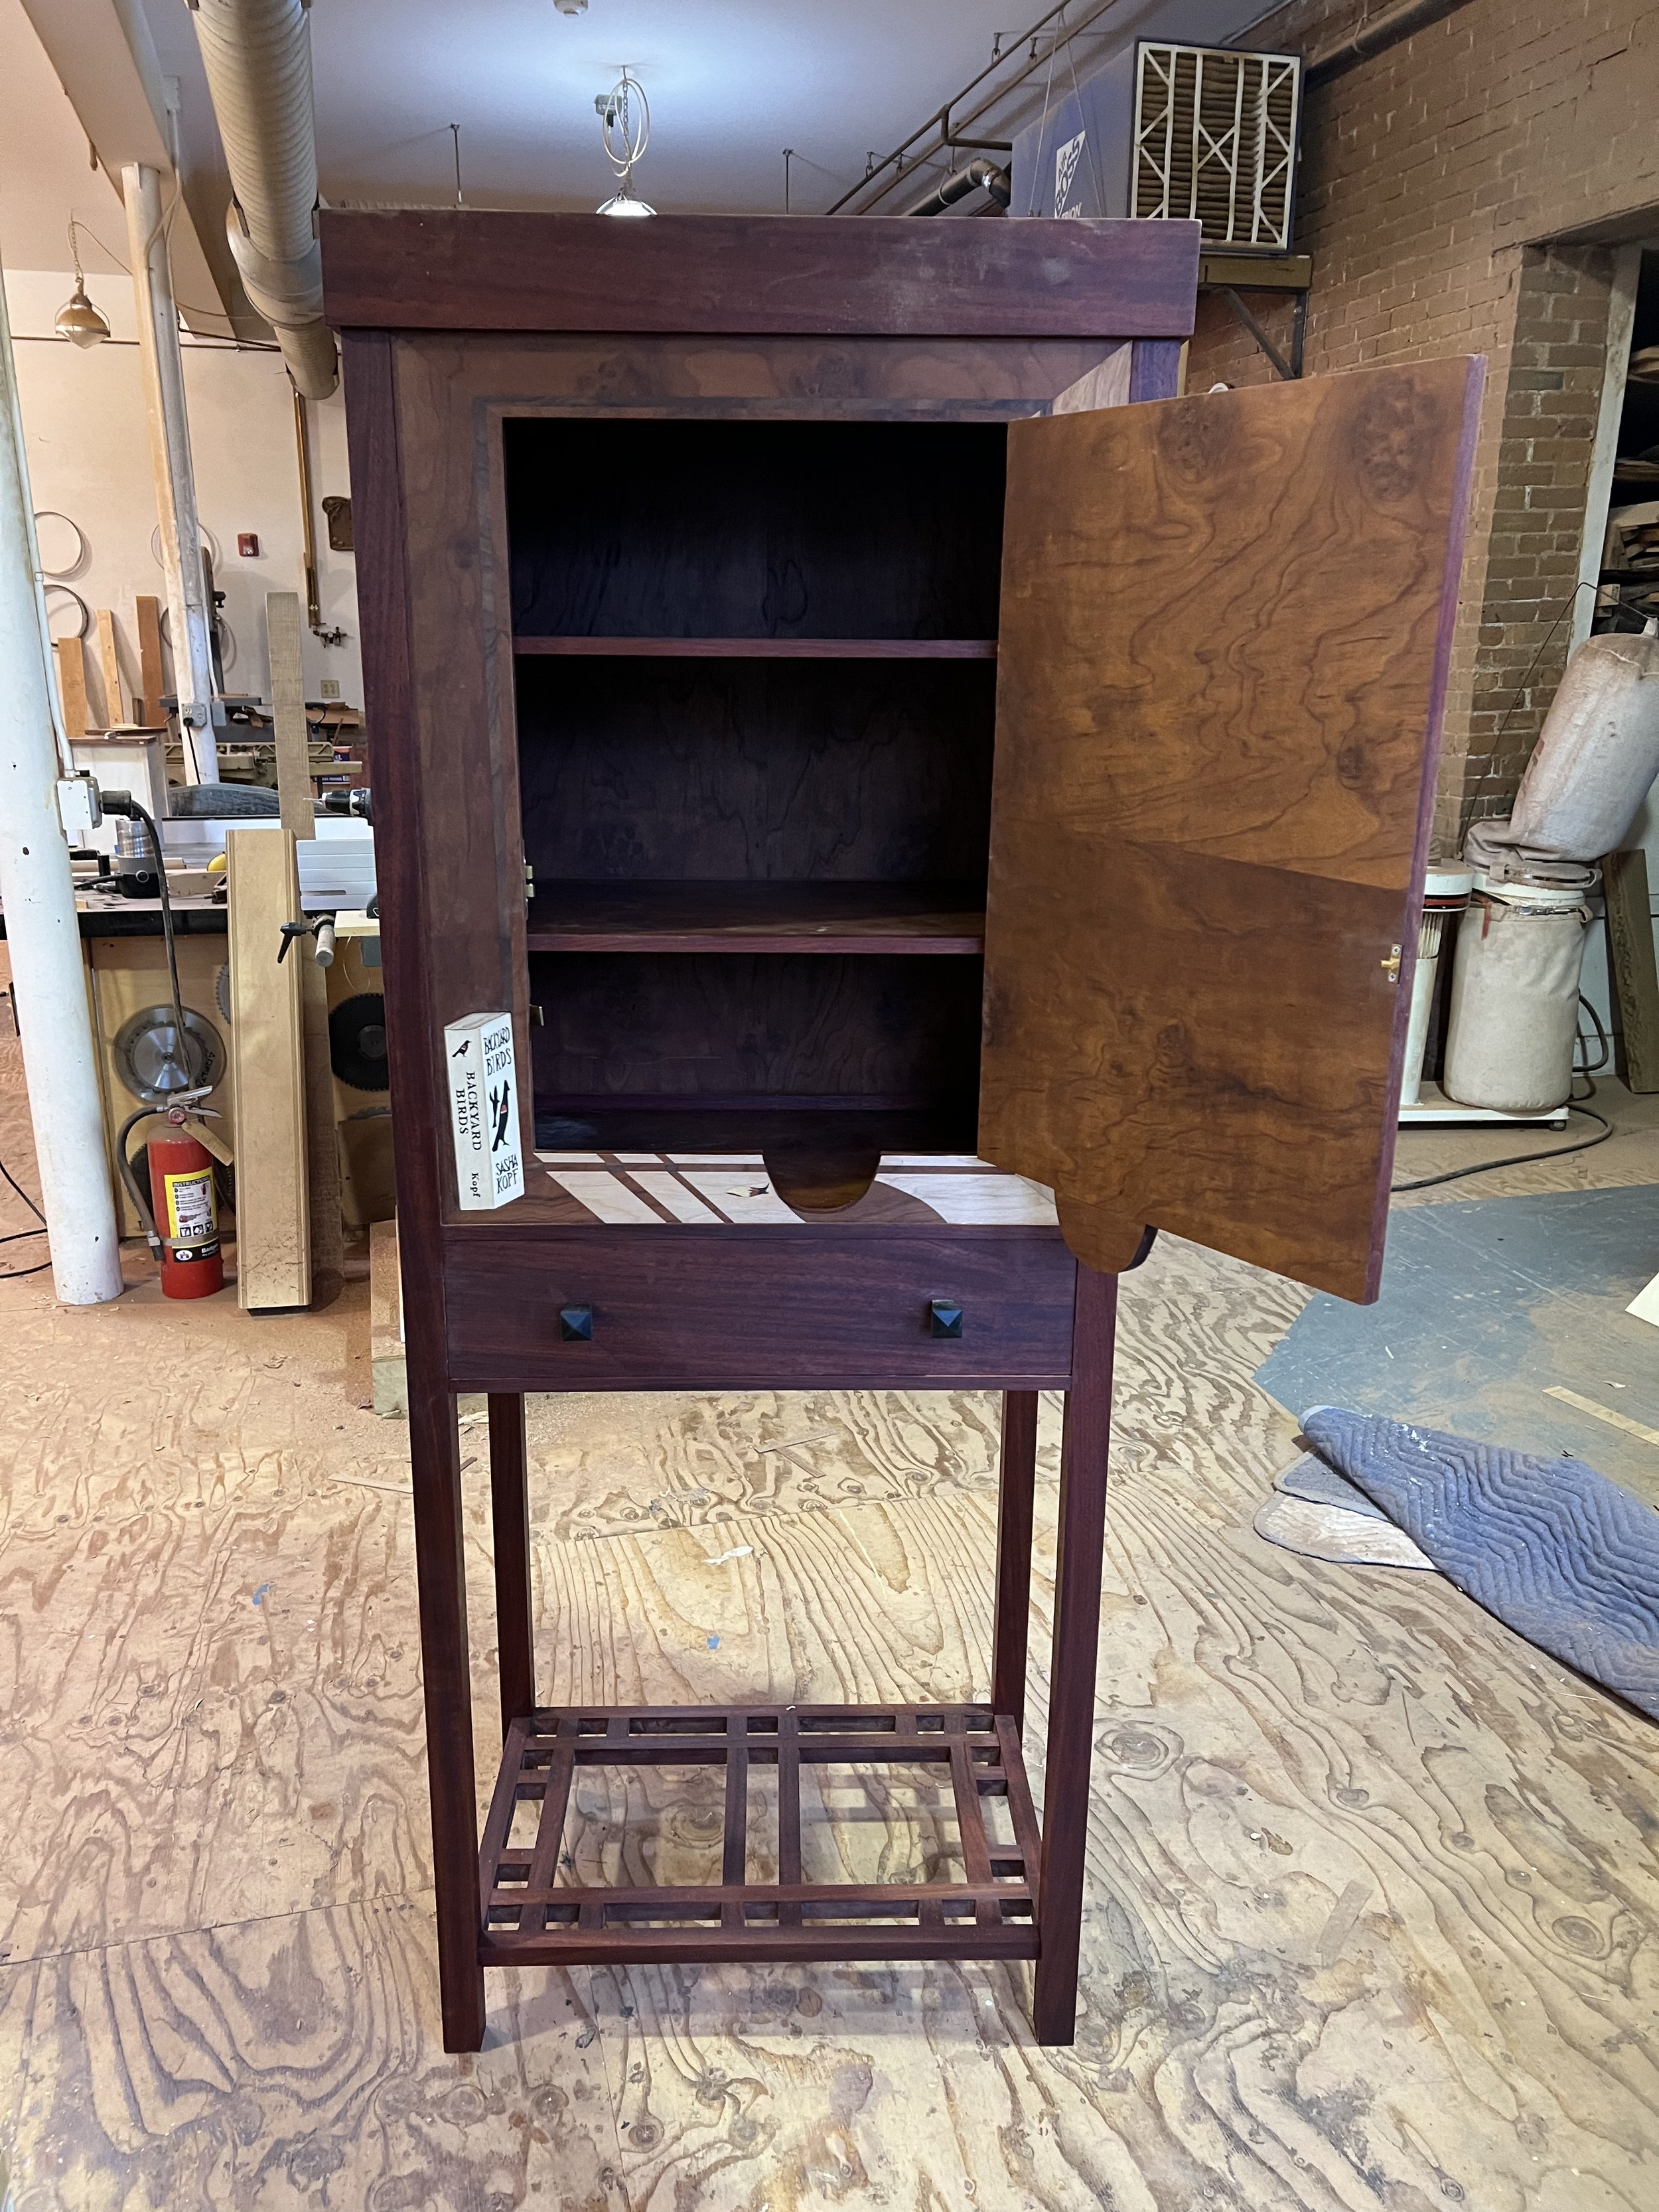
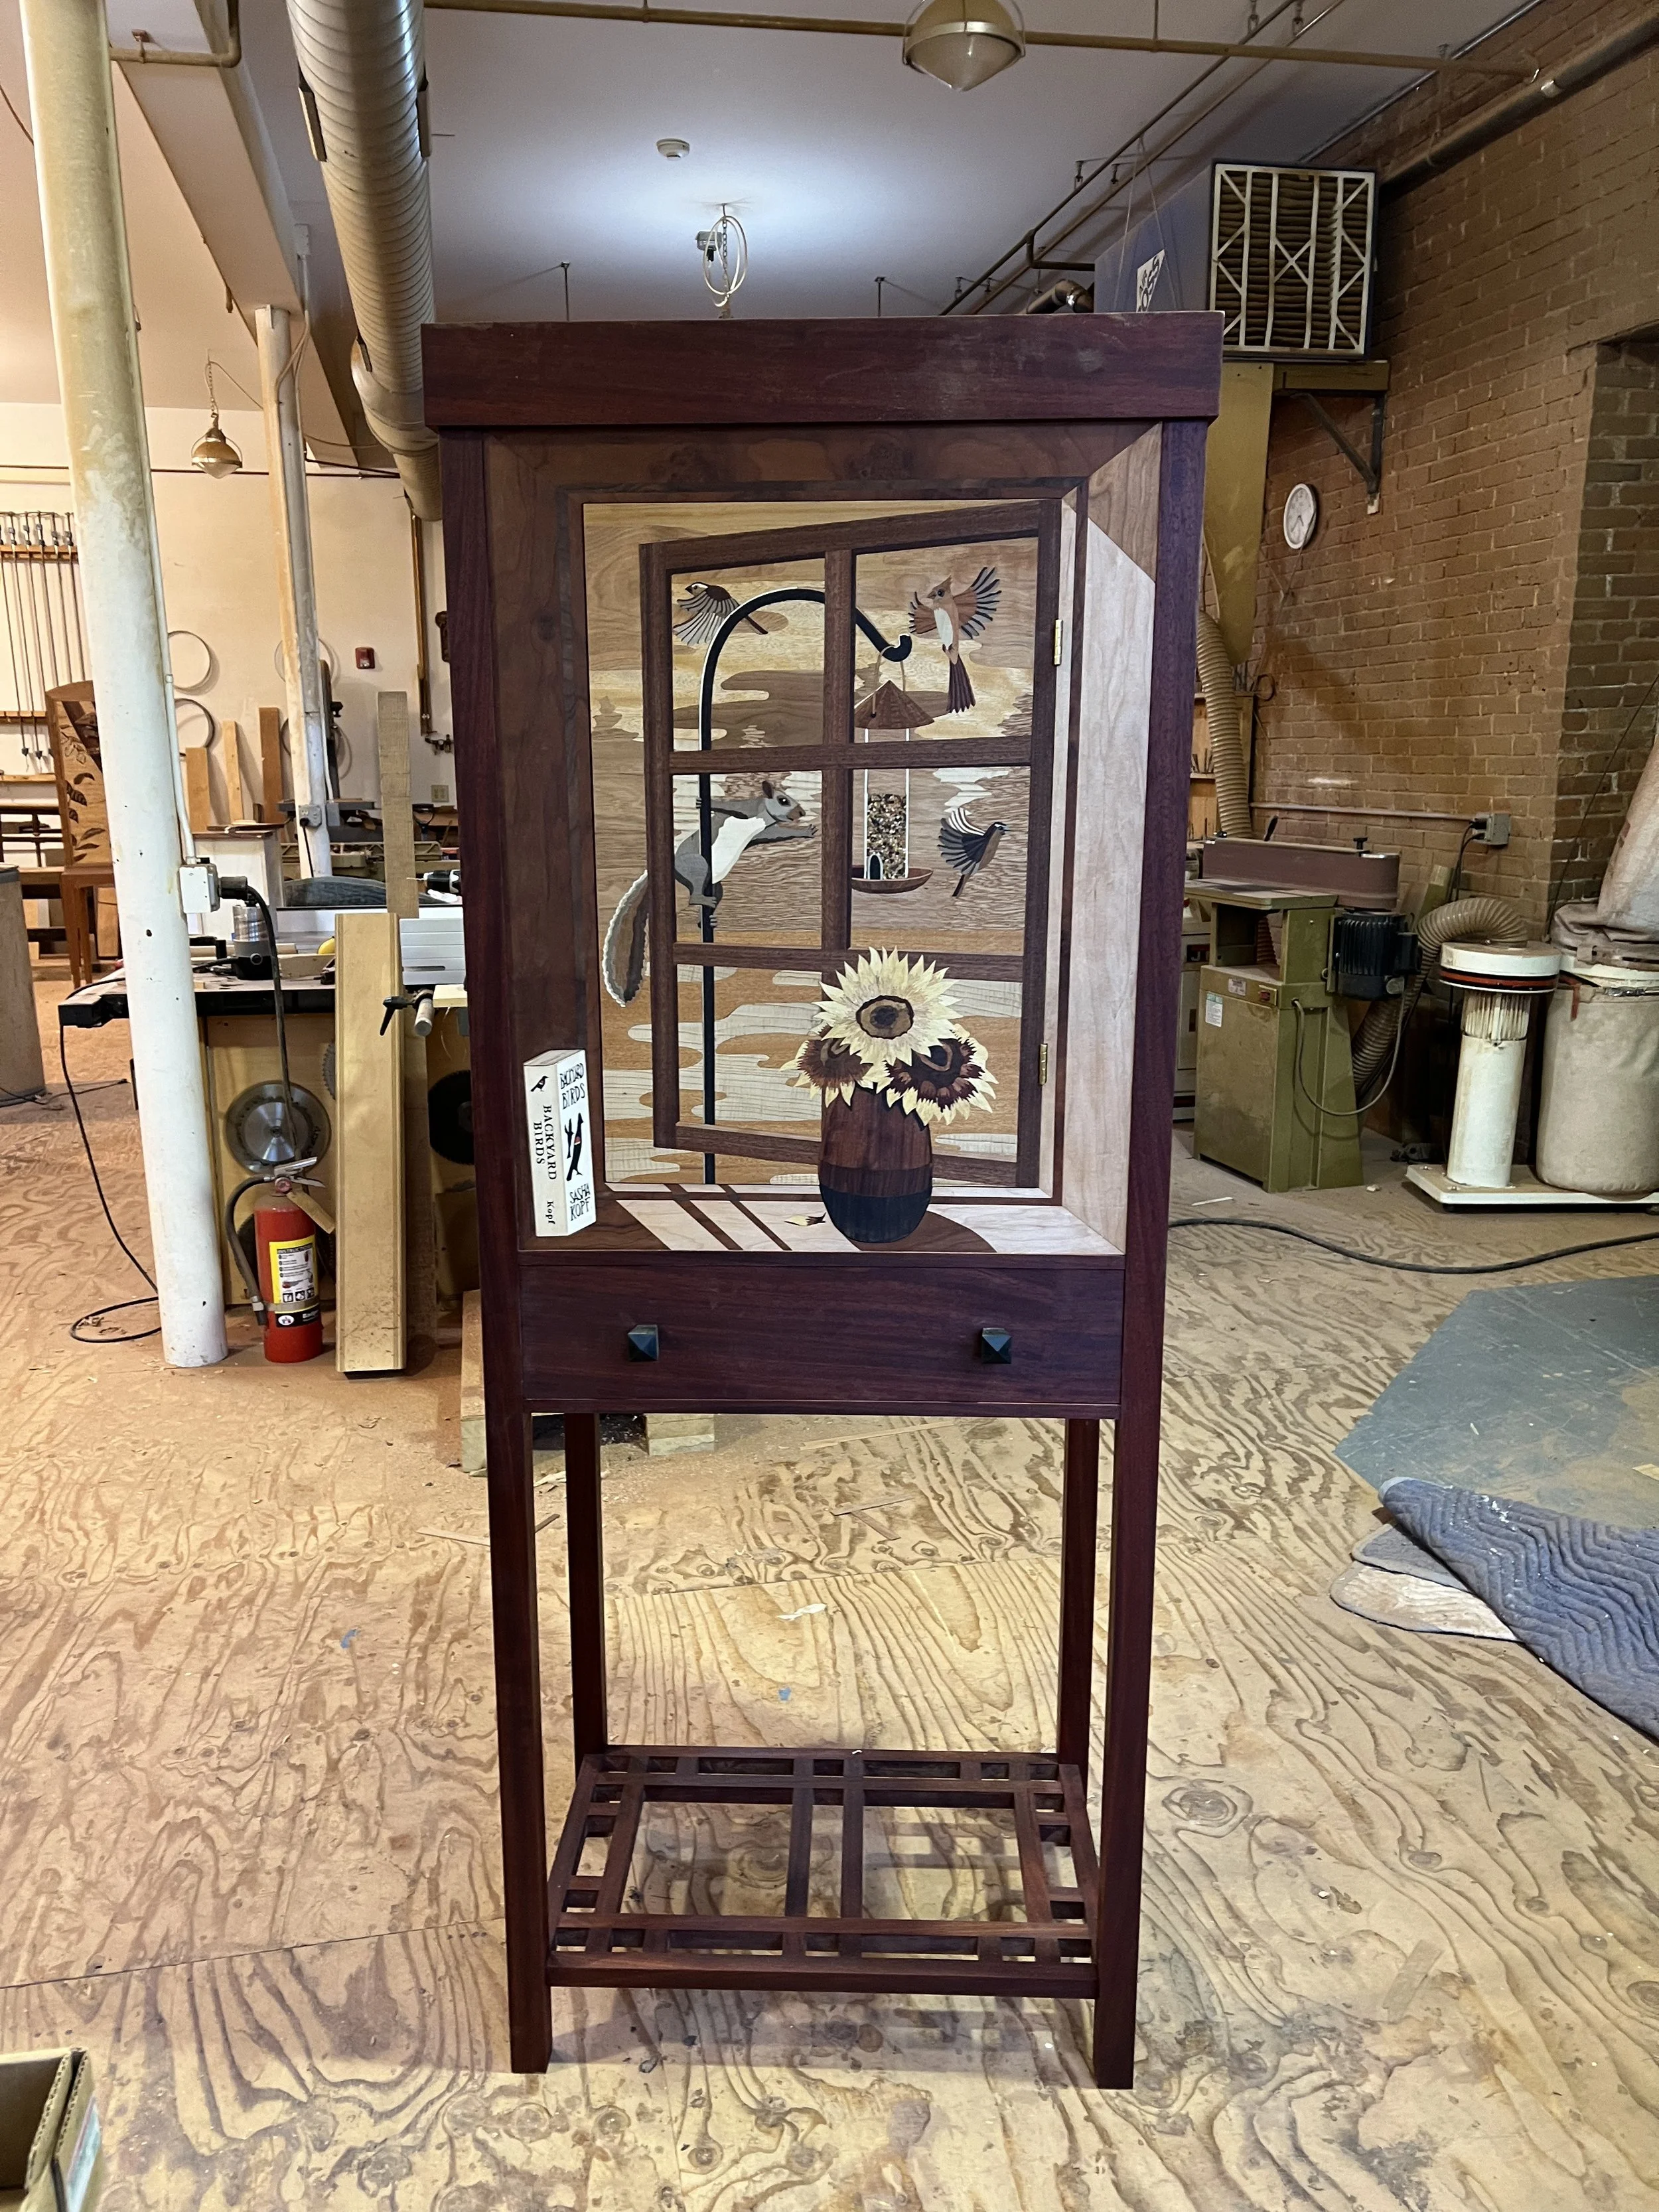
To finish the cabinet, I applied six coats of tung oil to most of the surfaces, using the same process that I did for the first coat. I added a new coat of oil every day. The more oil I put on, the richer and darker the colors became.
While I was on my third coat of oil, I noticed a place on one of the side panels that was scratched. I recalled it getting scratched by some gunk that had stuck to the jointer, and I thought that I had sanded out the scratch at the time, but as I put oil on it, the scratch became visible again. I took some sandpaper and managed to sand out the scratch without much difficulty, but that meant sanding off a lot of the oil that I had already put on.
I added more coats of oil to the patch that I had to sand, and gradually, it blended in with the rest of the panel.
Once I had a good amount of oil on all the surfaces, I polished the cabinet with wet sandpaper and steel wool. First, I used a piece of 320-grit wet/dry sandpaper dipped in tung oil and sanded all the outside surfaces. This created a gooey mixture of oil and sawdust that got ground into the pores of the wood as I sanded. Then I scrubbed down all the surfaces with steel wool.
This process didn’t change the appearance of the wood very much, but it made all the wood feel silky. In particular, it made the jarrah burl veneer on the sides feel much smoother.
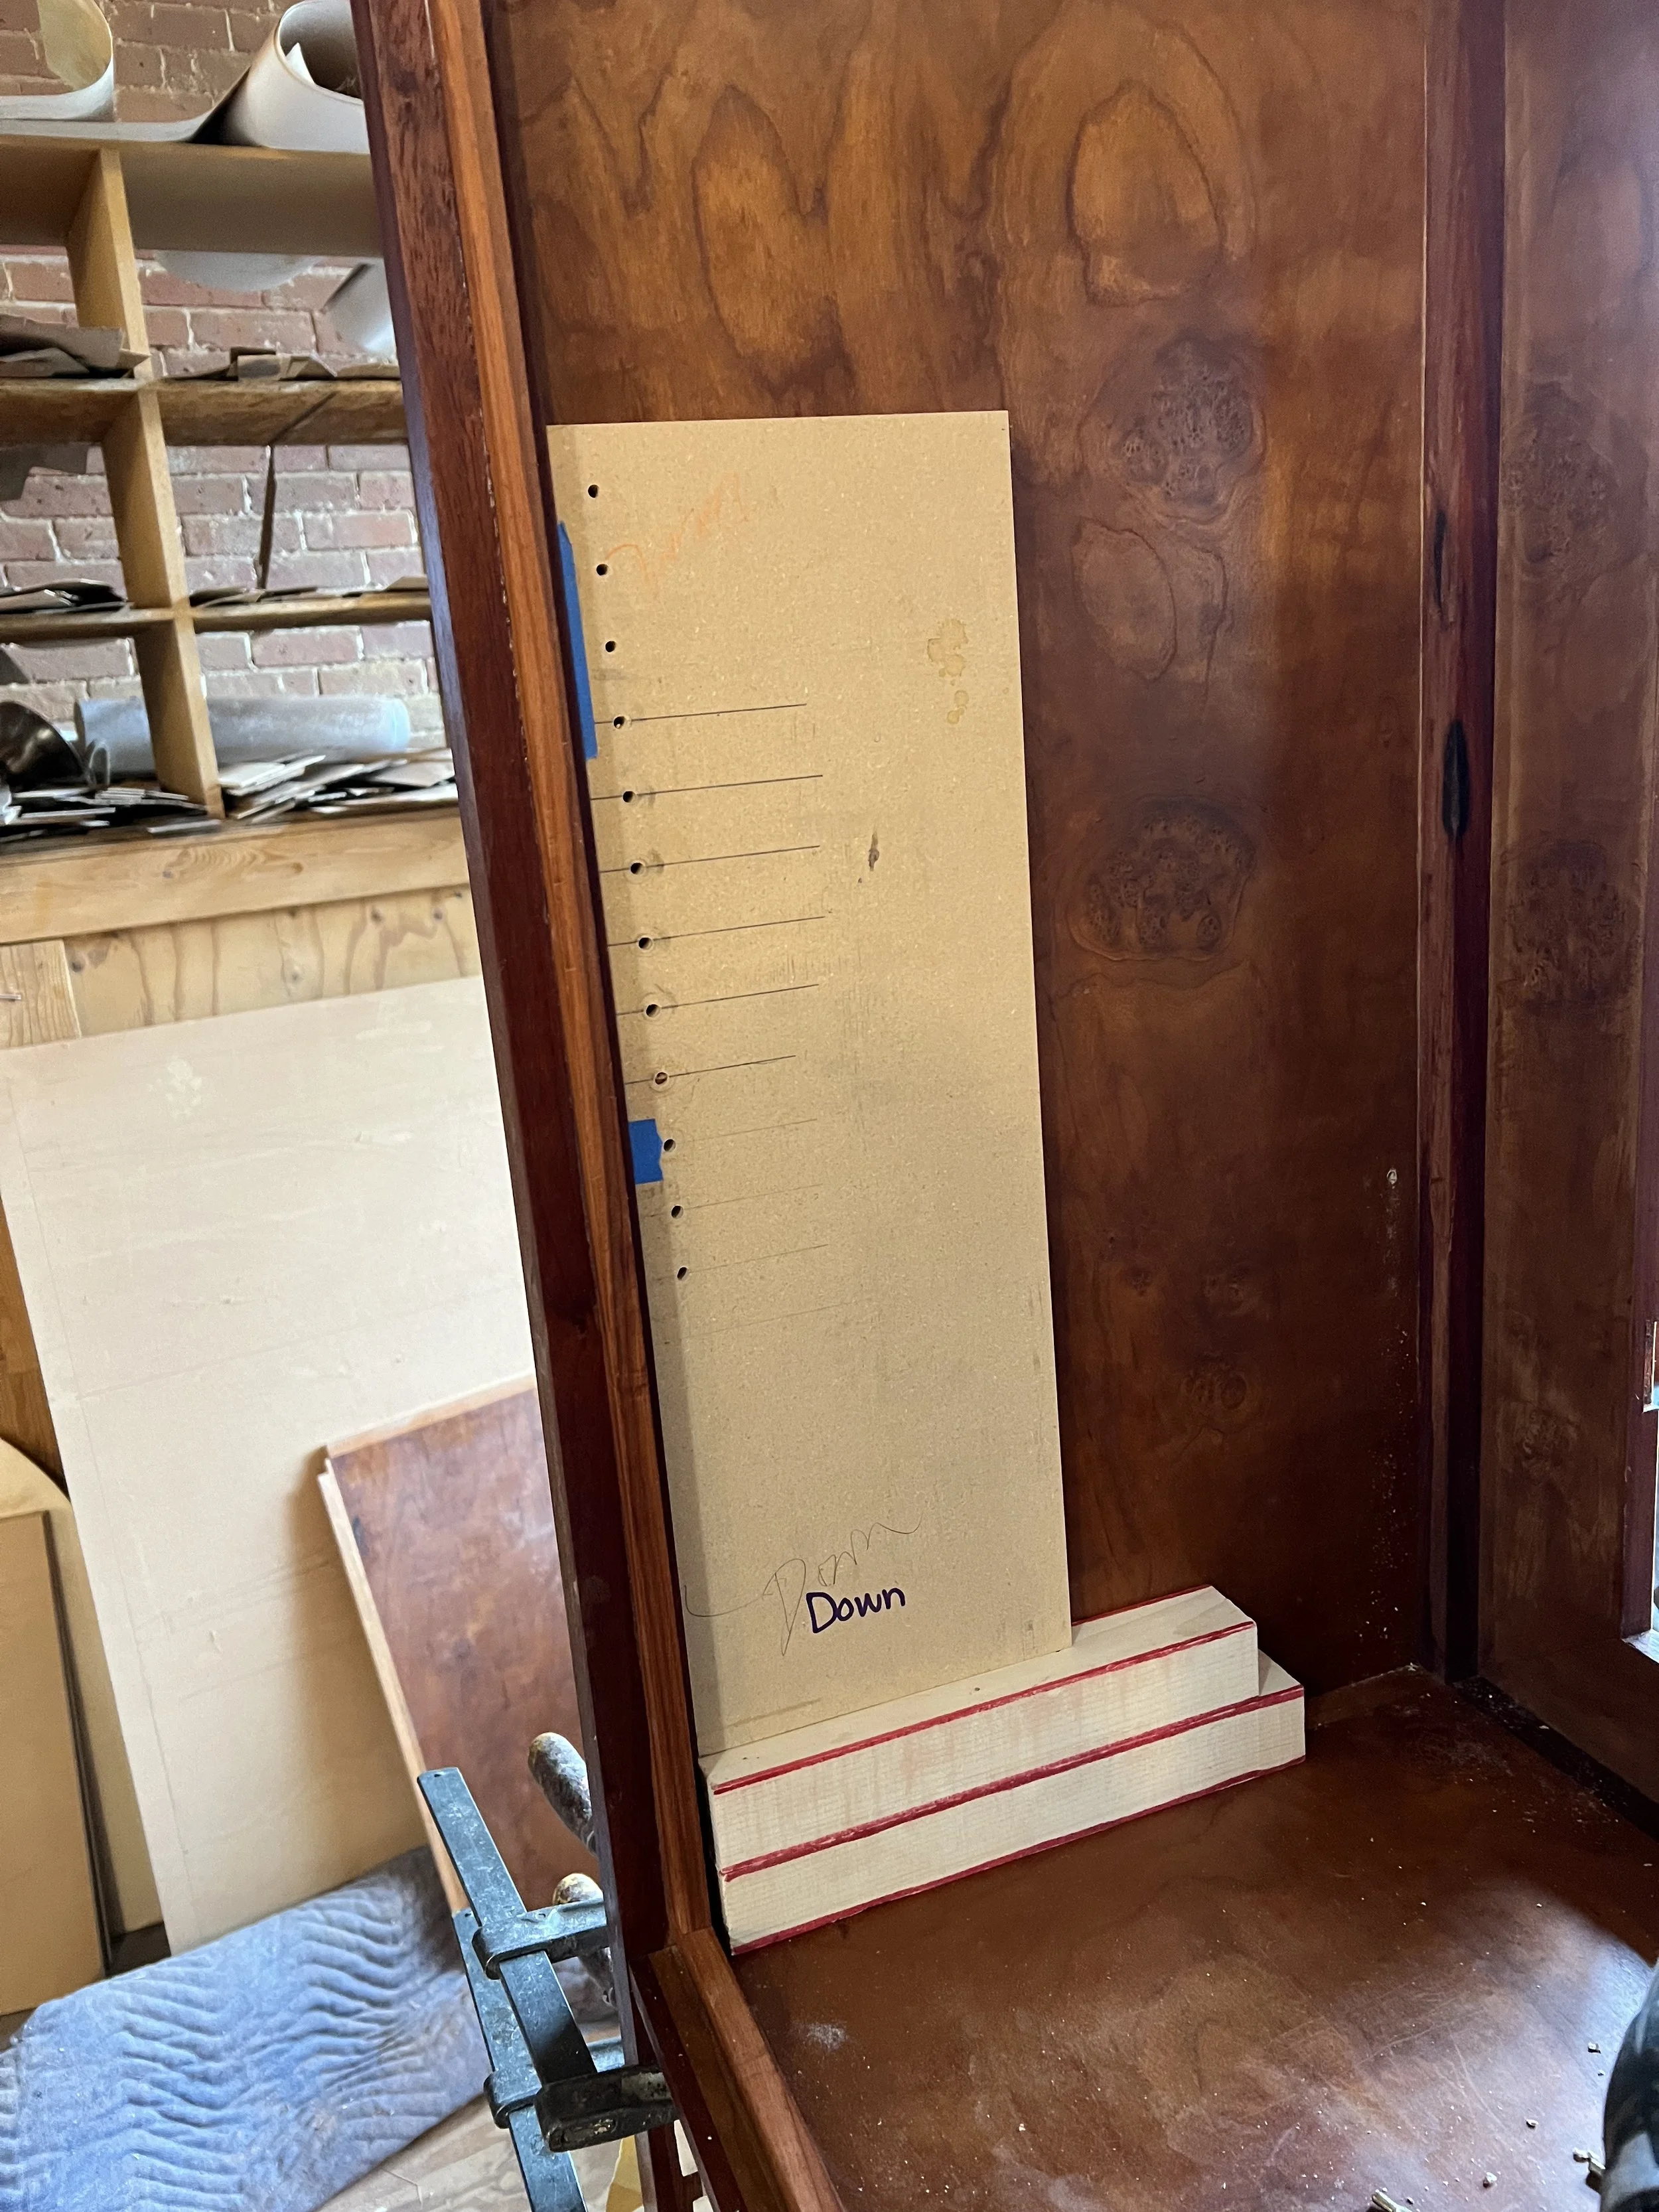
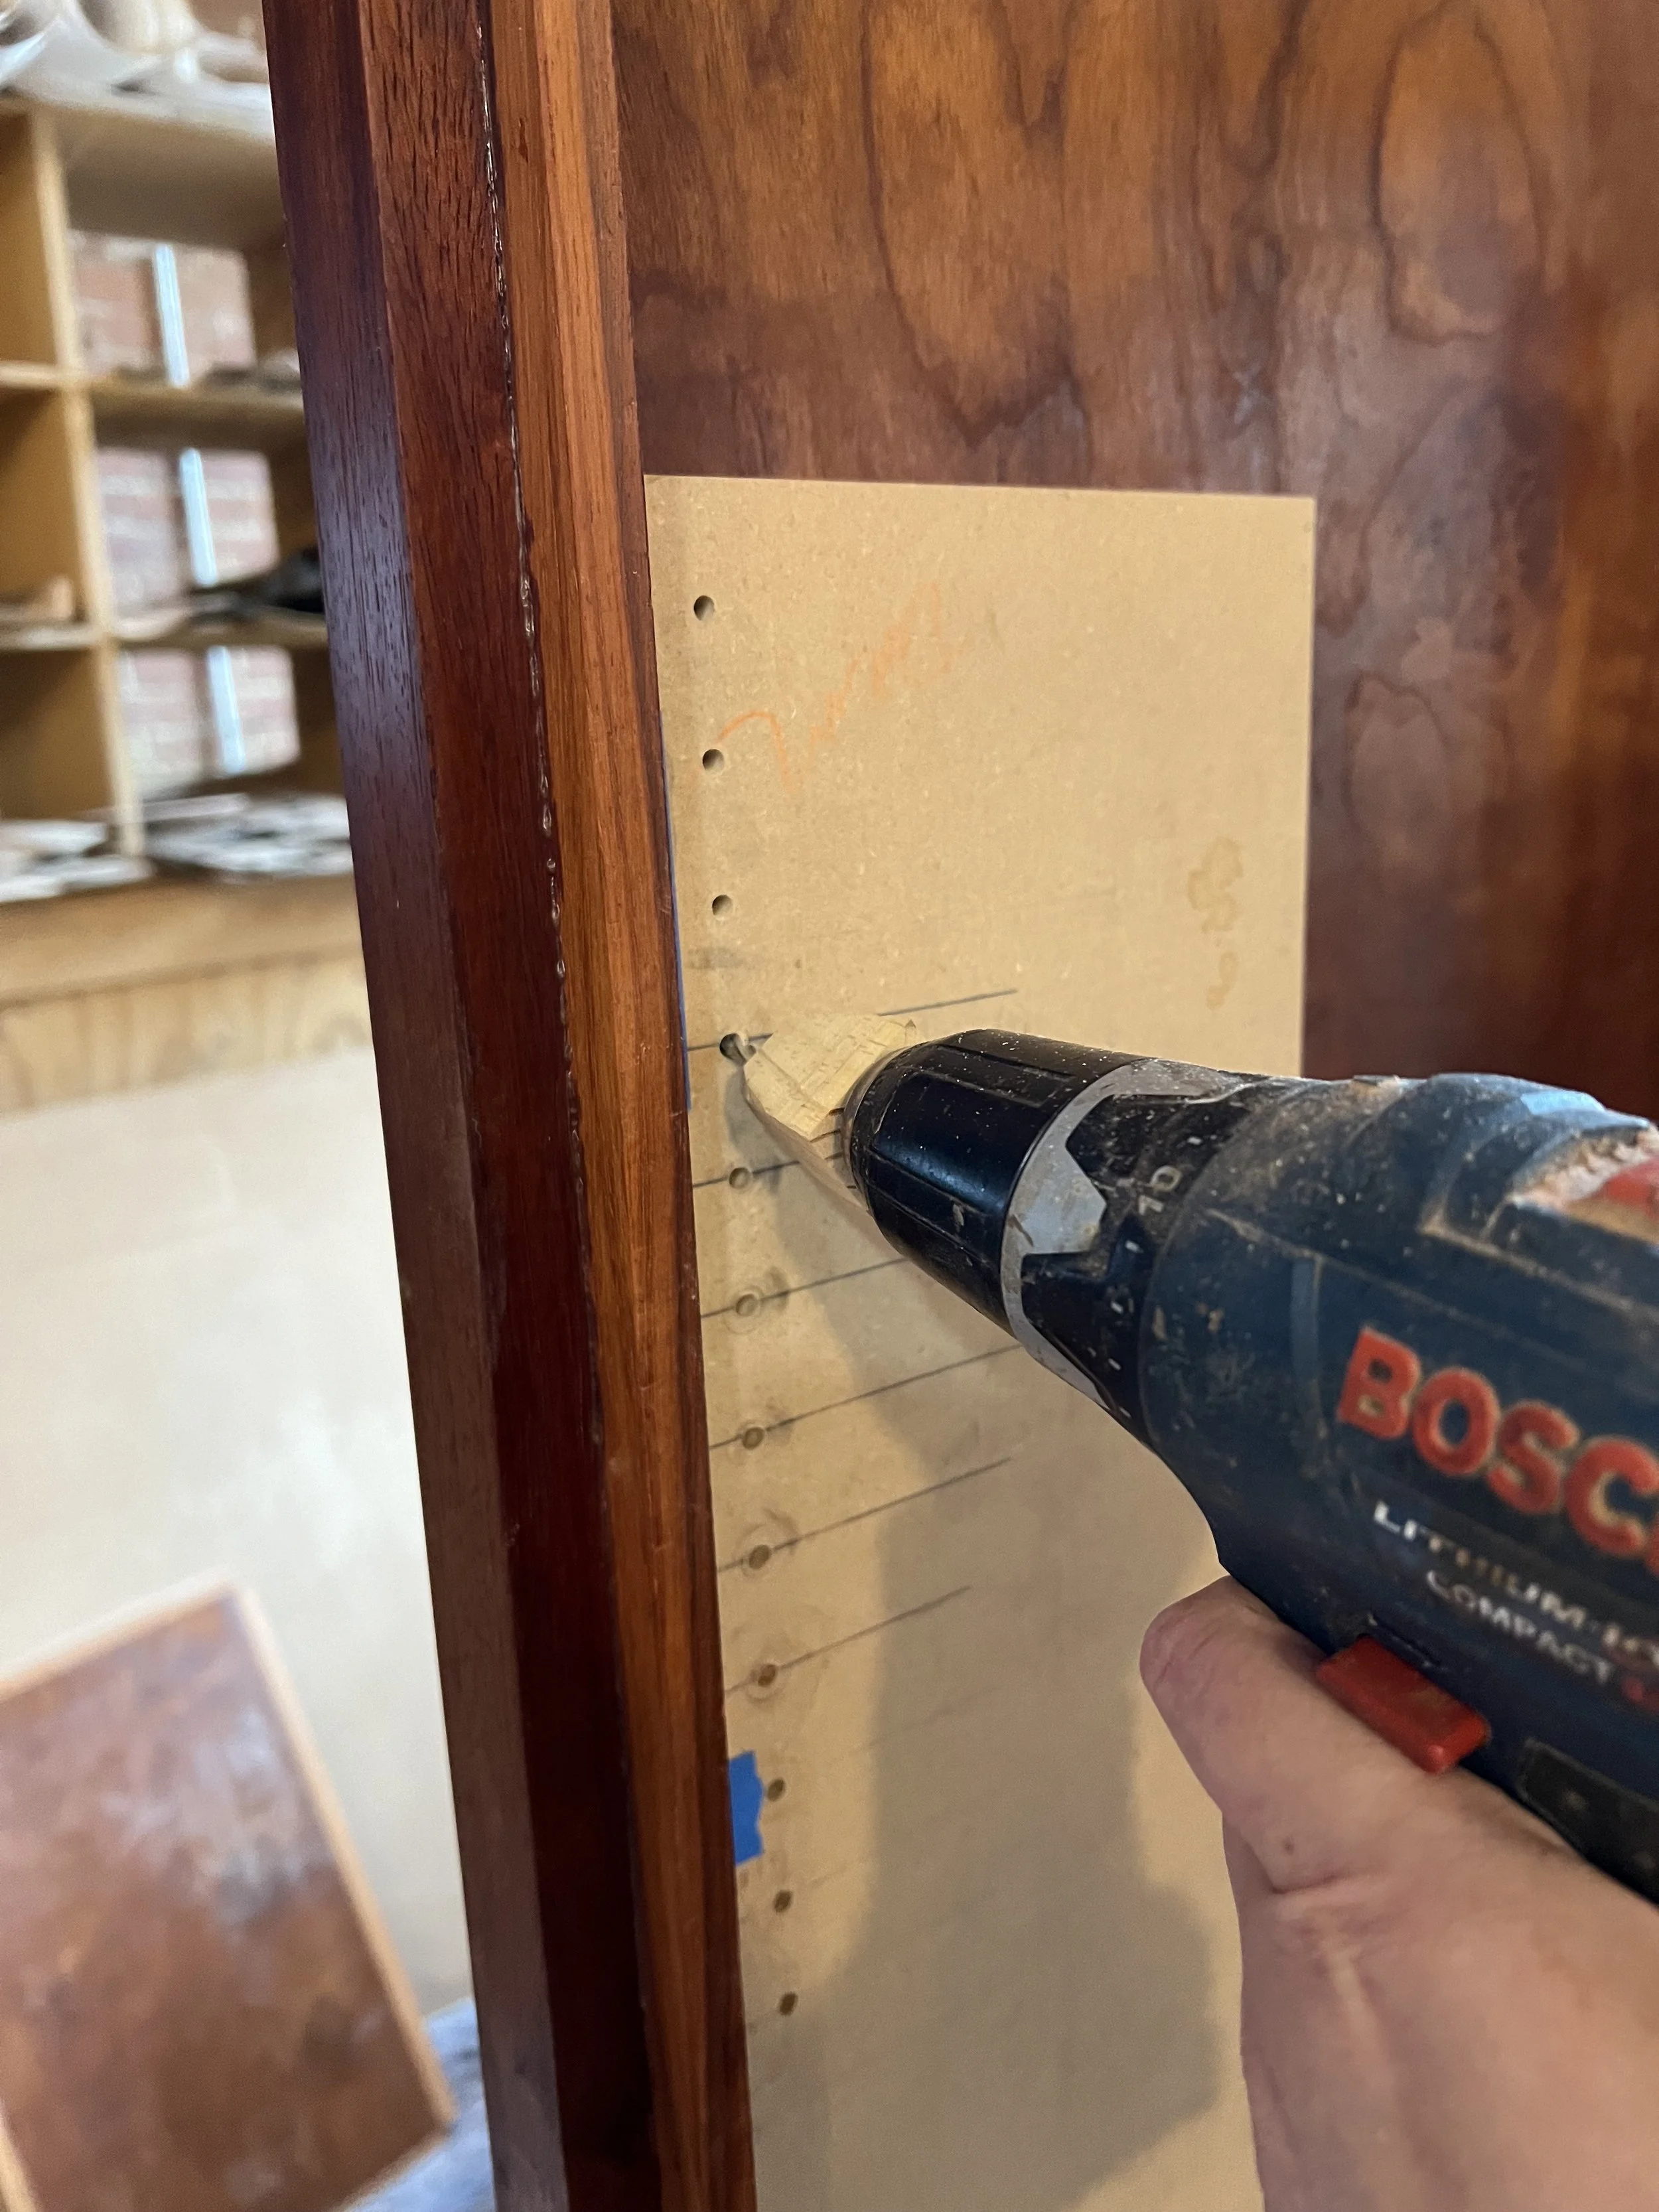
I had constructed two shelves to go on the inside of the main compartment, but I hadn’t installed them yet. I drilled holes in the sides for brass shelf pegs to hold the shelves in place. I used a shelf-hole template that was in the shop from a previous project to make sure that the holes were level with each other.
The placement of the bottom shelf was constrained by the placement of the door hardware, but the top shelf could be higher or lower, so I drilled multiple holes for the top shelf pegs.
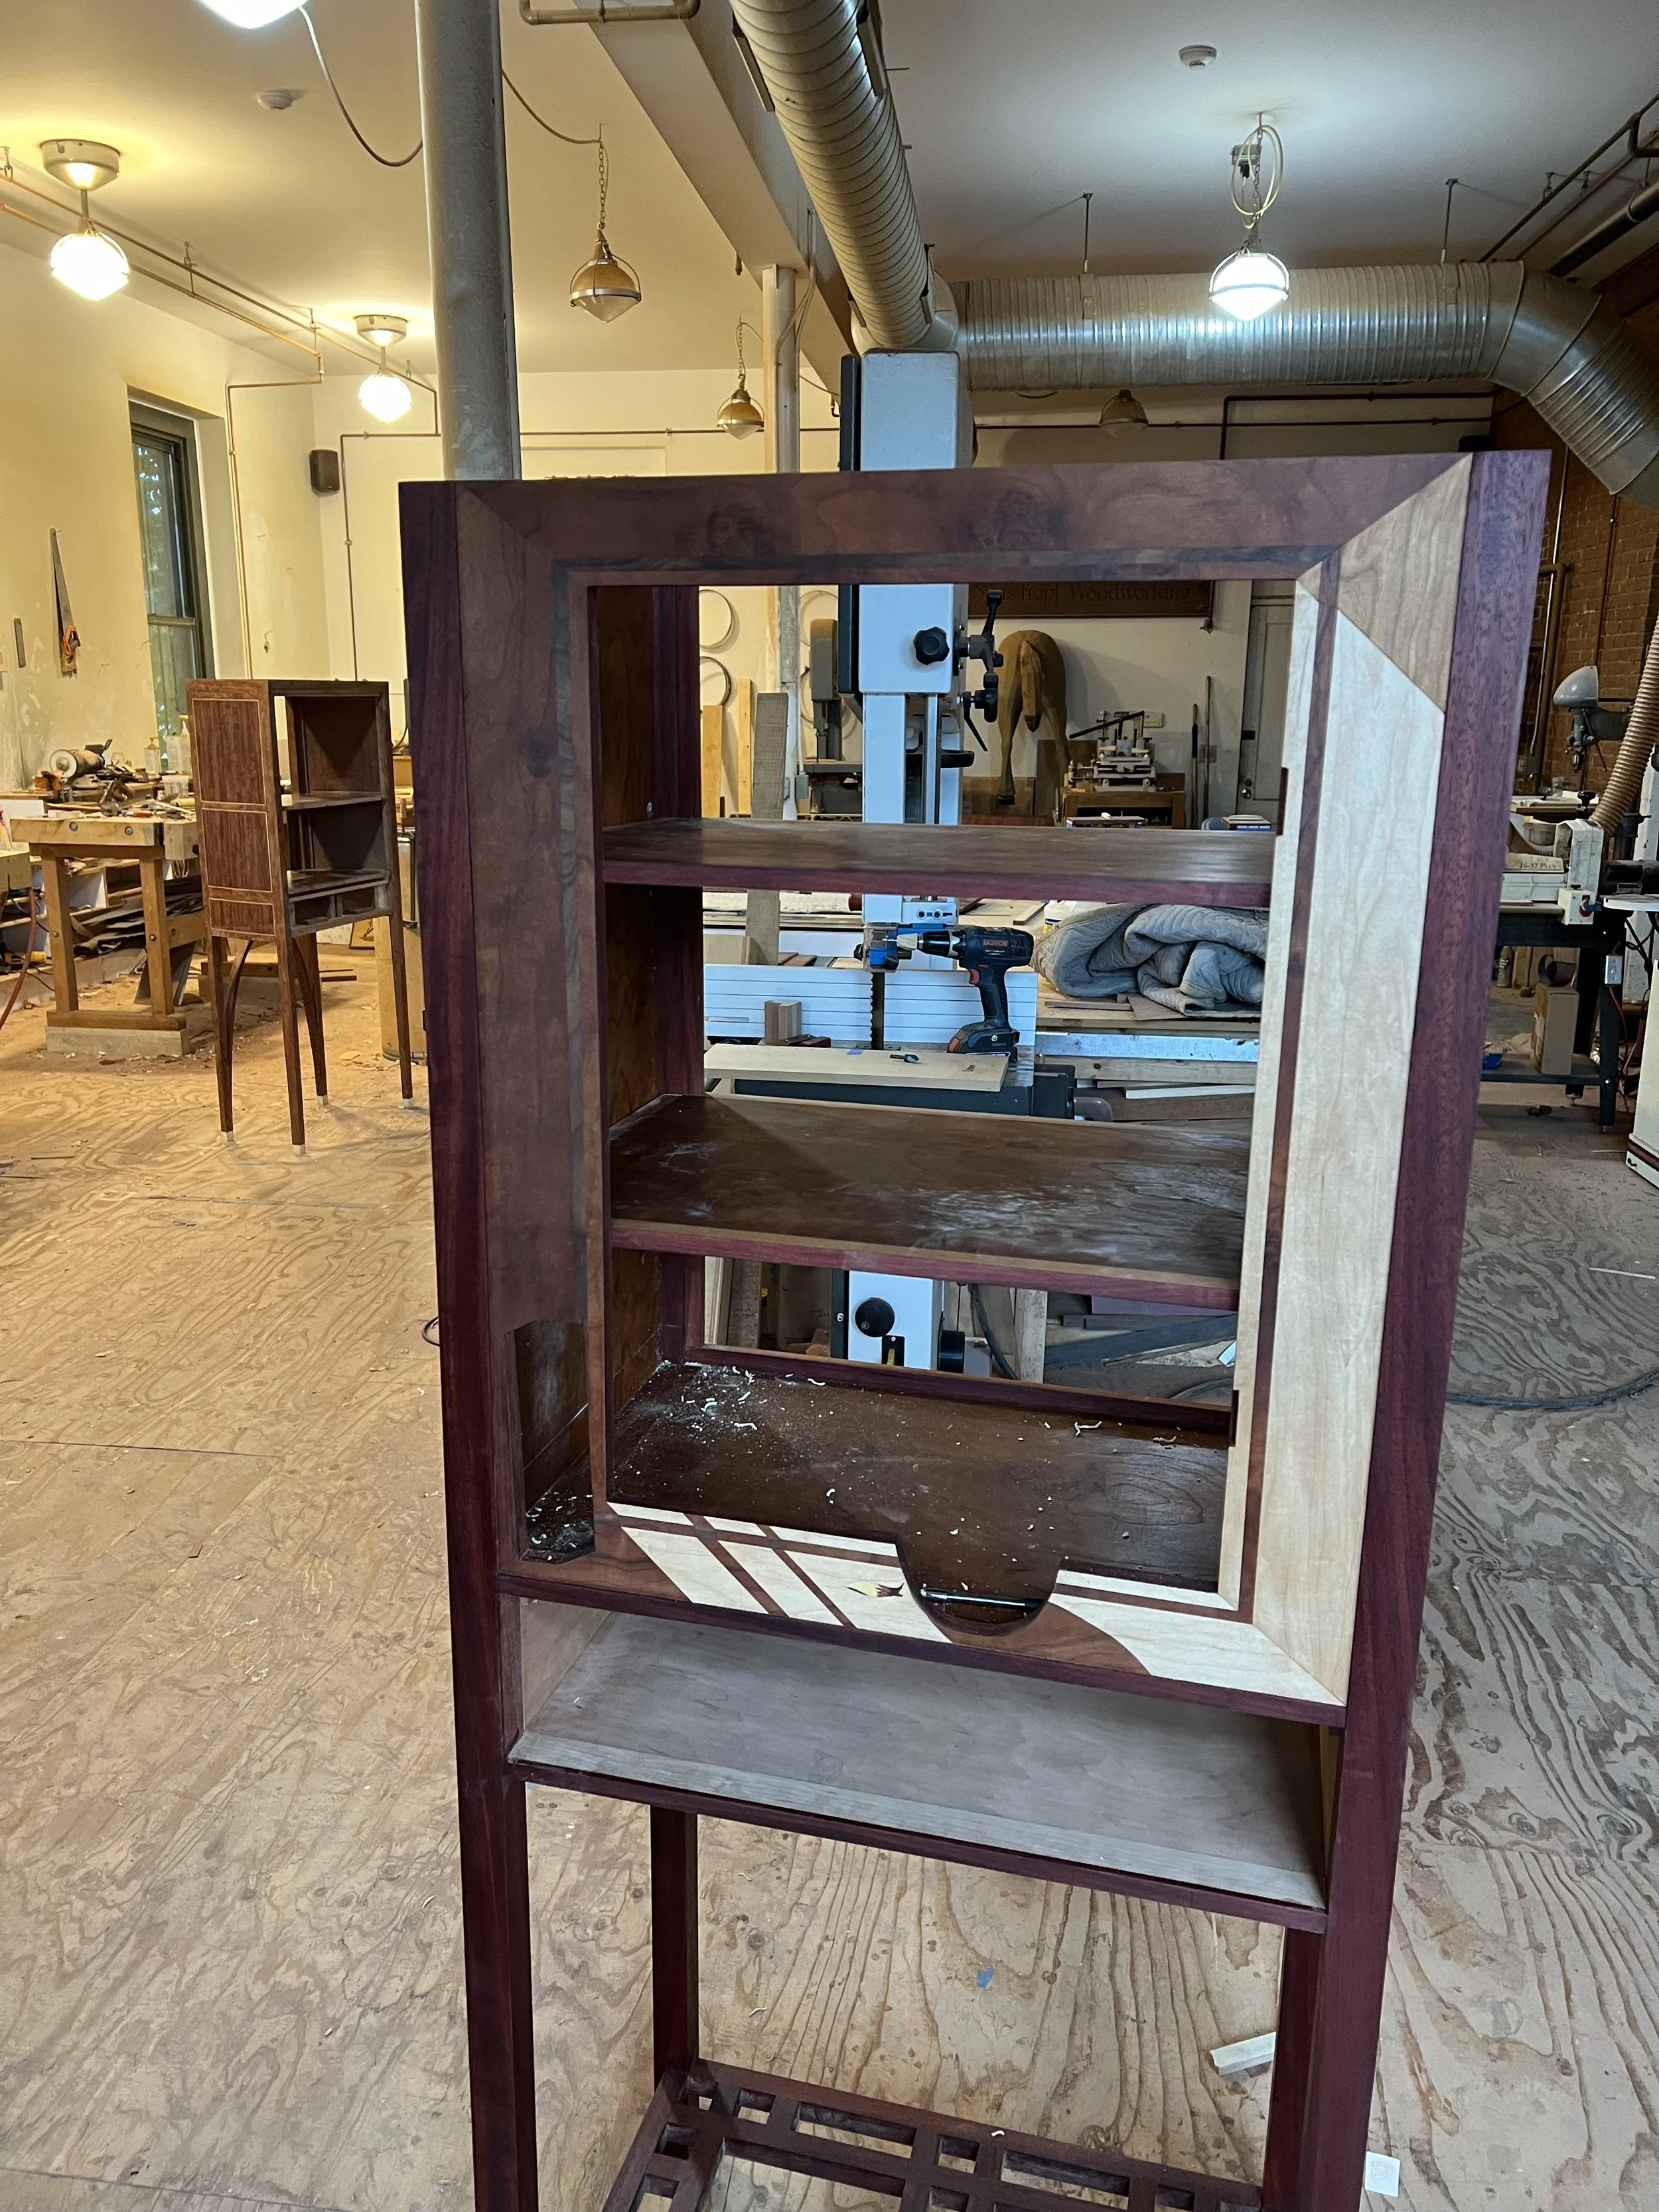
I had to trim down the shelves a little to get them to fit, but eventually, they slid into place.
Getting the back on the cabinet was much smoother, as it fit perfectly on the first try.
And with that, the cabinet was basically done! I may do another coat of oil and will do some tweaking here and there, but it was ready to be photographed.
Up until this point, I had not been writing about this process in real time, but I am now caught up, as I did the oiling over the past week and installed the shelves and the back of the cabinet yesterday.
