Backyard Birds – Part 35
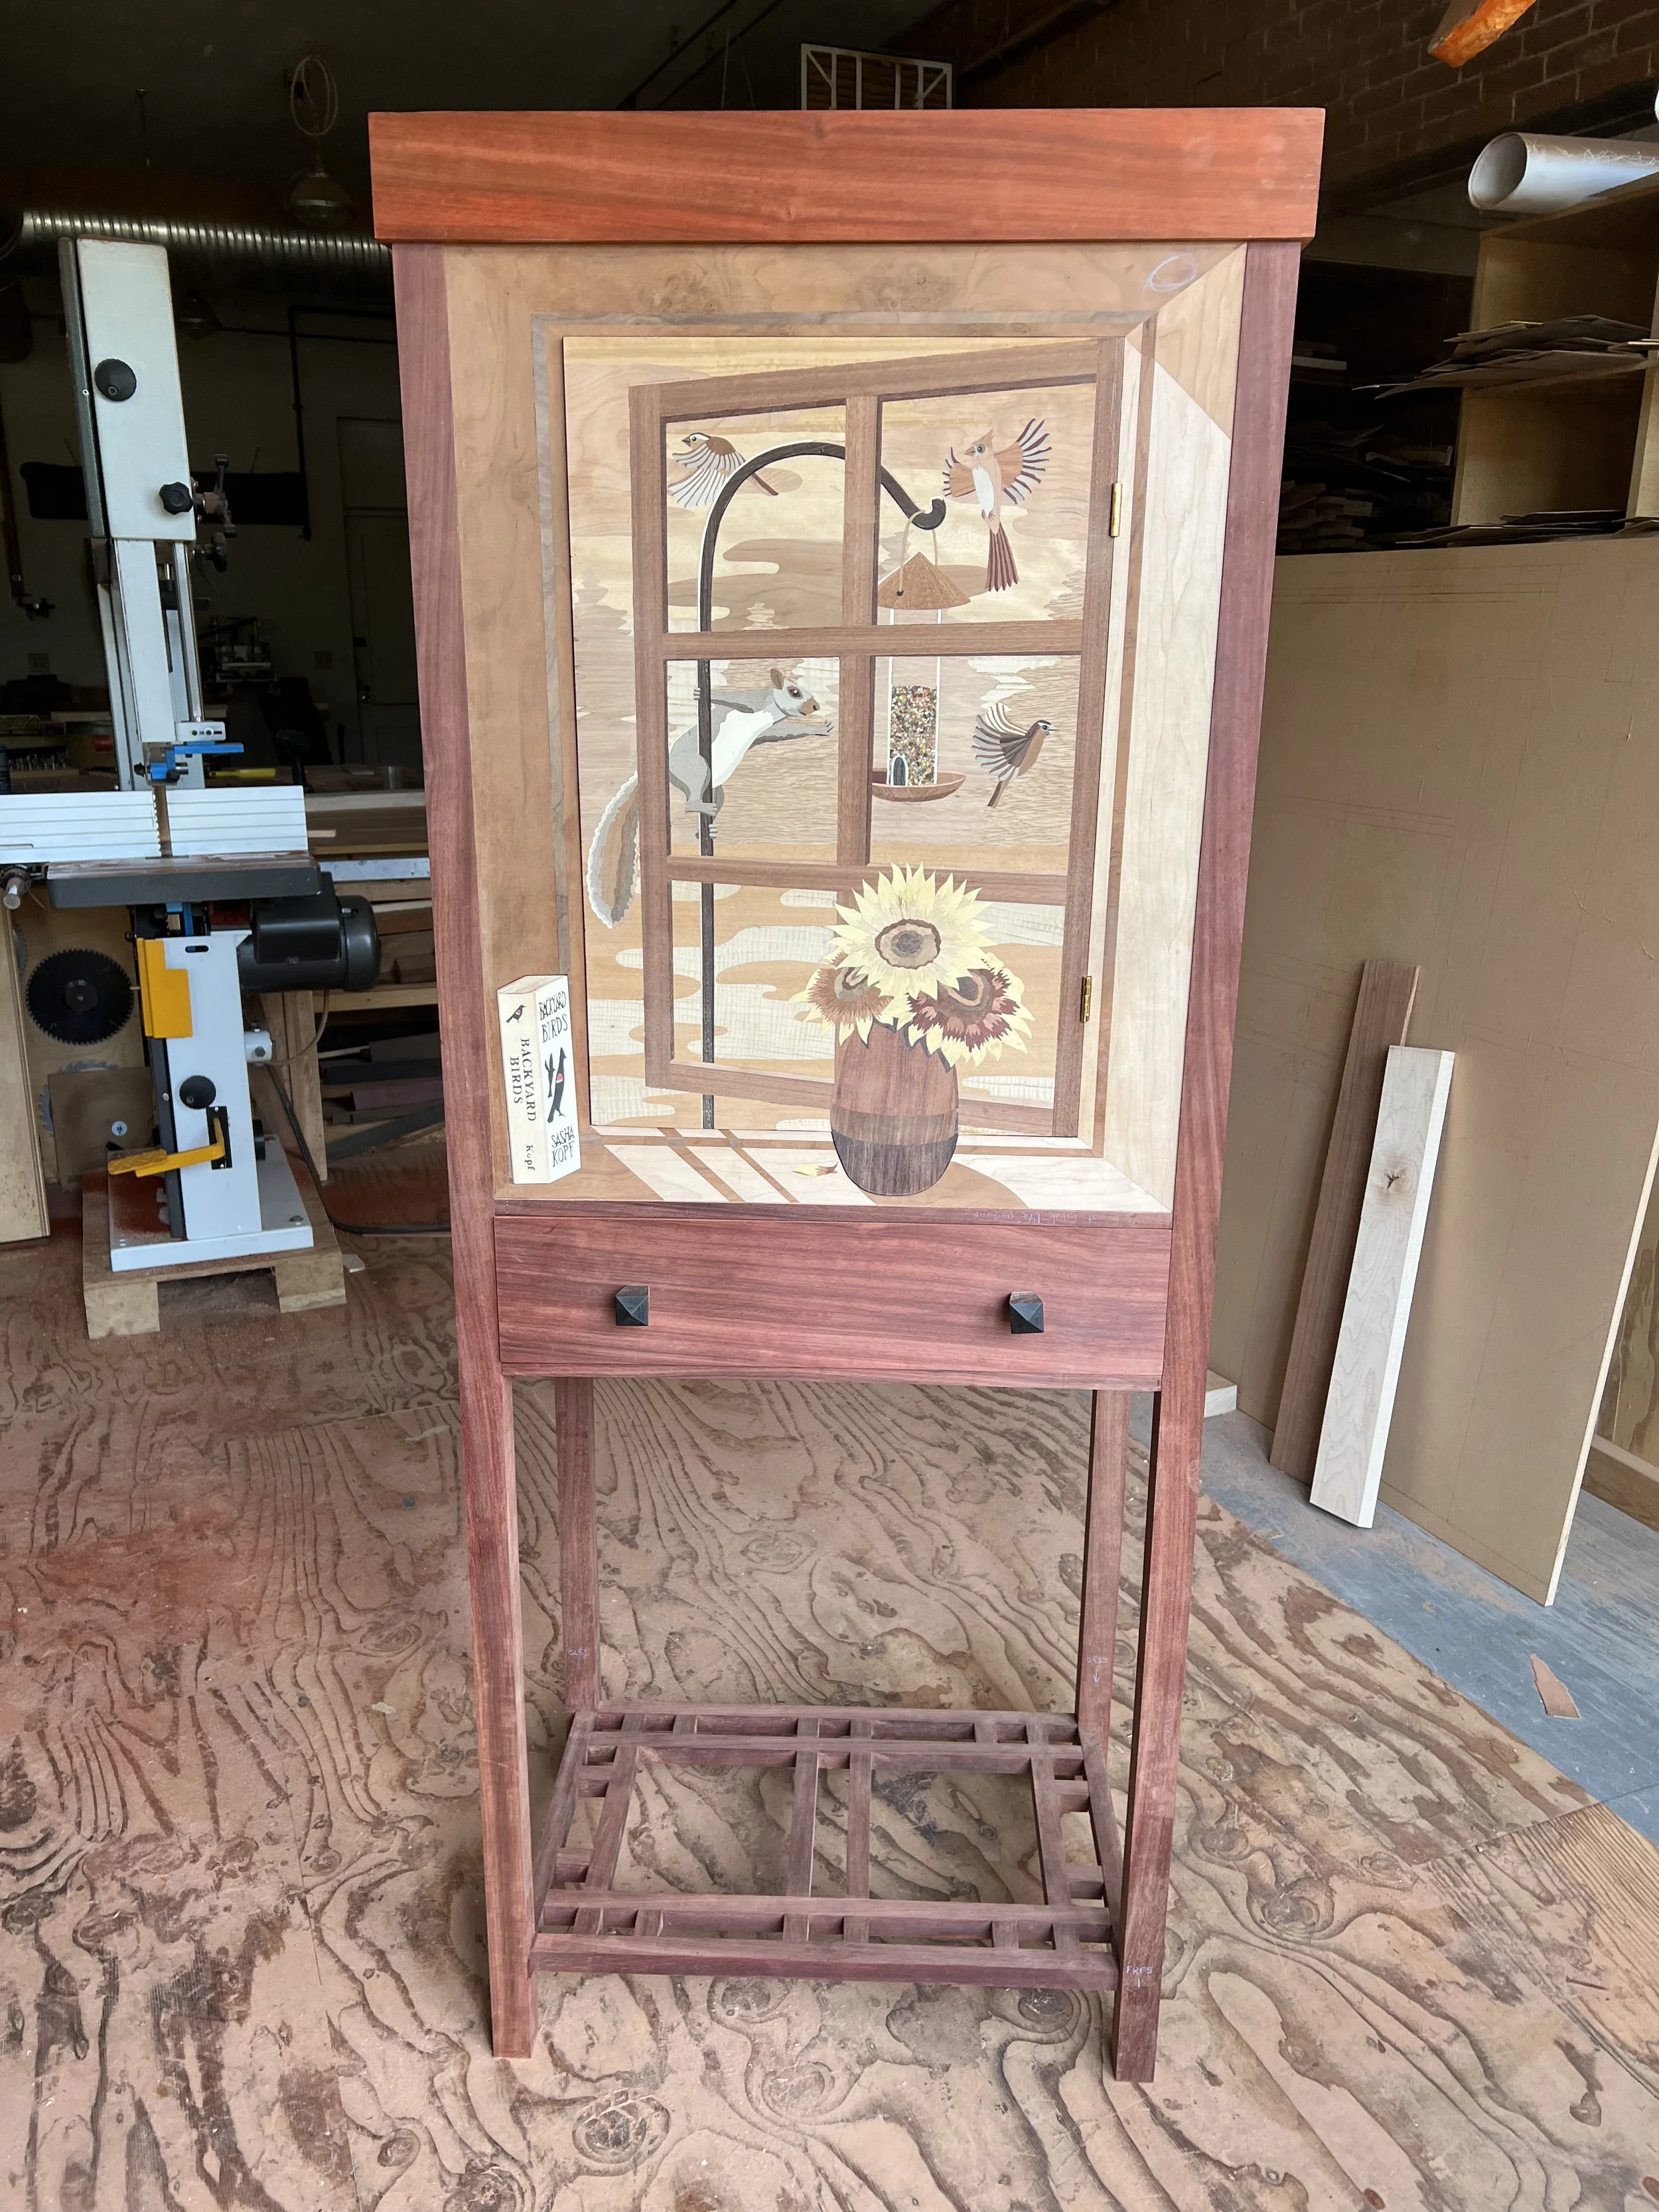
My design included a cap for the top of the cabinet that would be several inches high and stick out slightly beyond the sides.
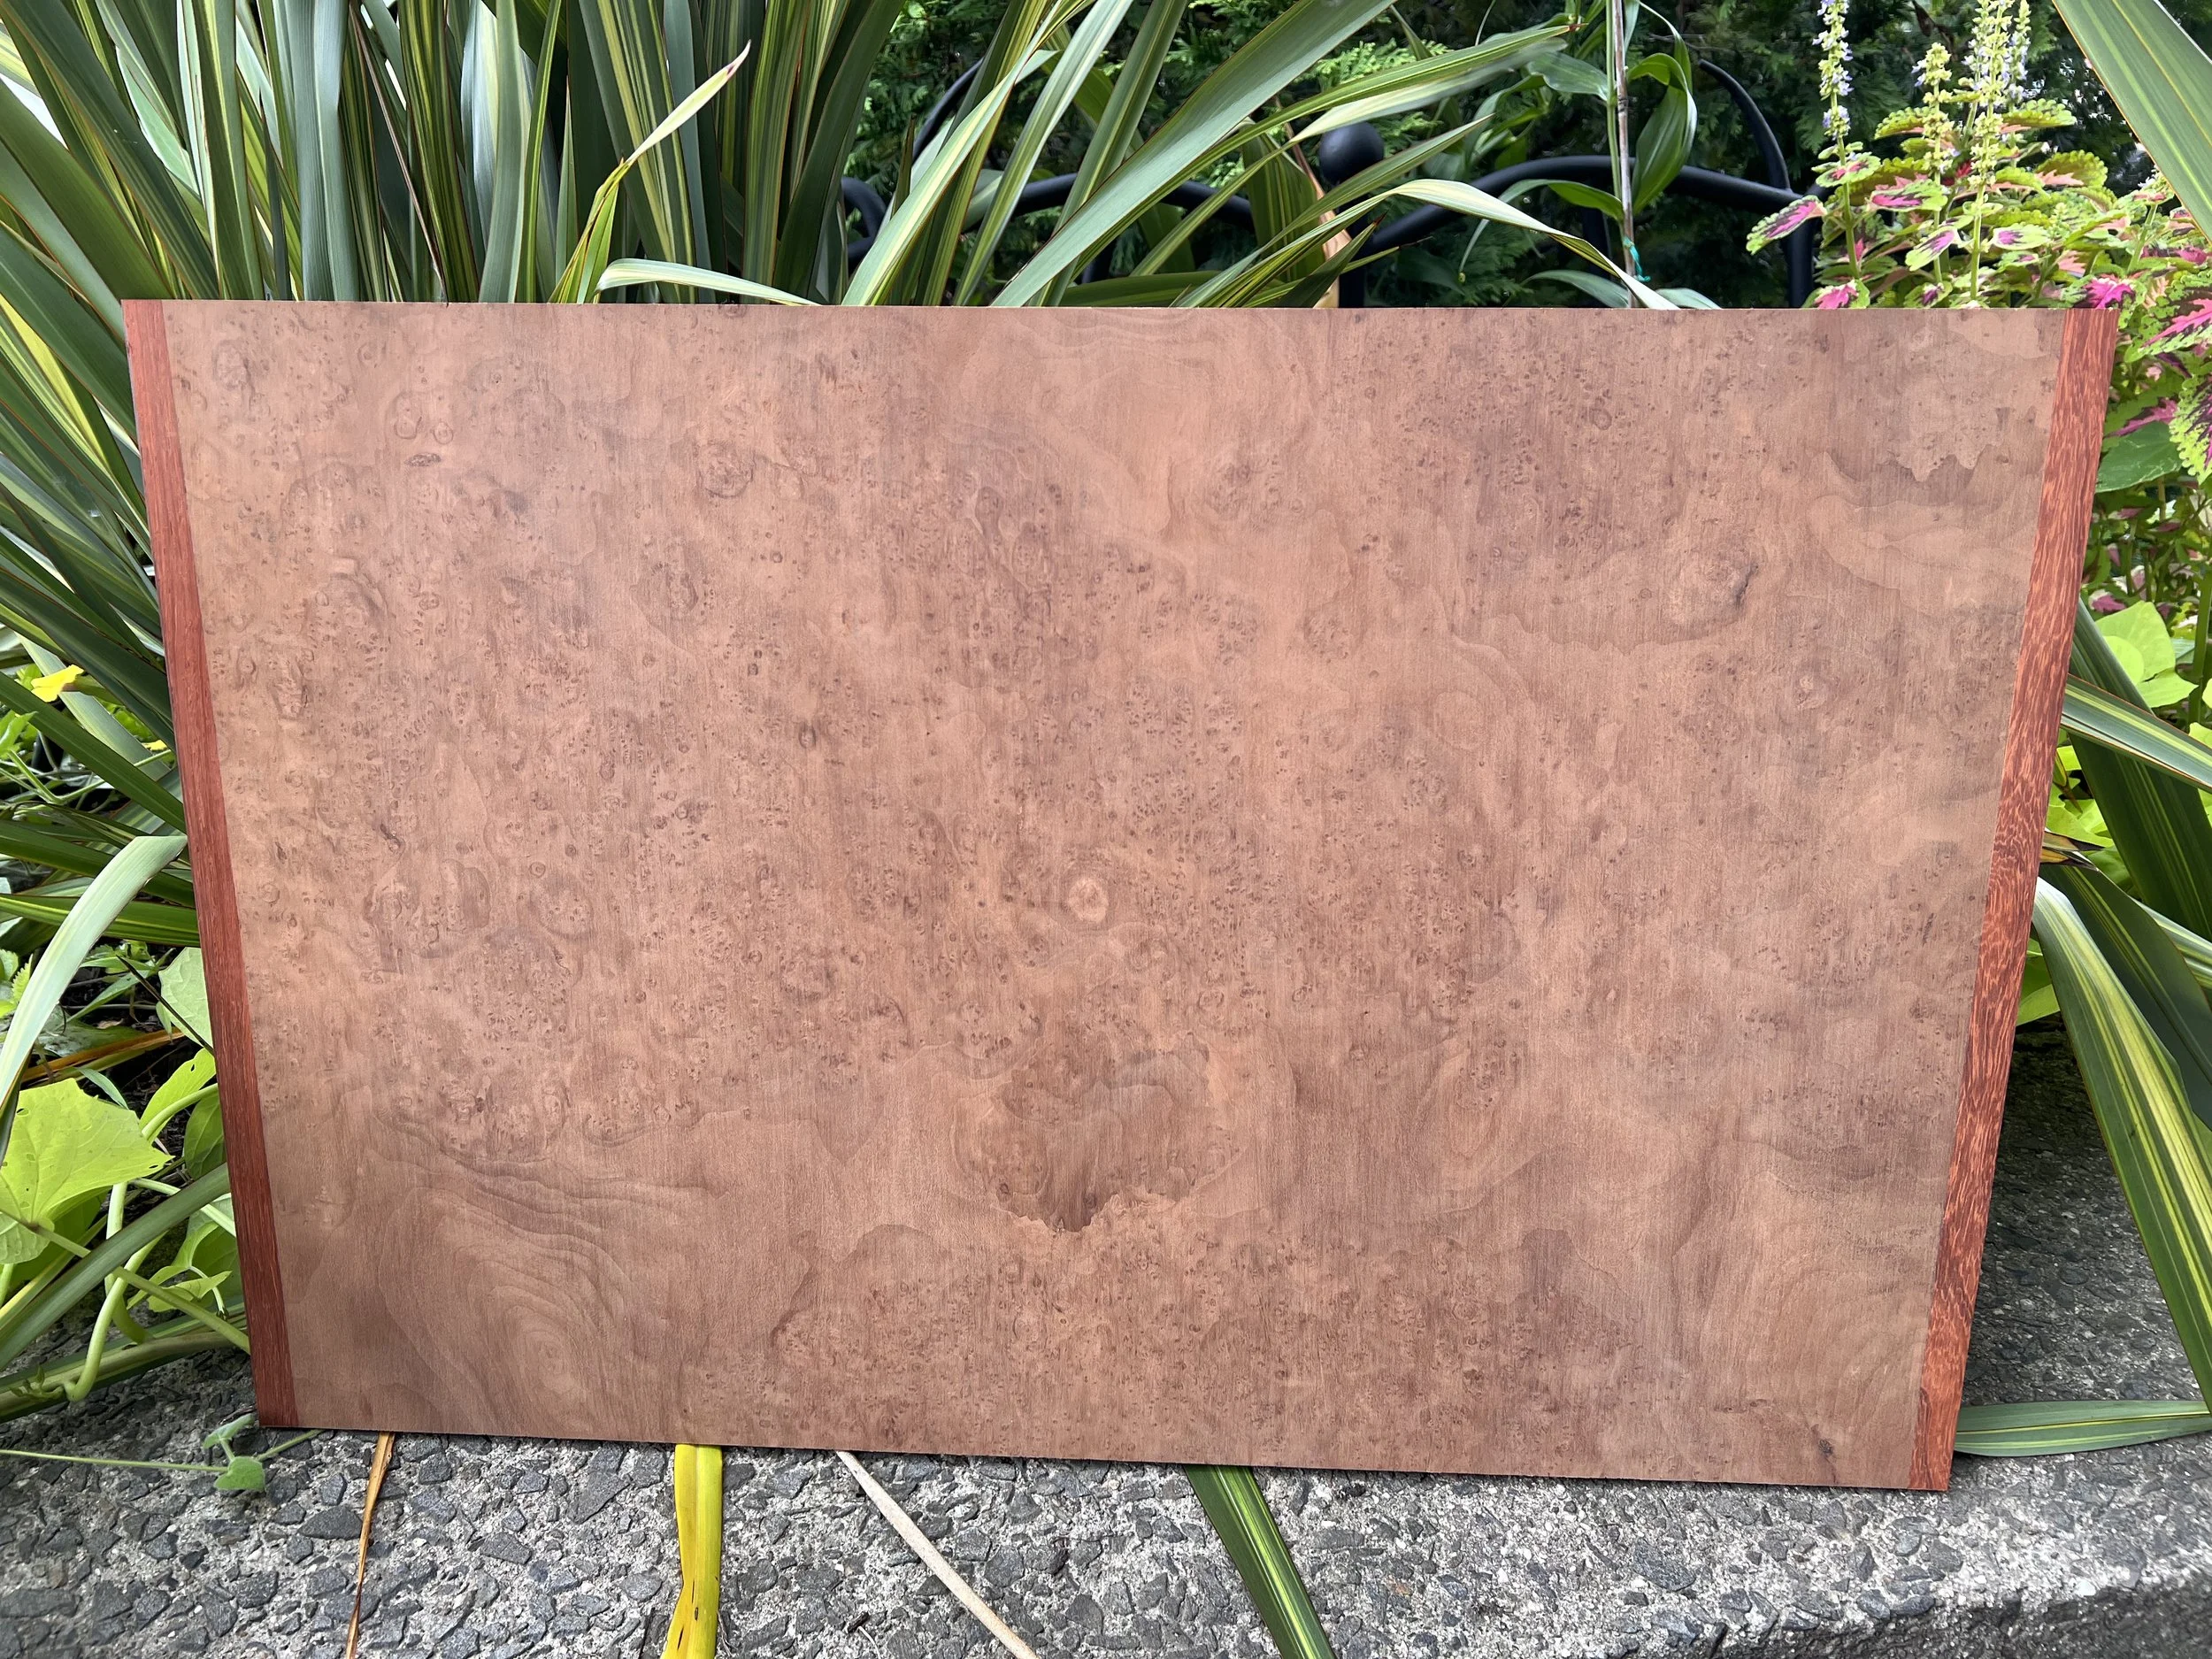
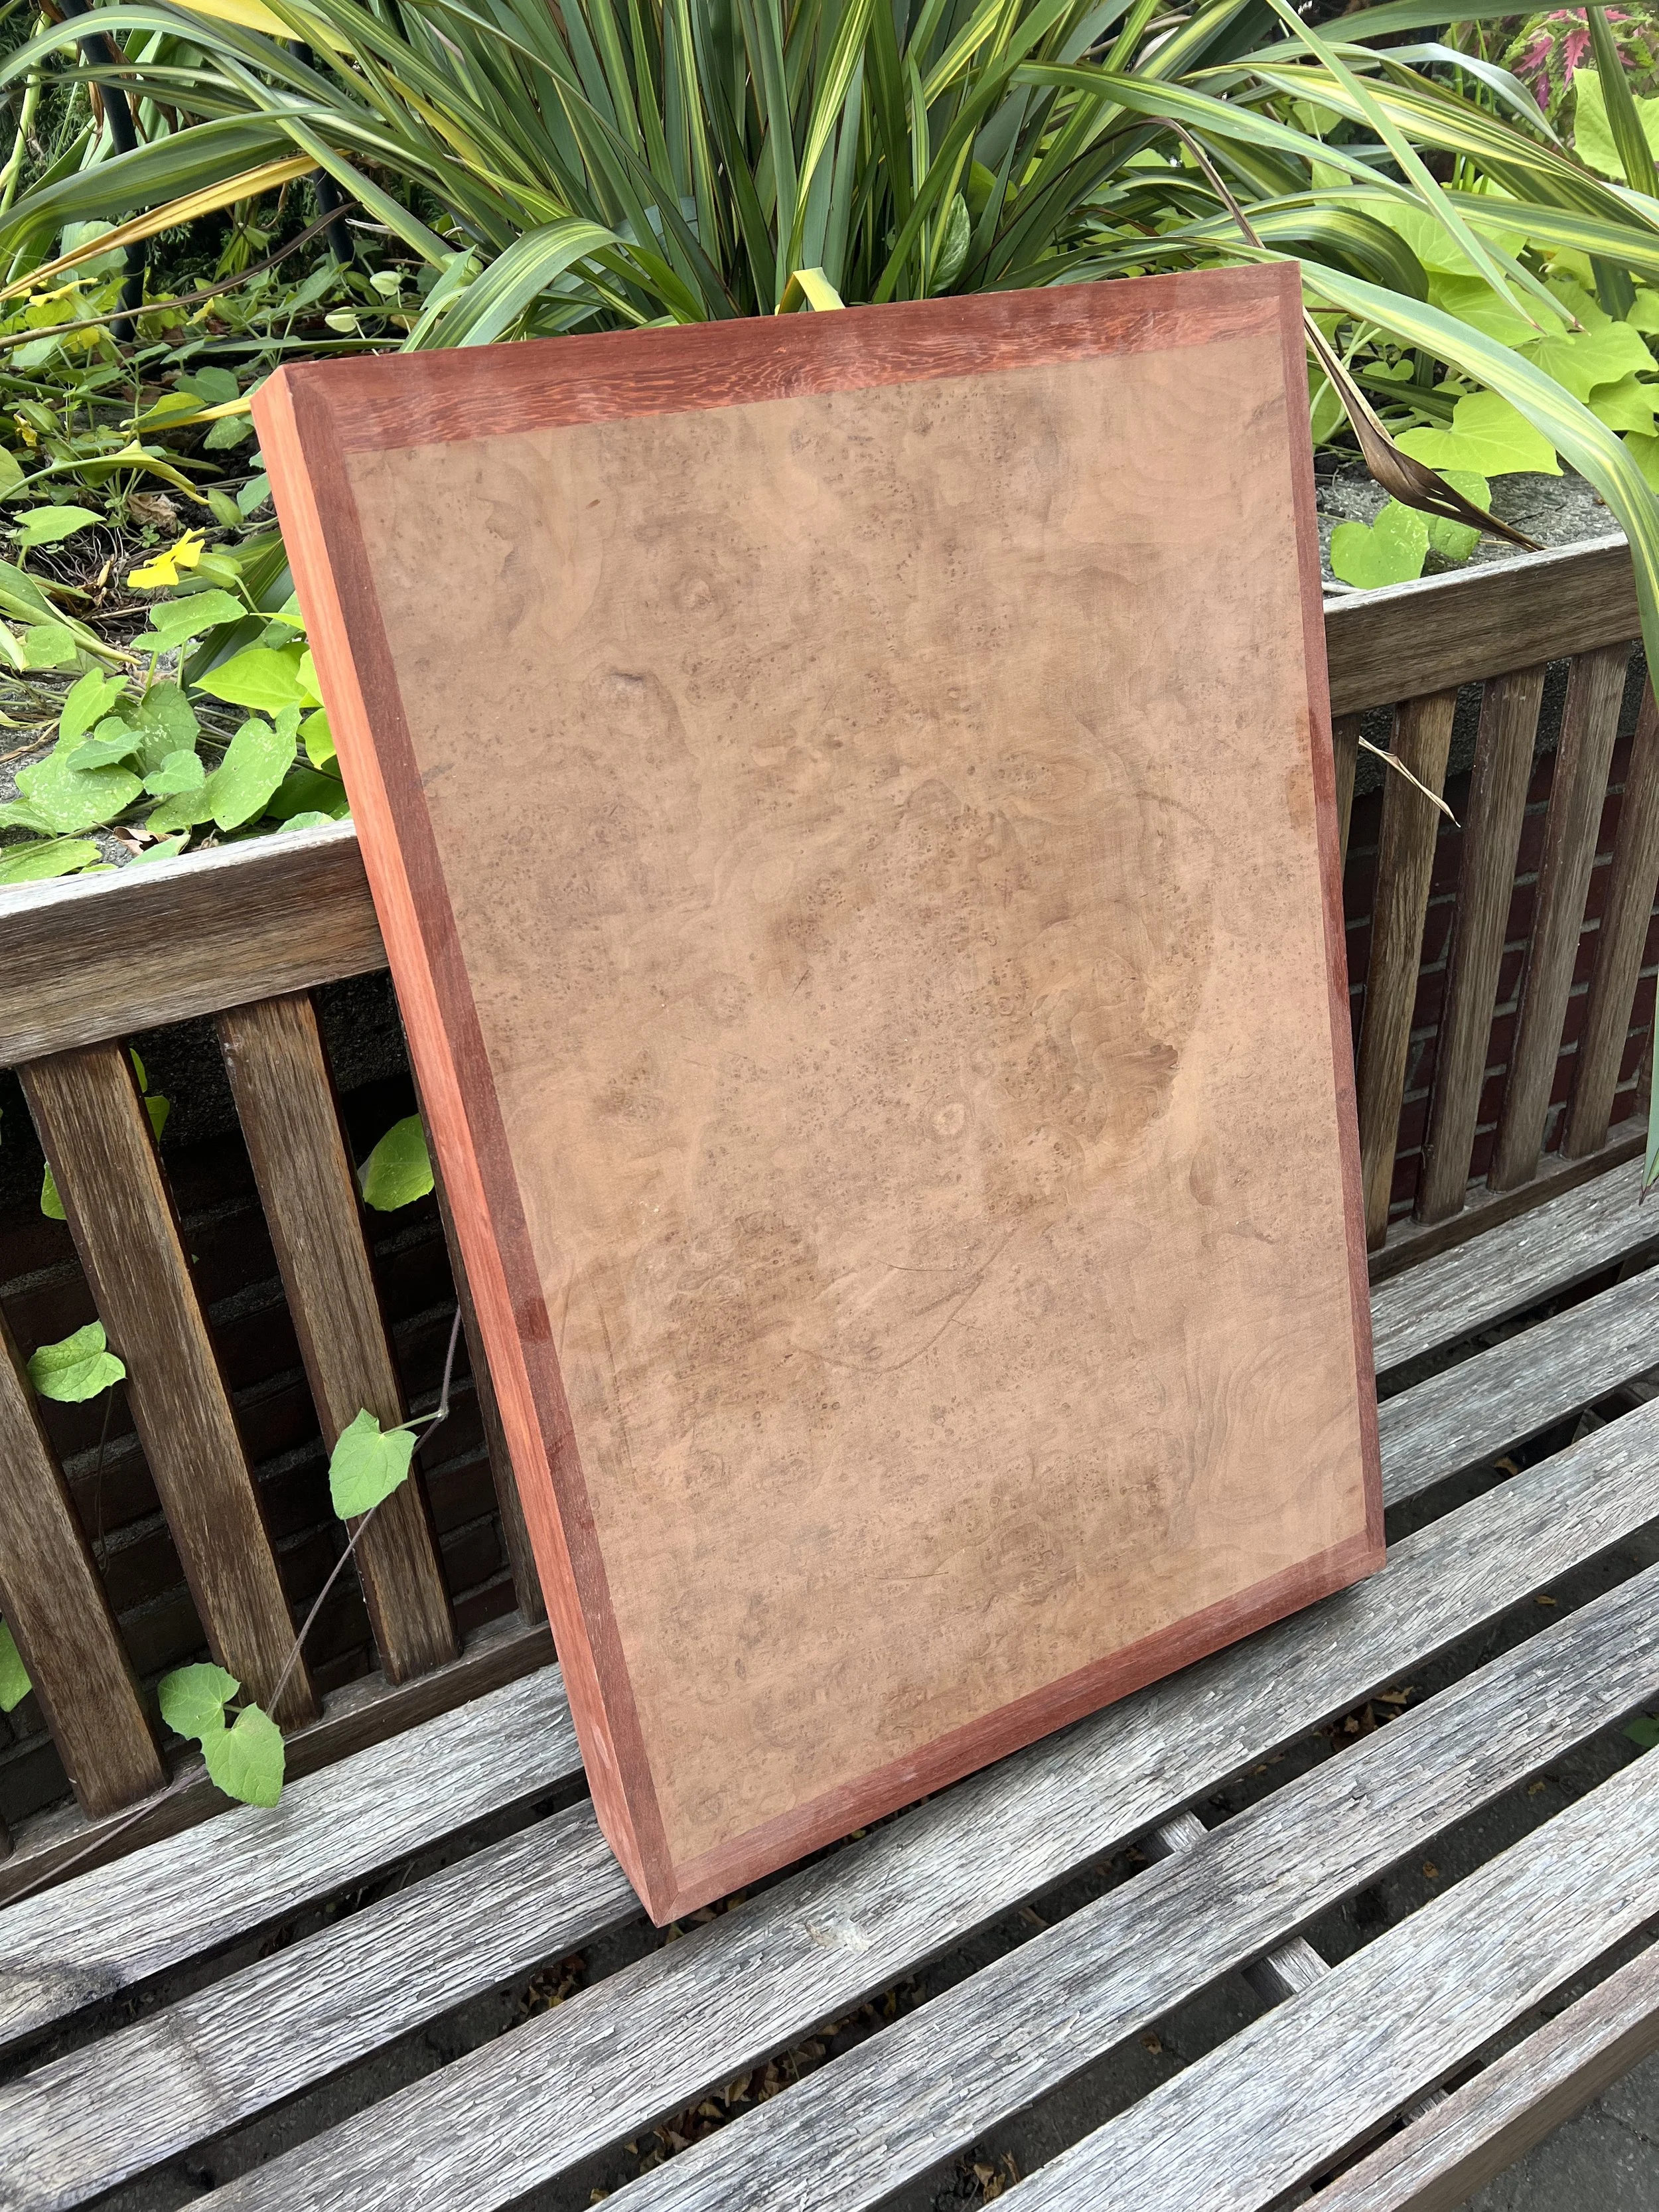
For the top surface of the cap, I decided to use the same jarrah burl that I used on the side panels. Instead of using bookmatched pieces, however, I used a single sheet of veneer for the top.
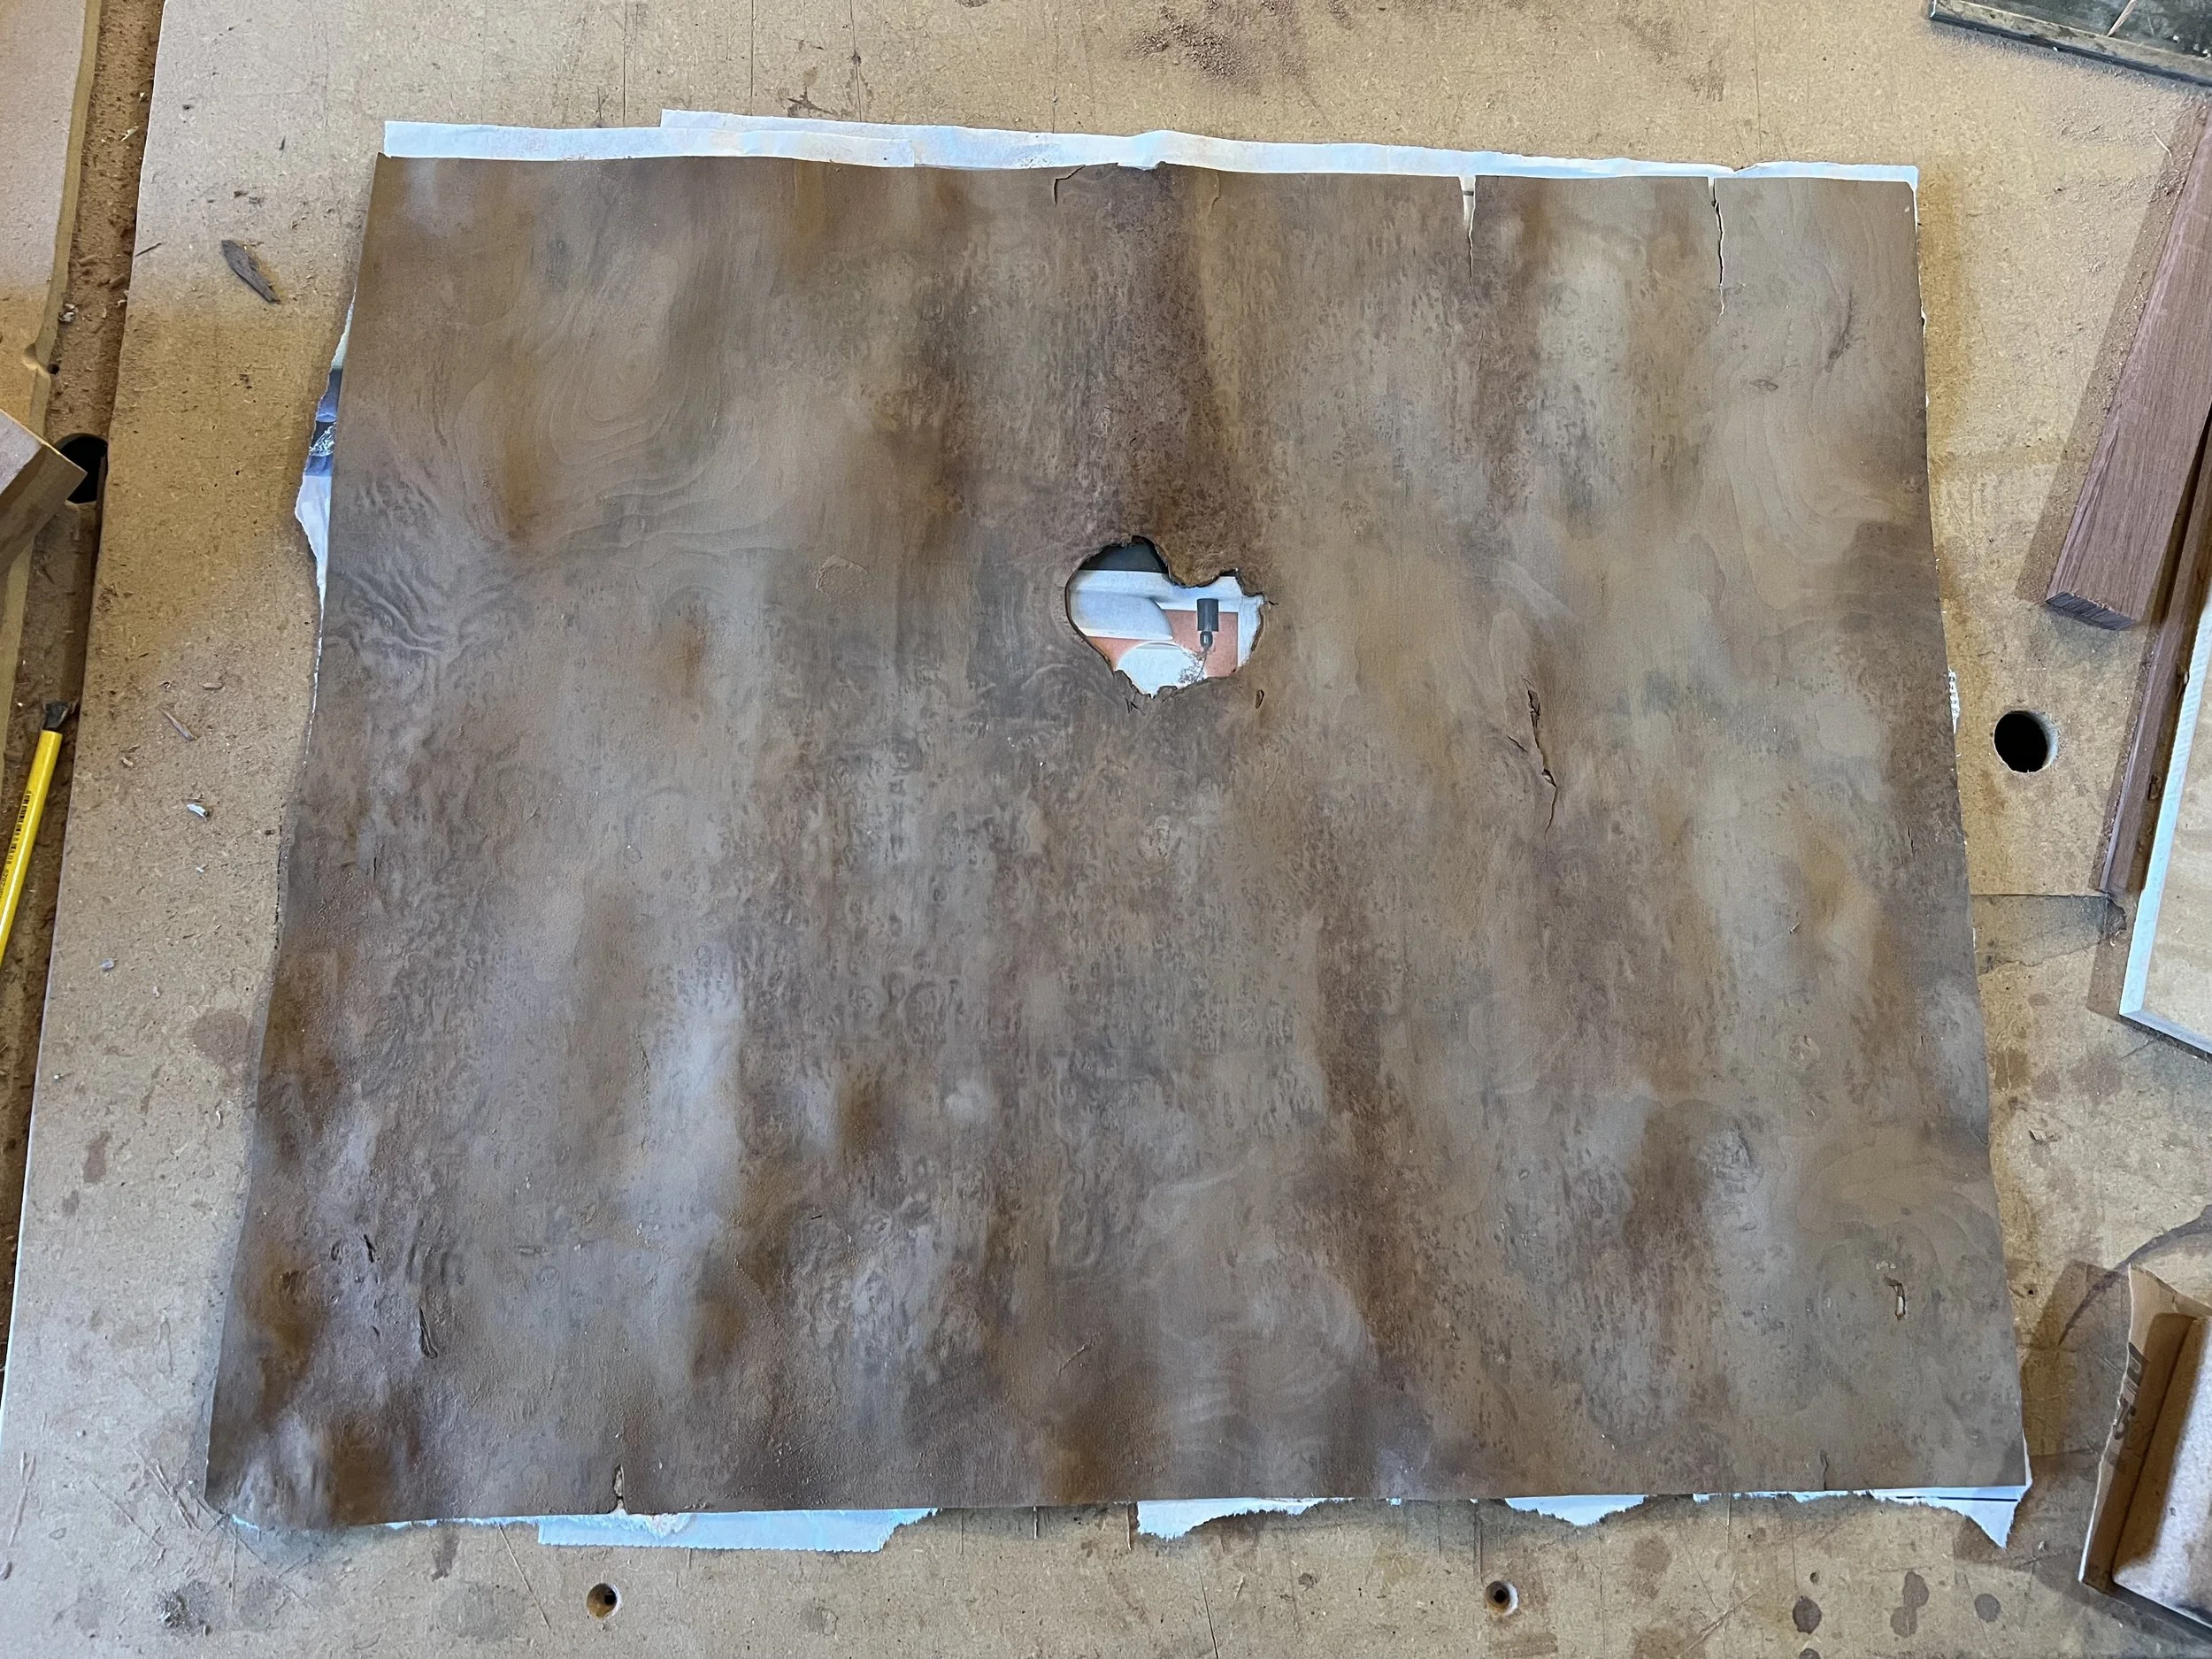
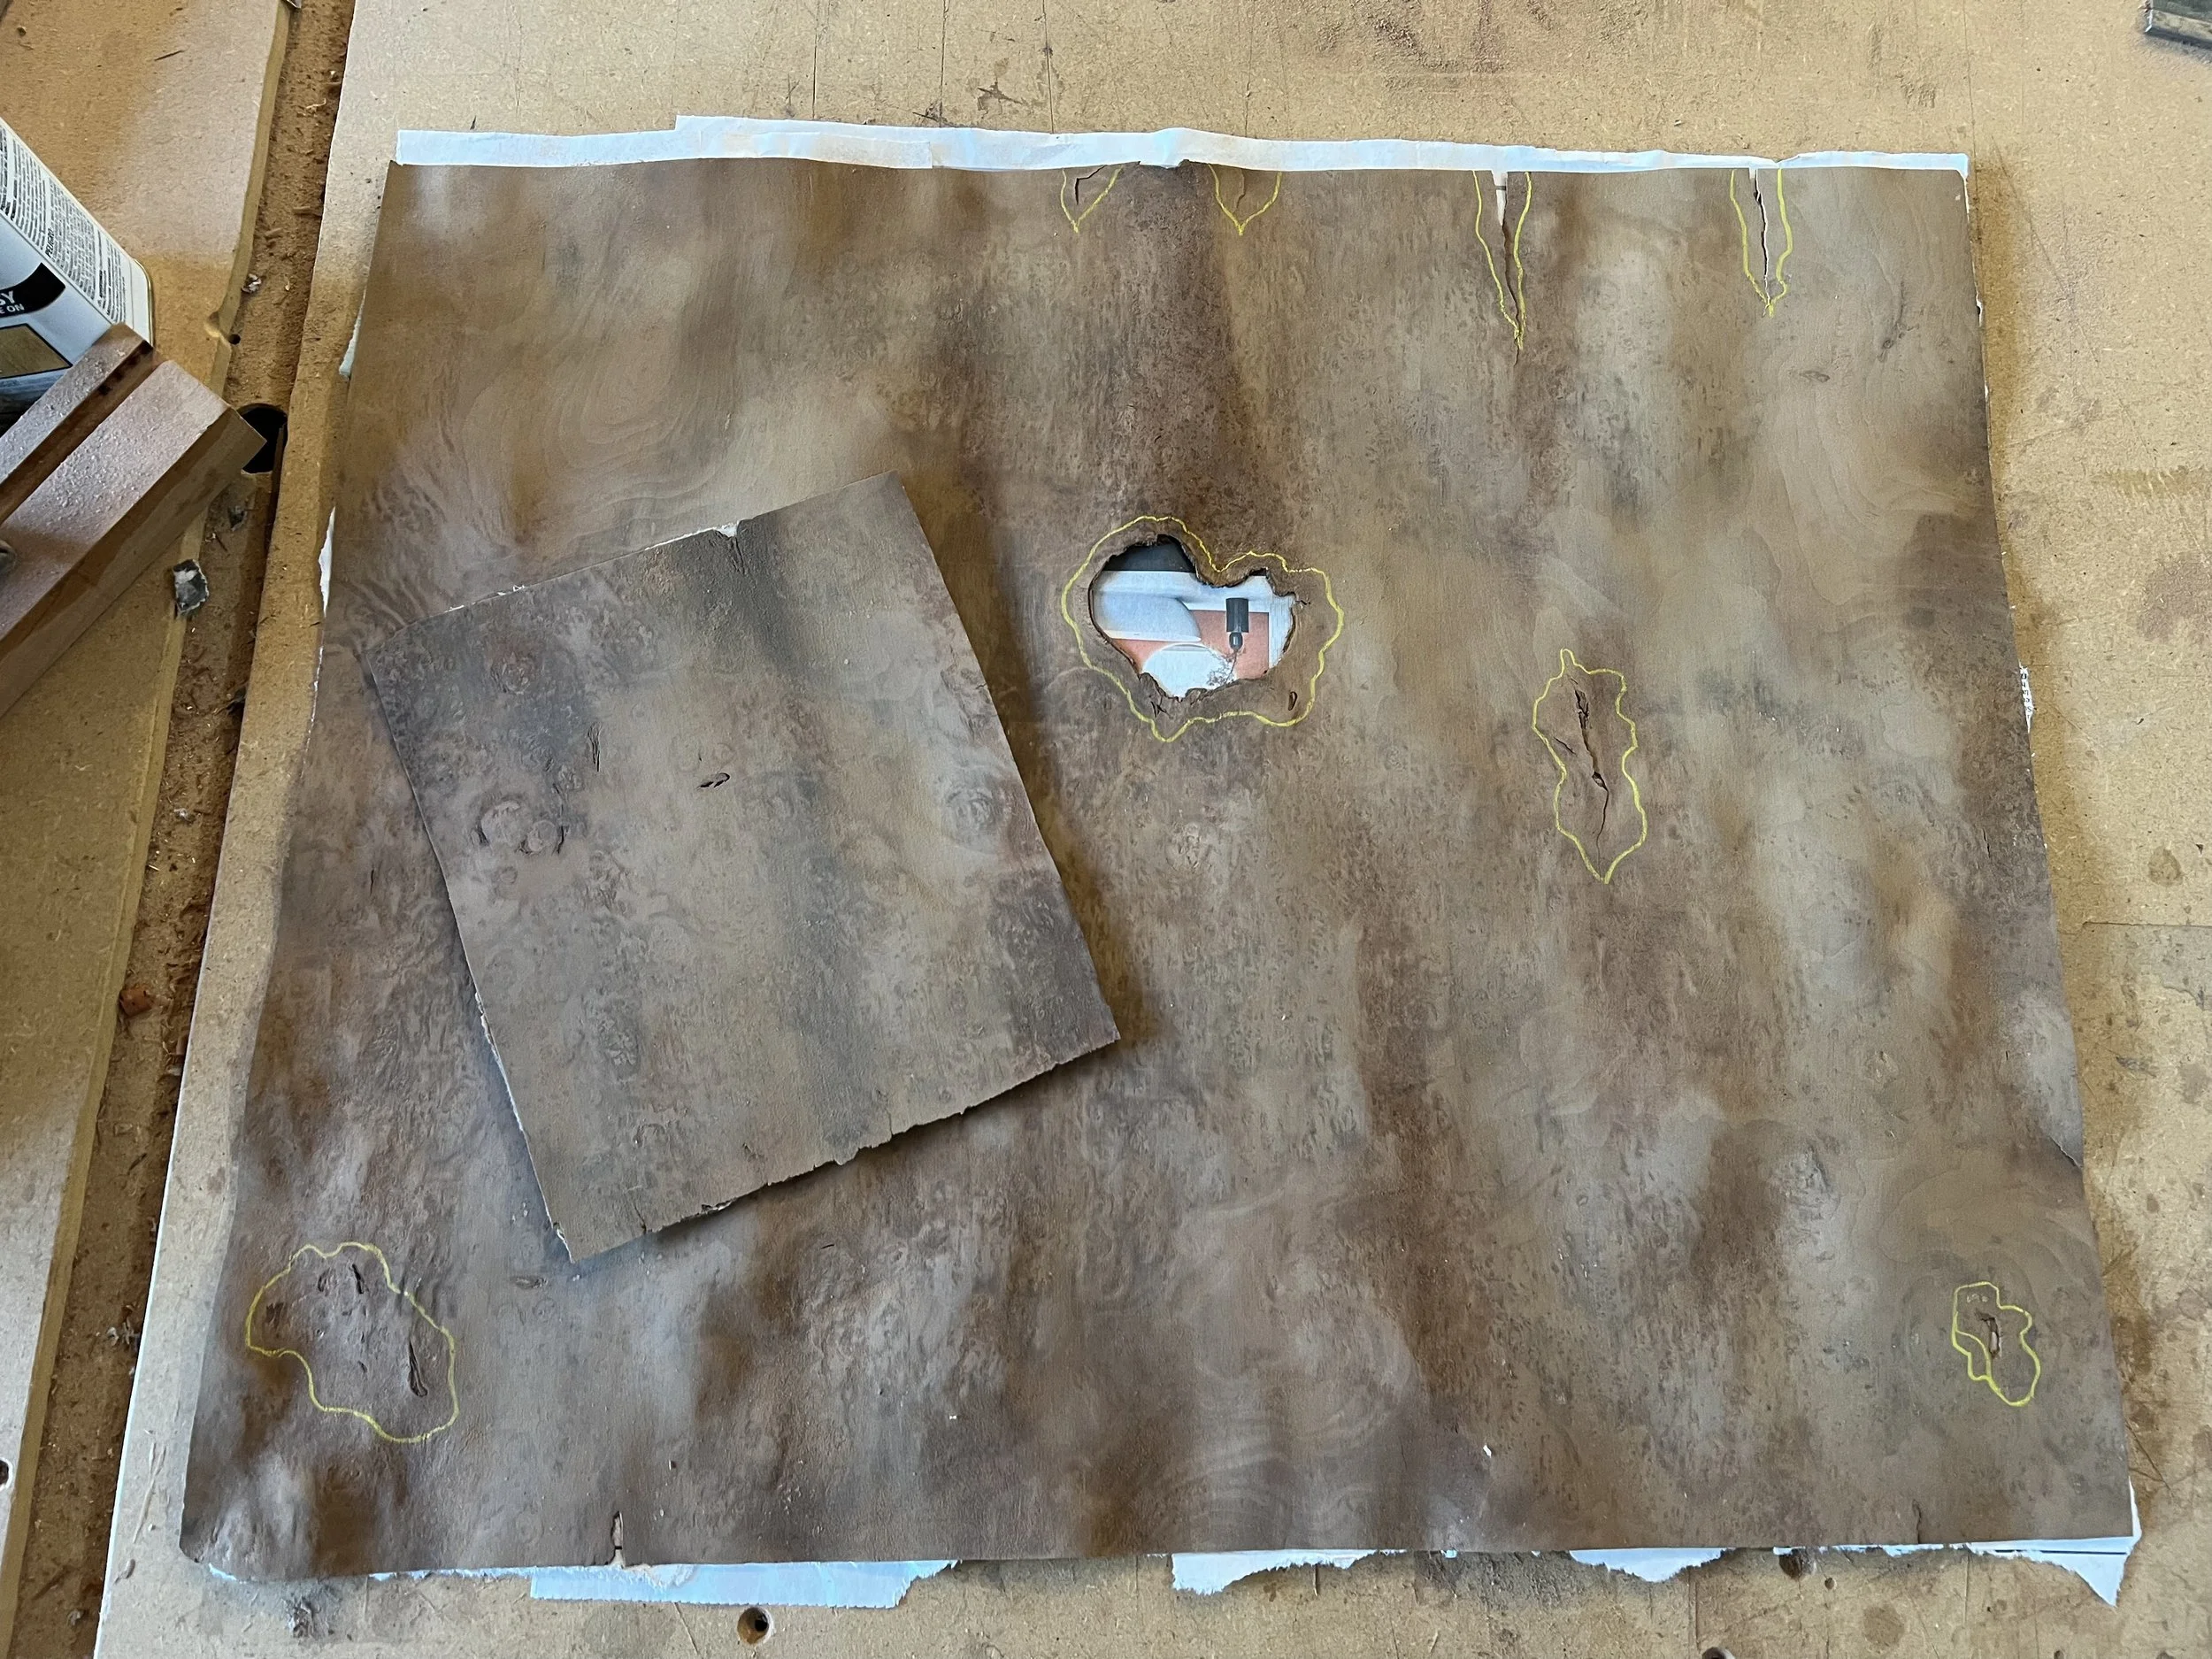
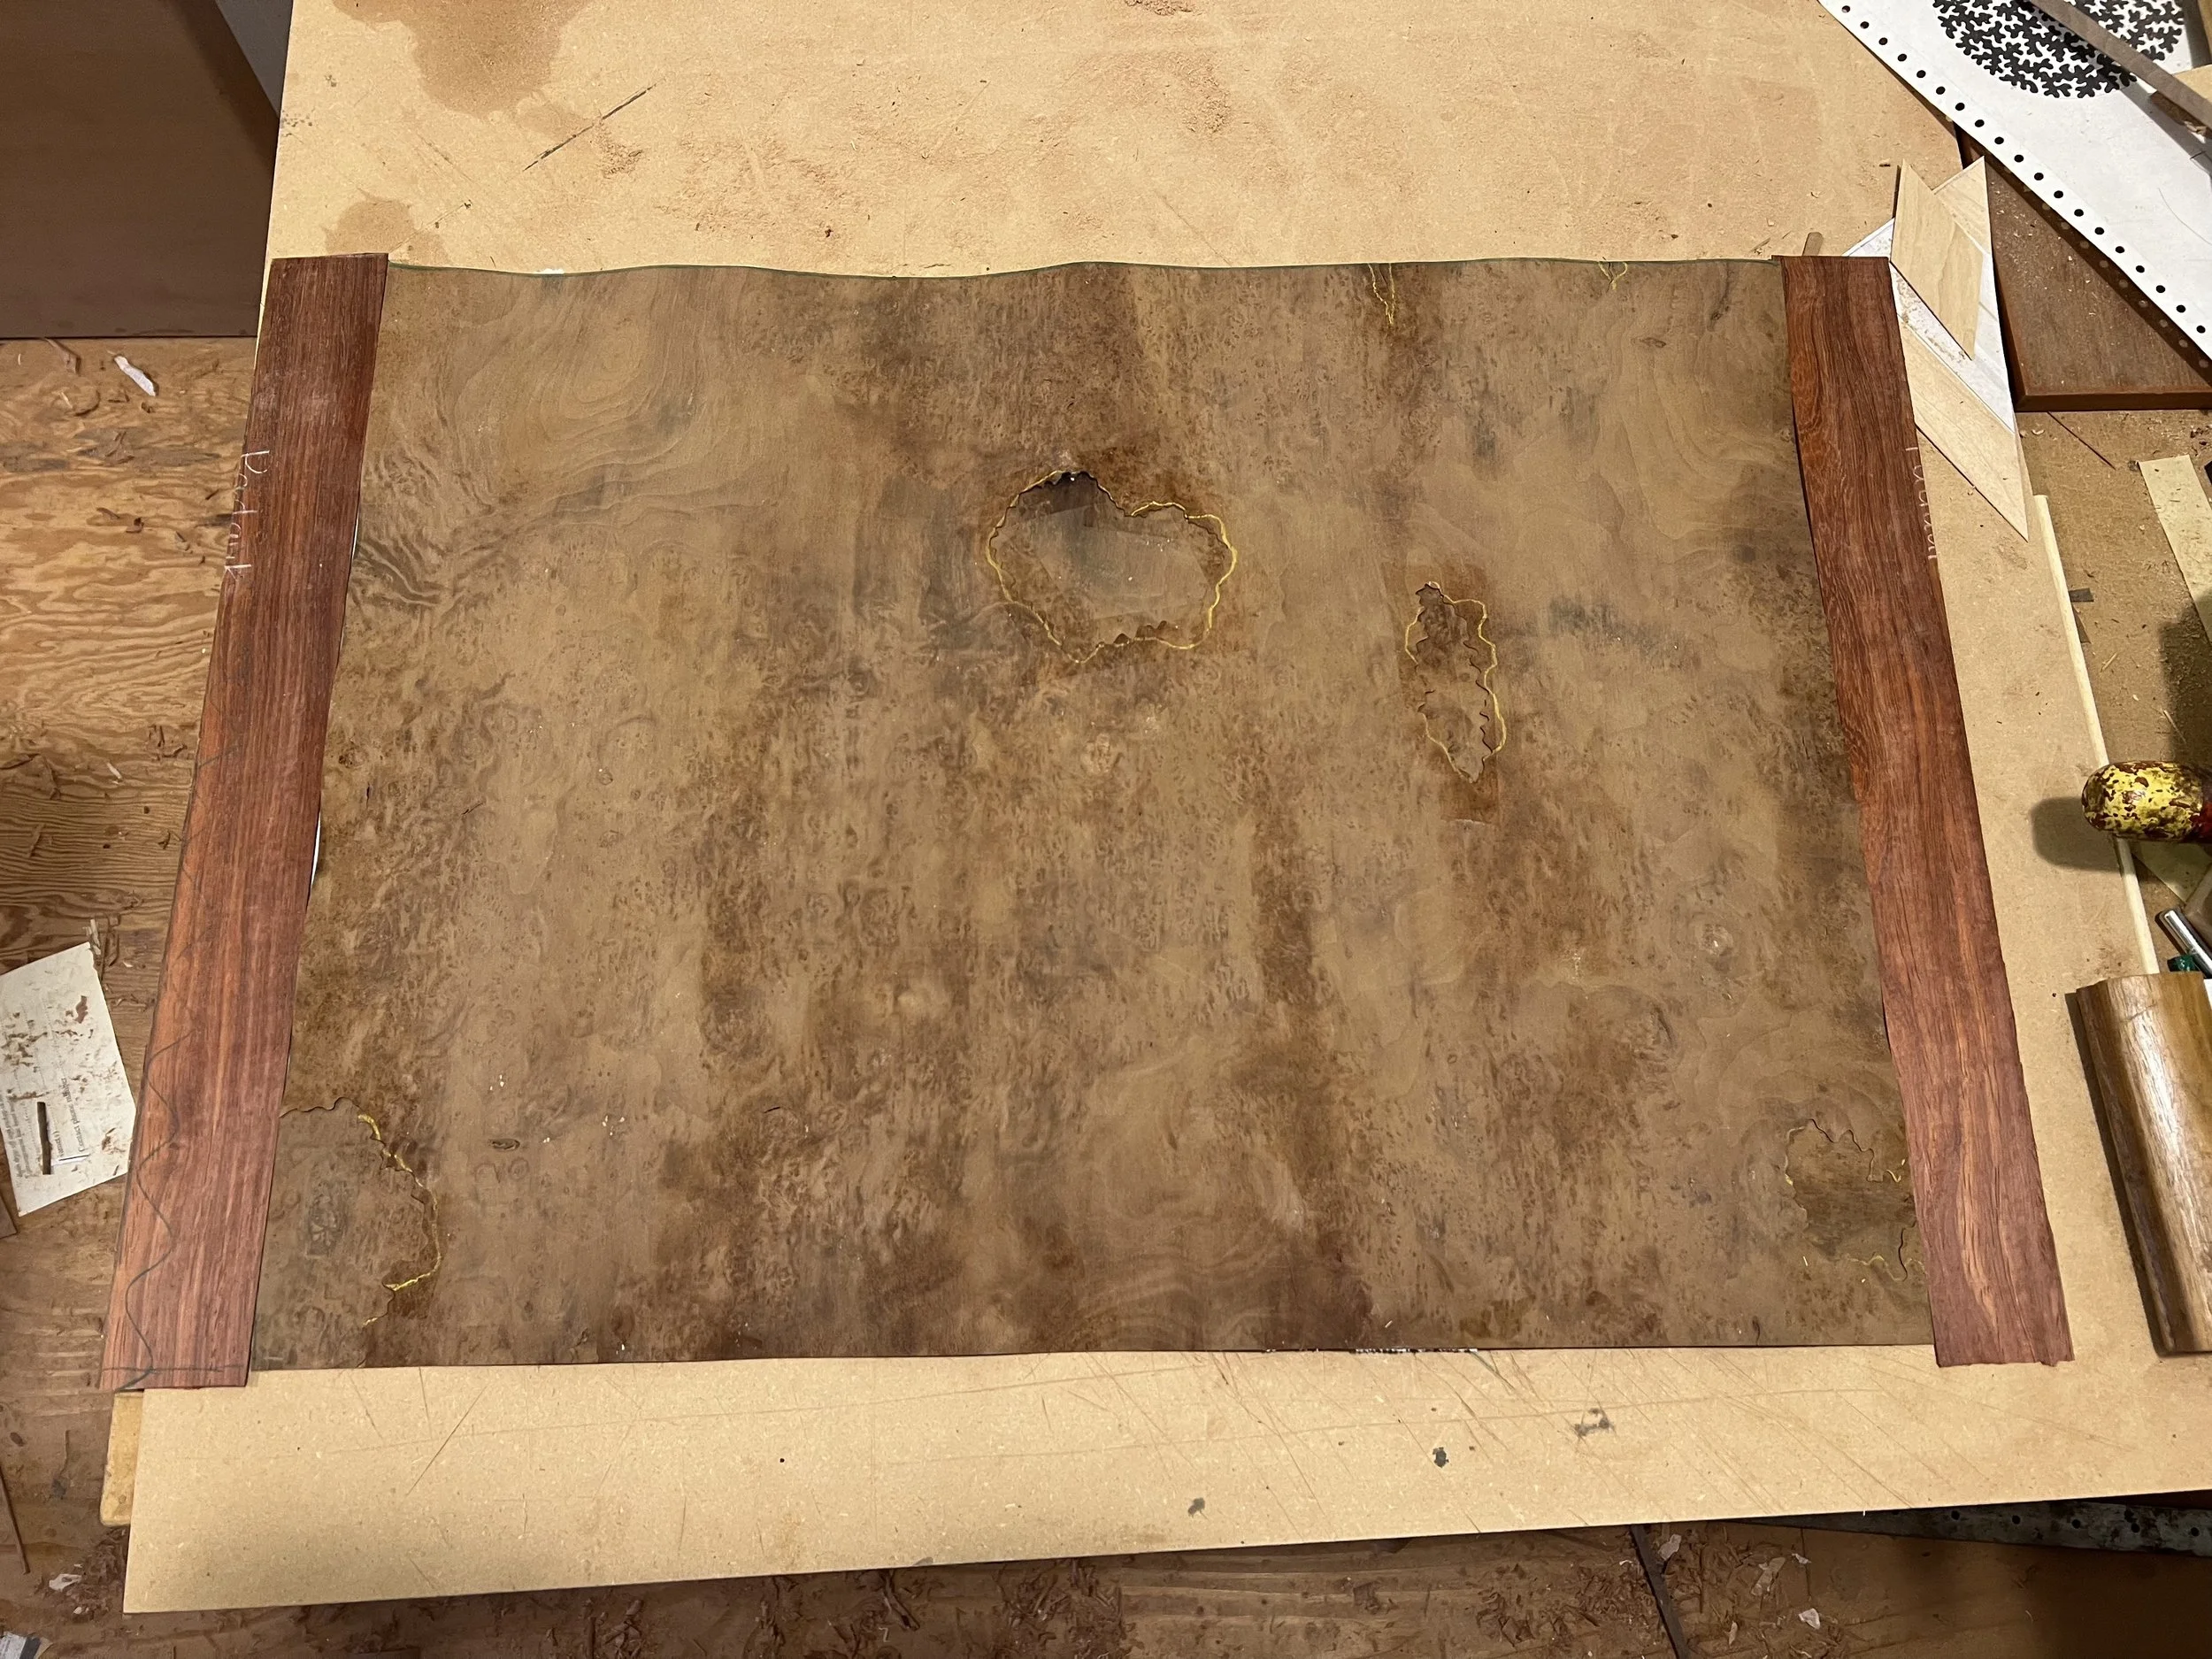
All the pieces of jarrah burl veneer had holes and cracks in them, which is typical for burls.
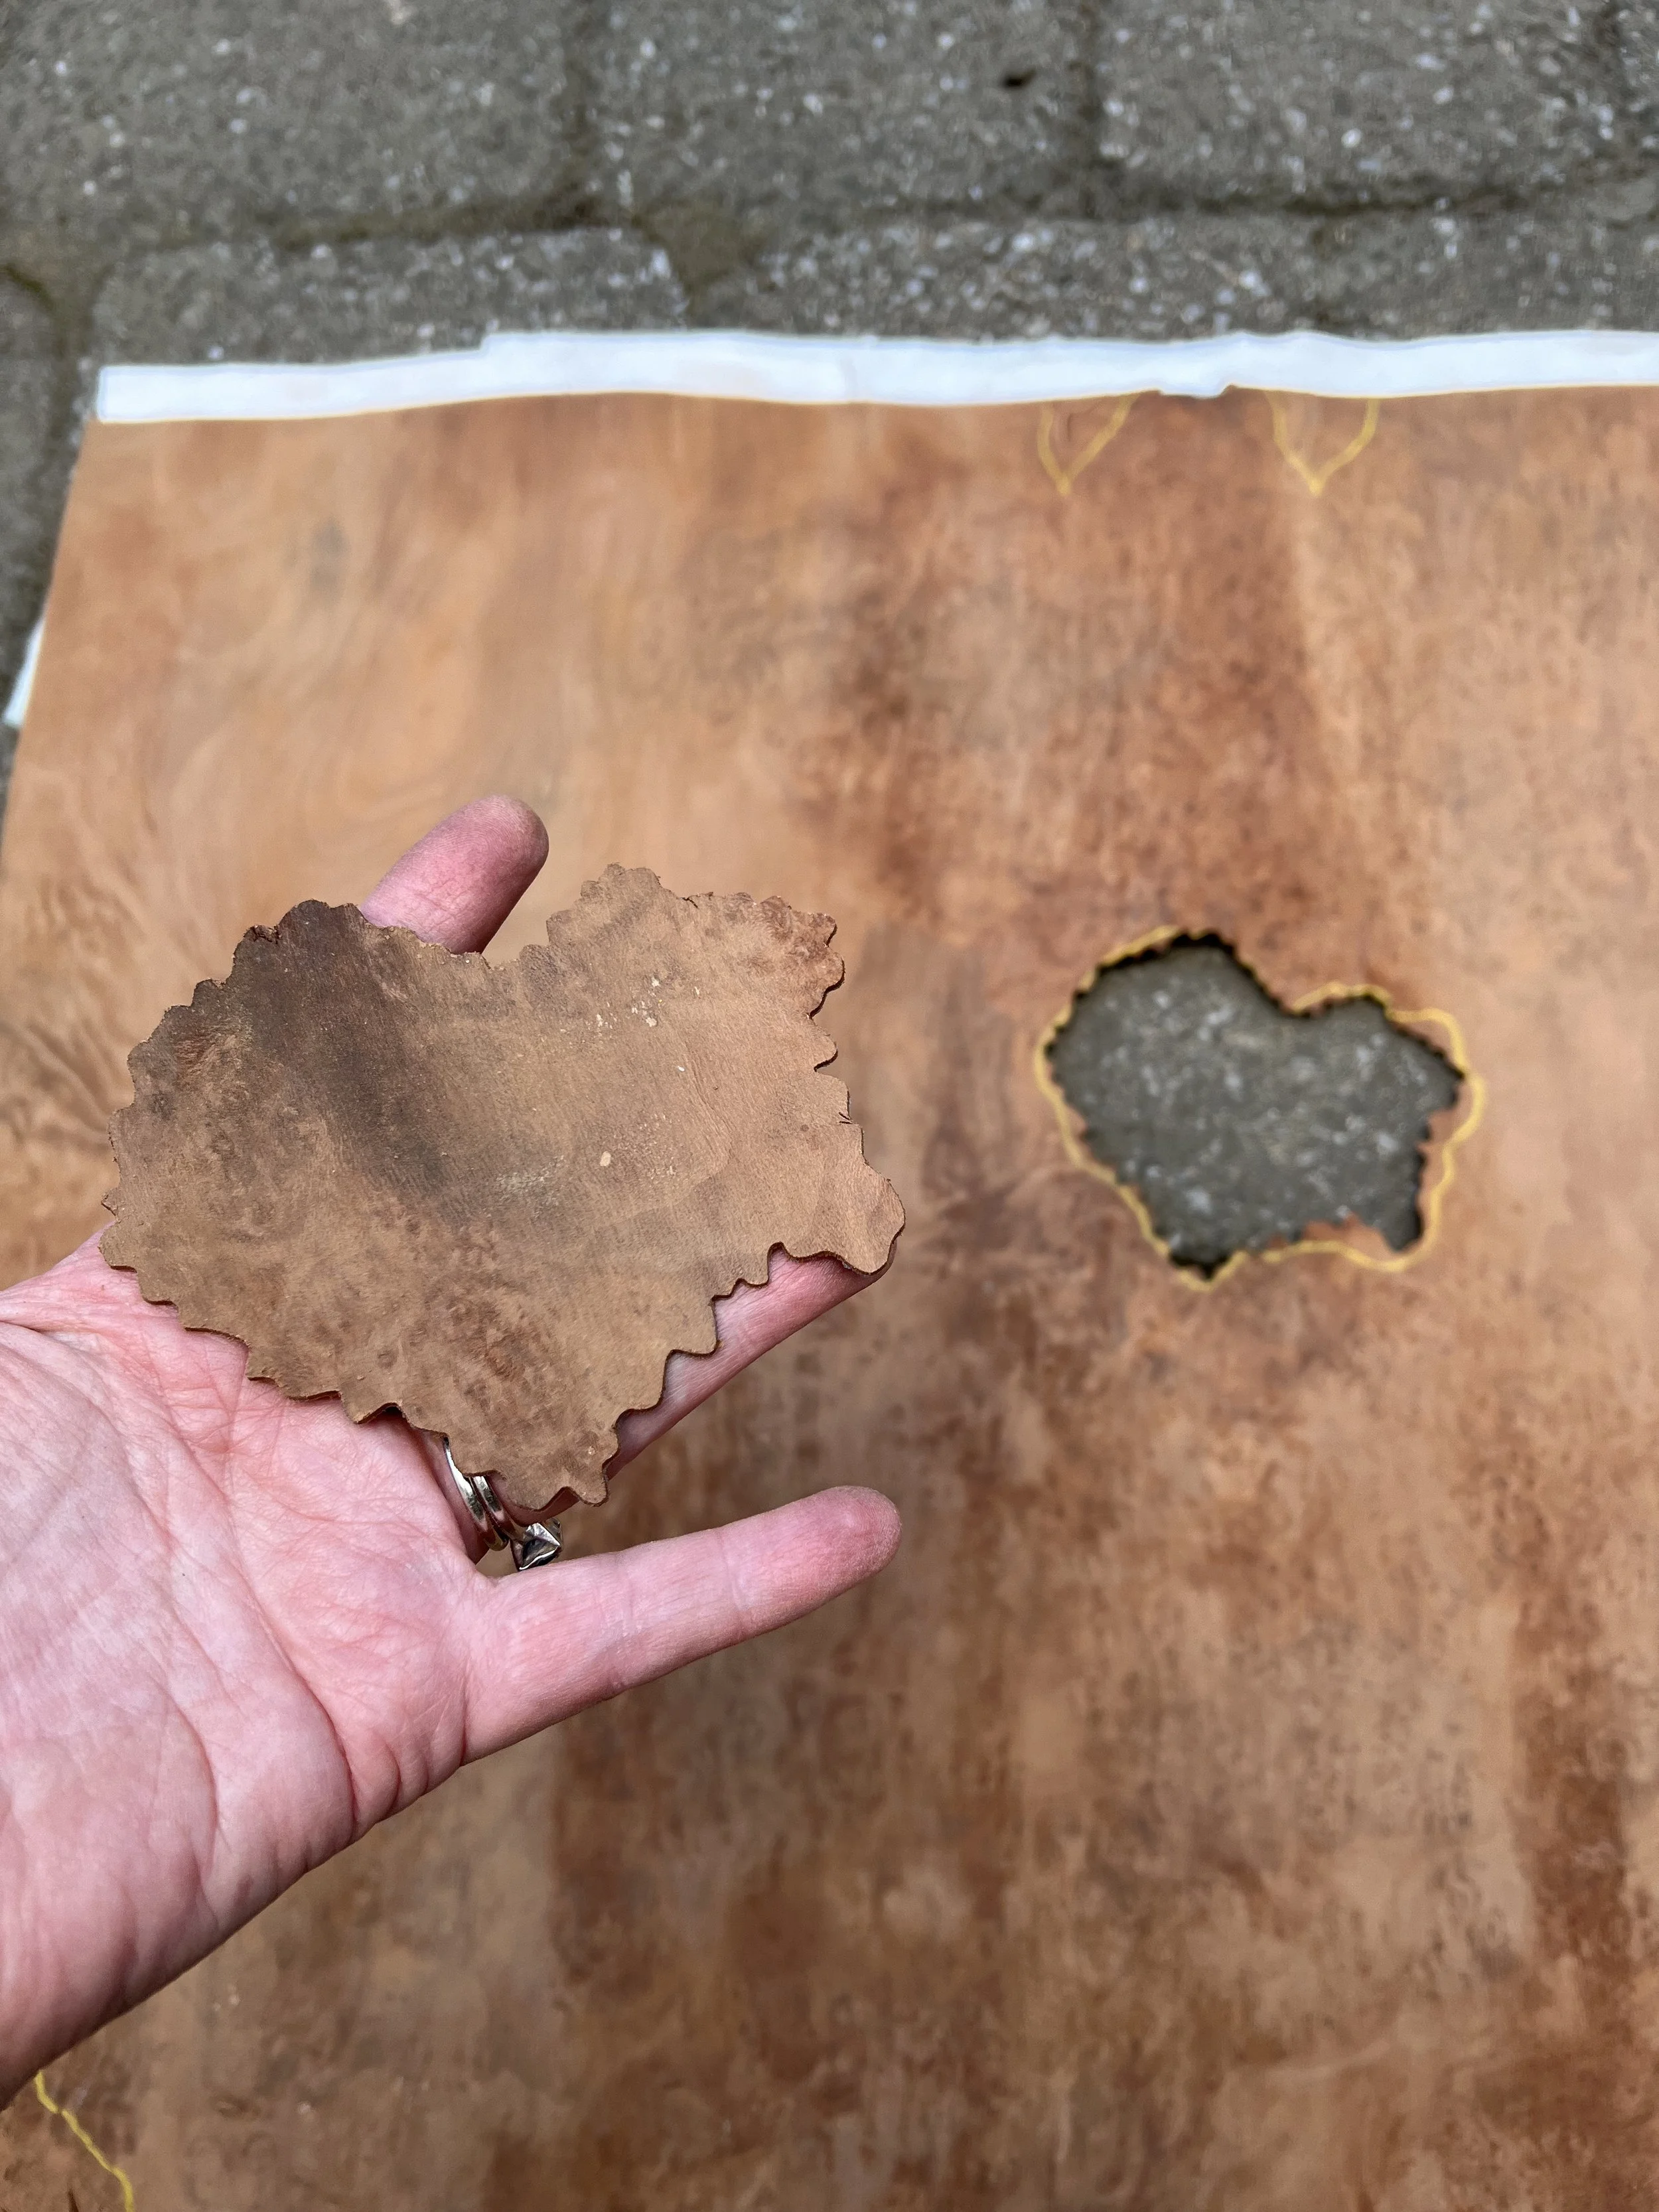
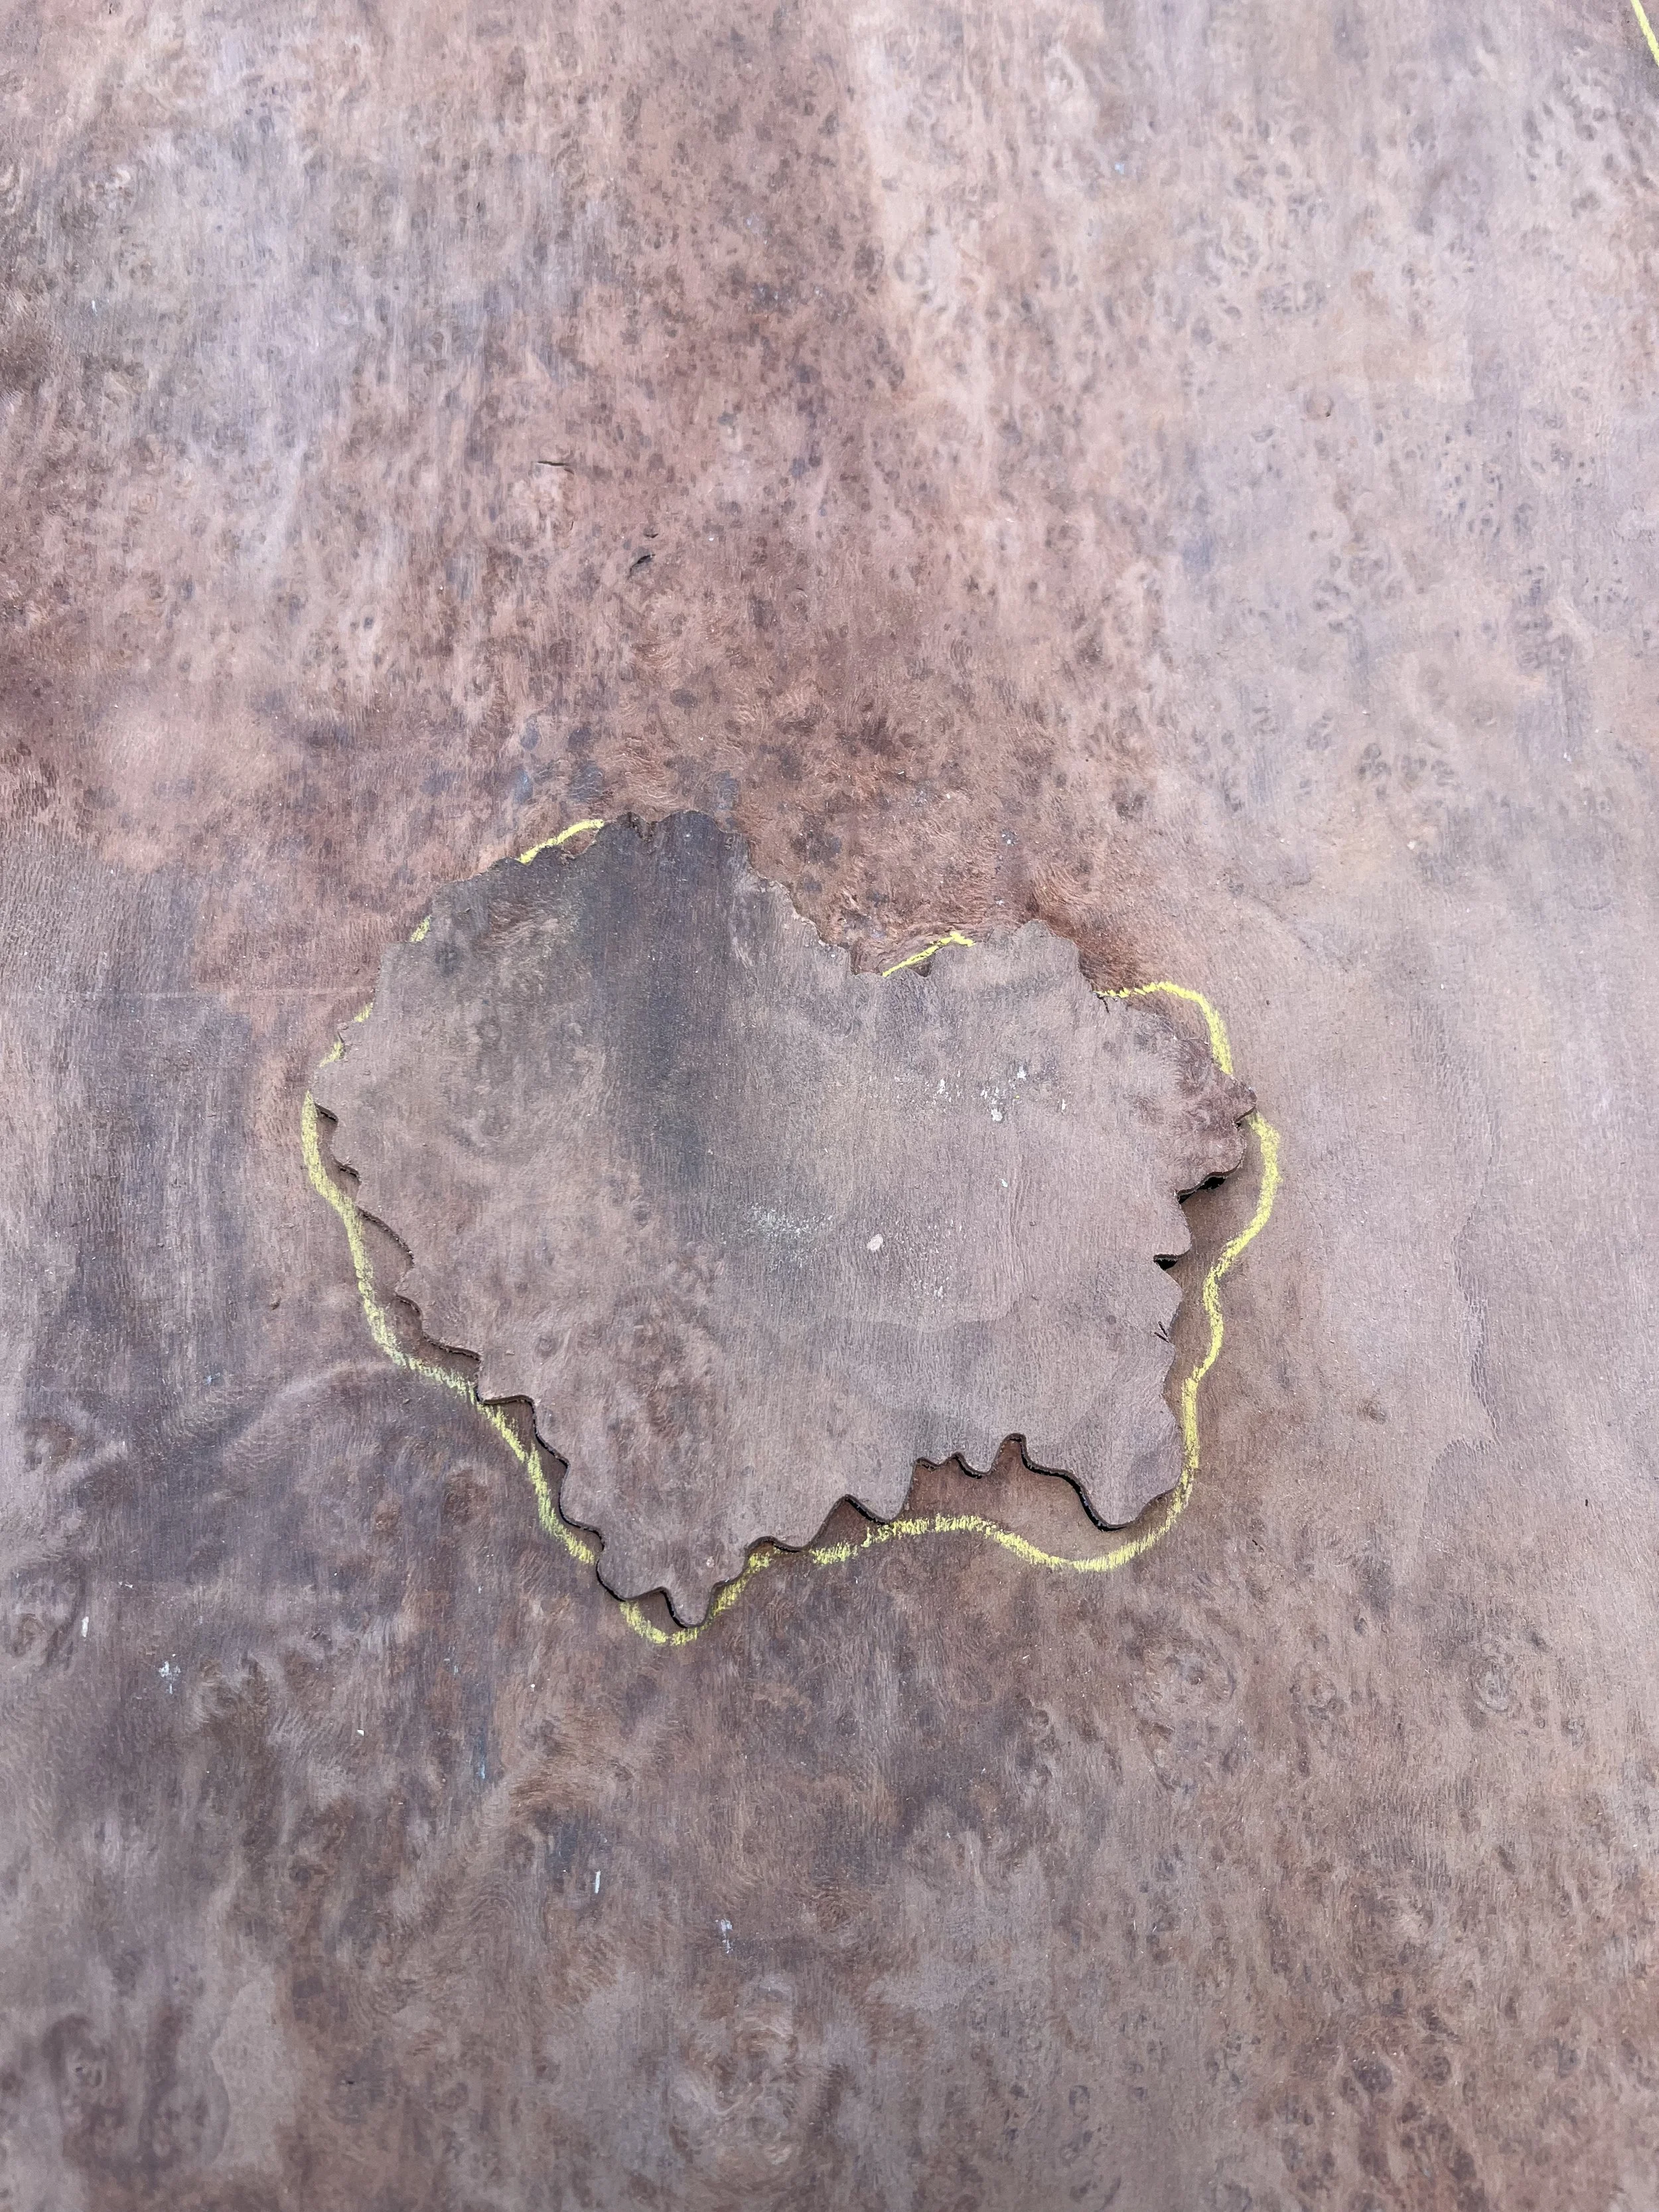
This wasn’t a problem, however, because I could use a smaller piece of the same burl veneer and make marquetry patches to fill in the holes.
Since burl has such an irregular texture, the patches blend in well and are not easily noticeable, especially once they are sanded and oiled.
The jarrah burl sheets were not quite wide enough for the top of my cabinet, so I made up the difference by making veneer out of some scraps of padauk and adding them to the sides, as shown in the picture above.
I glued all the veneer onto a piece of MDF, sanded it, and trimmed the edges to fit my cabinet top.
I had set aside some pieces of padauk from my original board months earlier to make the sides of the cabinet cap, and now I could cut them down to size.
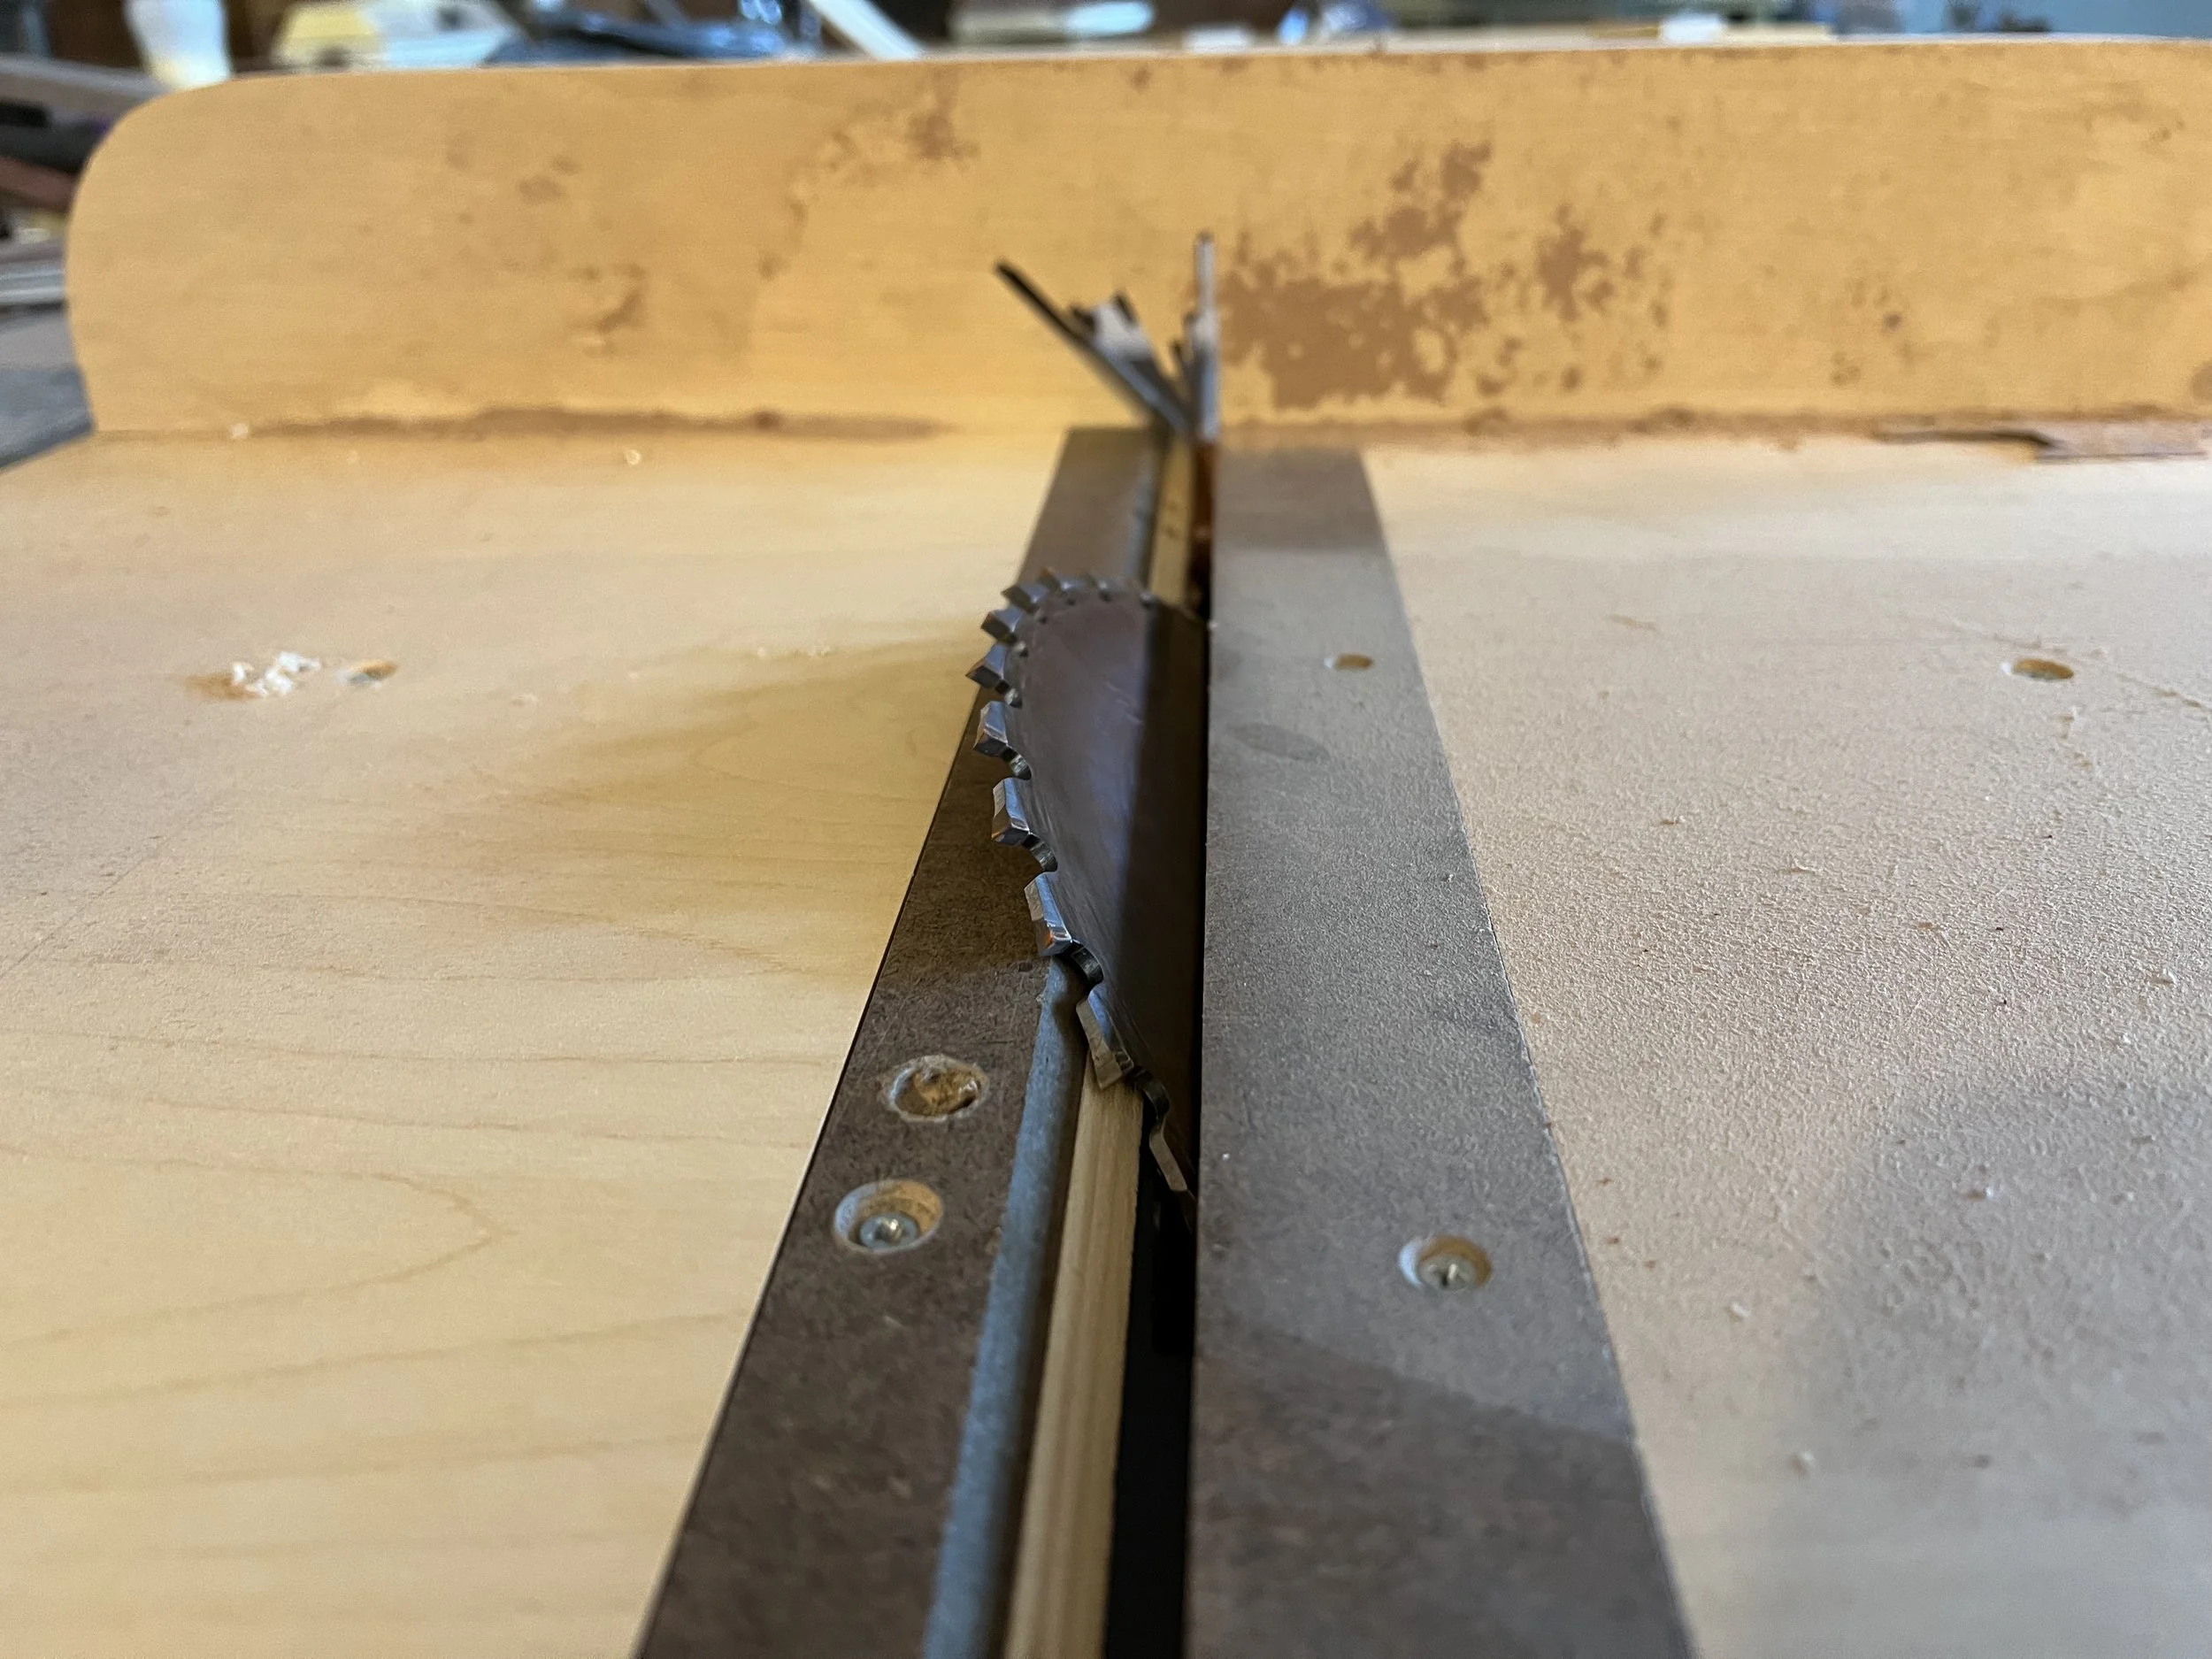
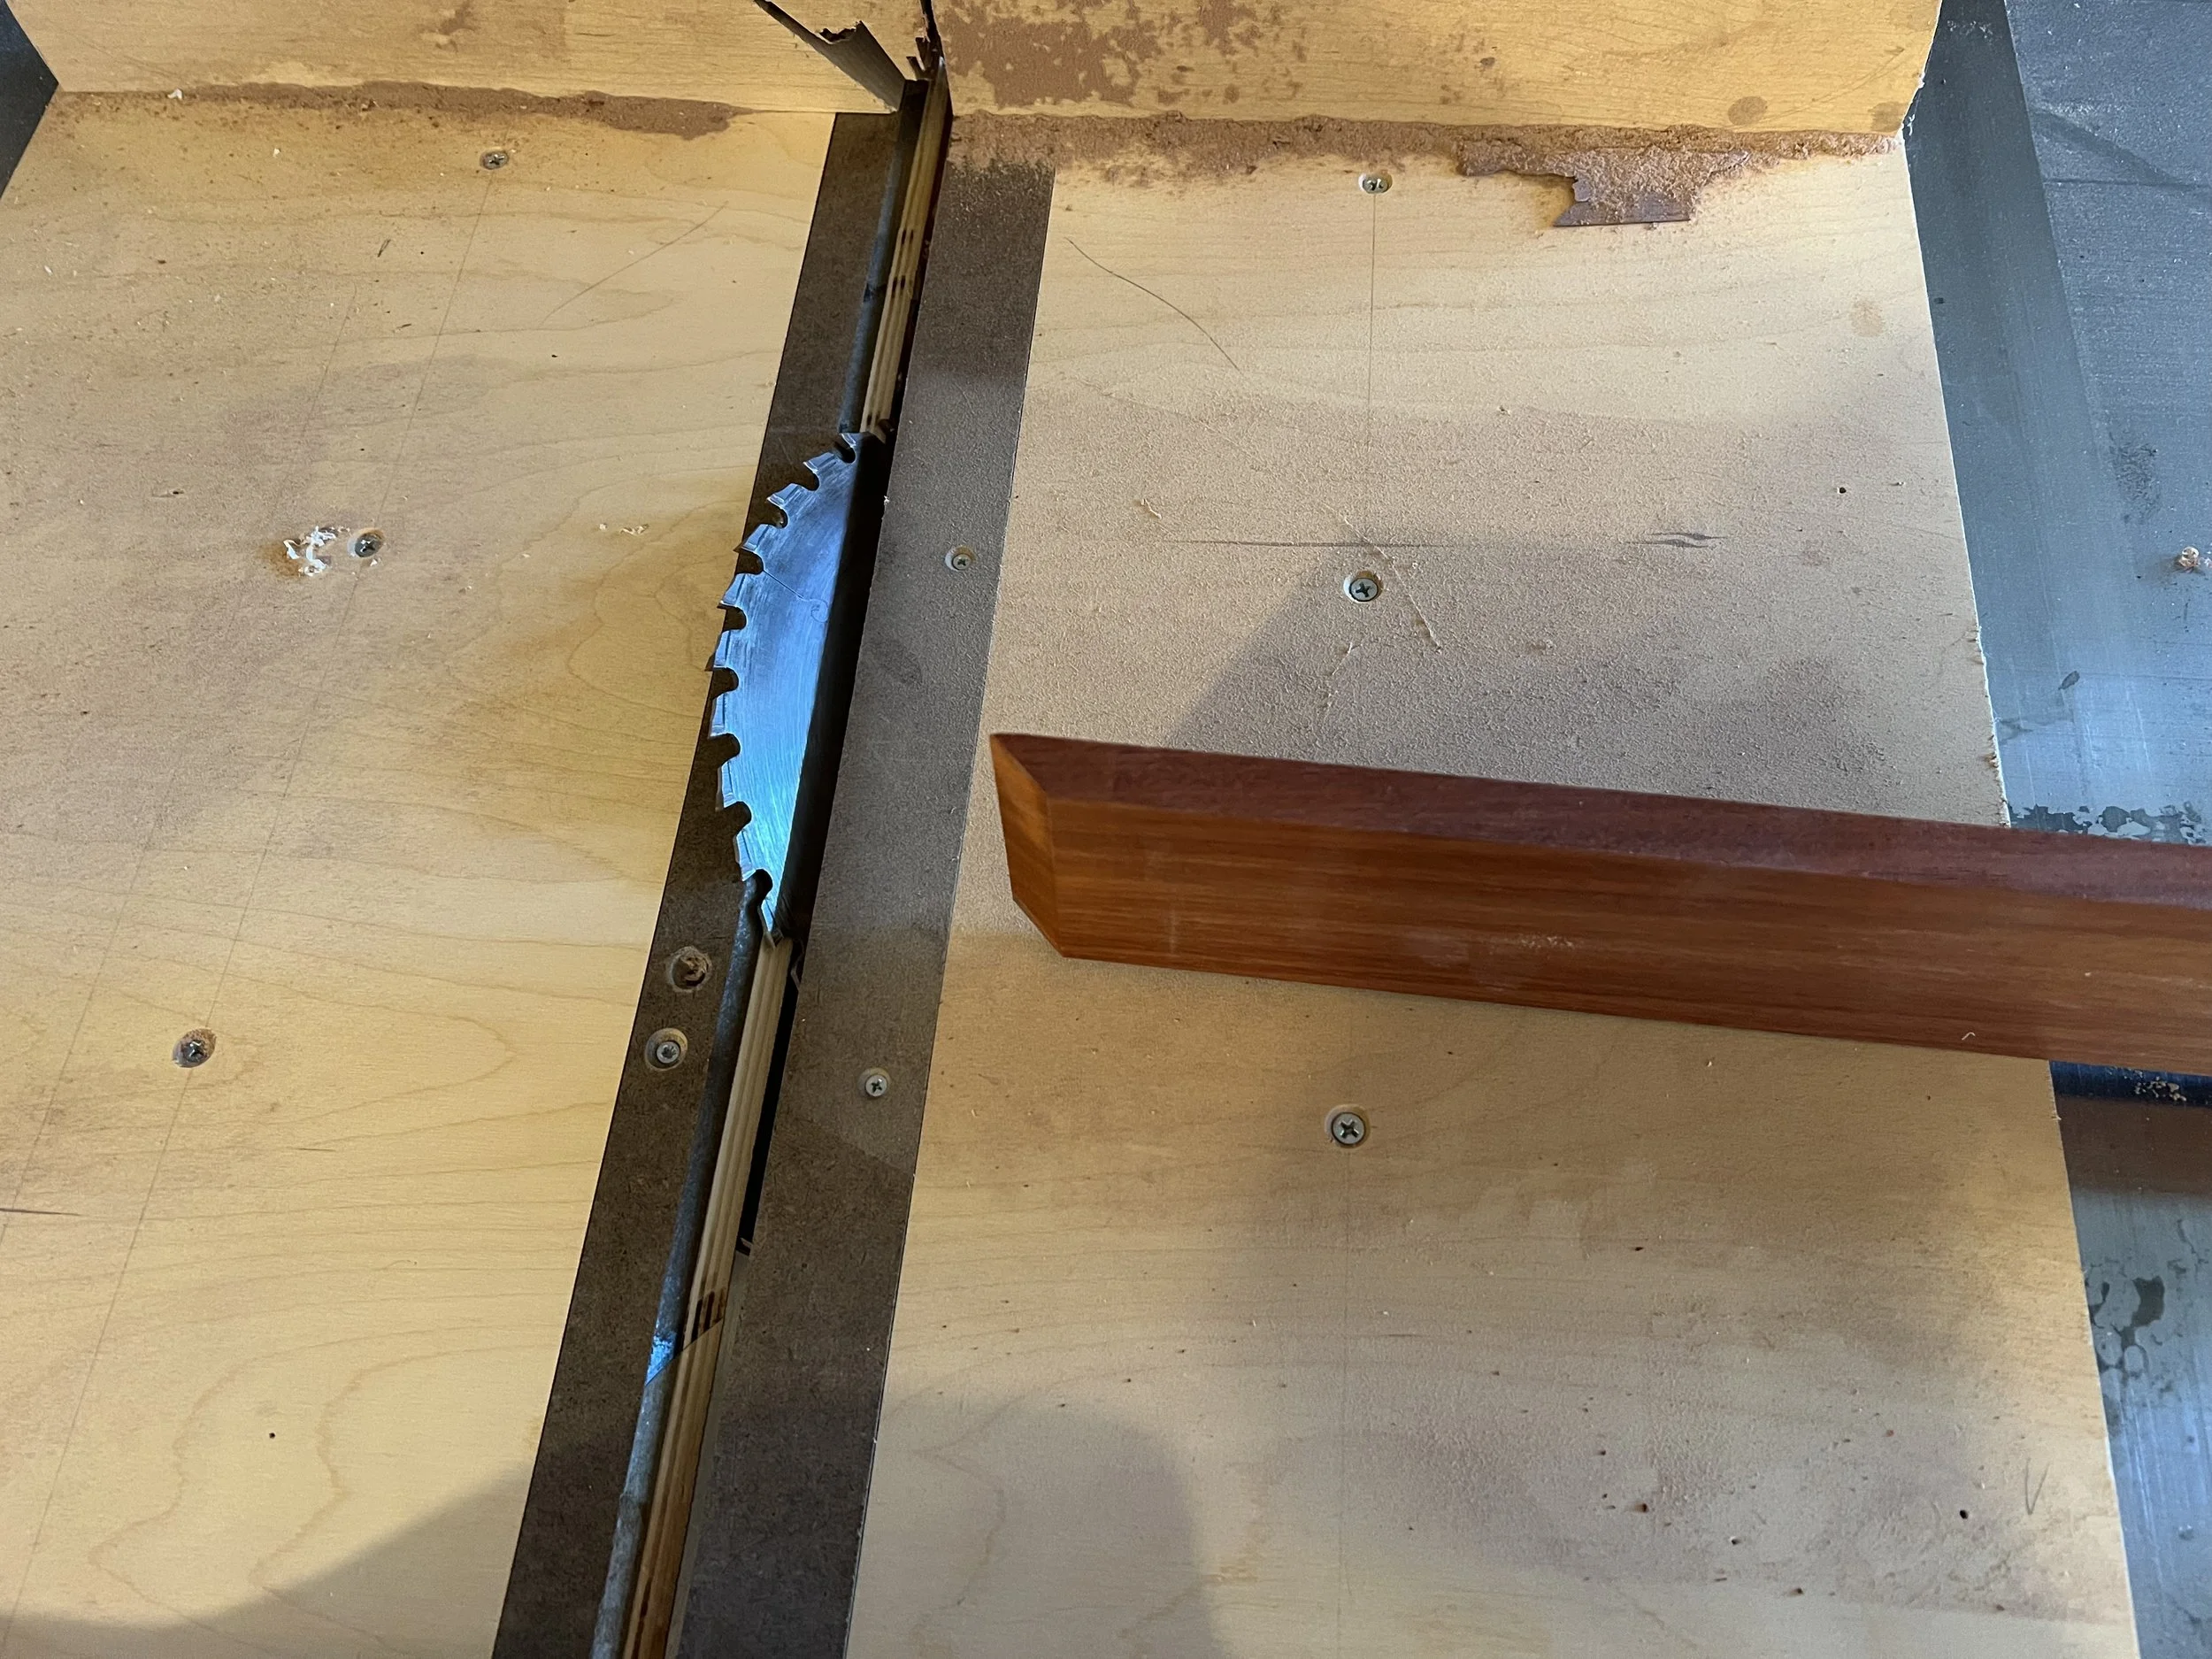
For the front corners of the cap, I mitered the boards, cutting them at a 45º angle so that they would fit together with the joint between them being almost invisible. In order to do this, I adjusted the table saw blade so that it was at a 45º angle.
I used biscuit joints to attach the sides of the cap to the top of the cap.
From the top, the cap of the cabinet look like this.
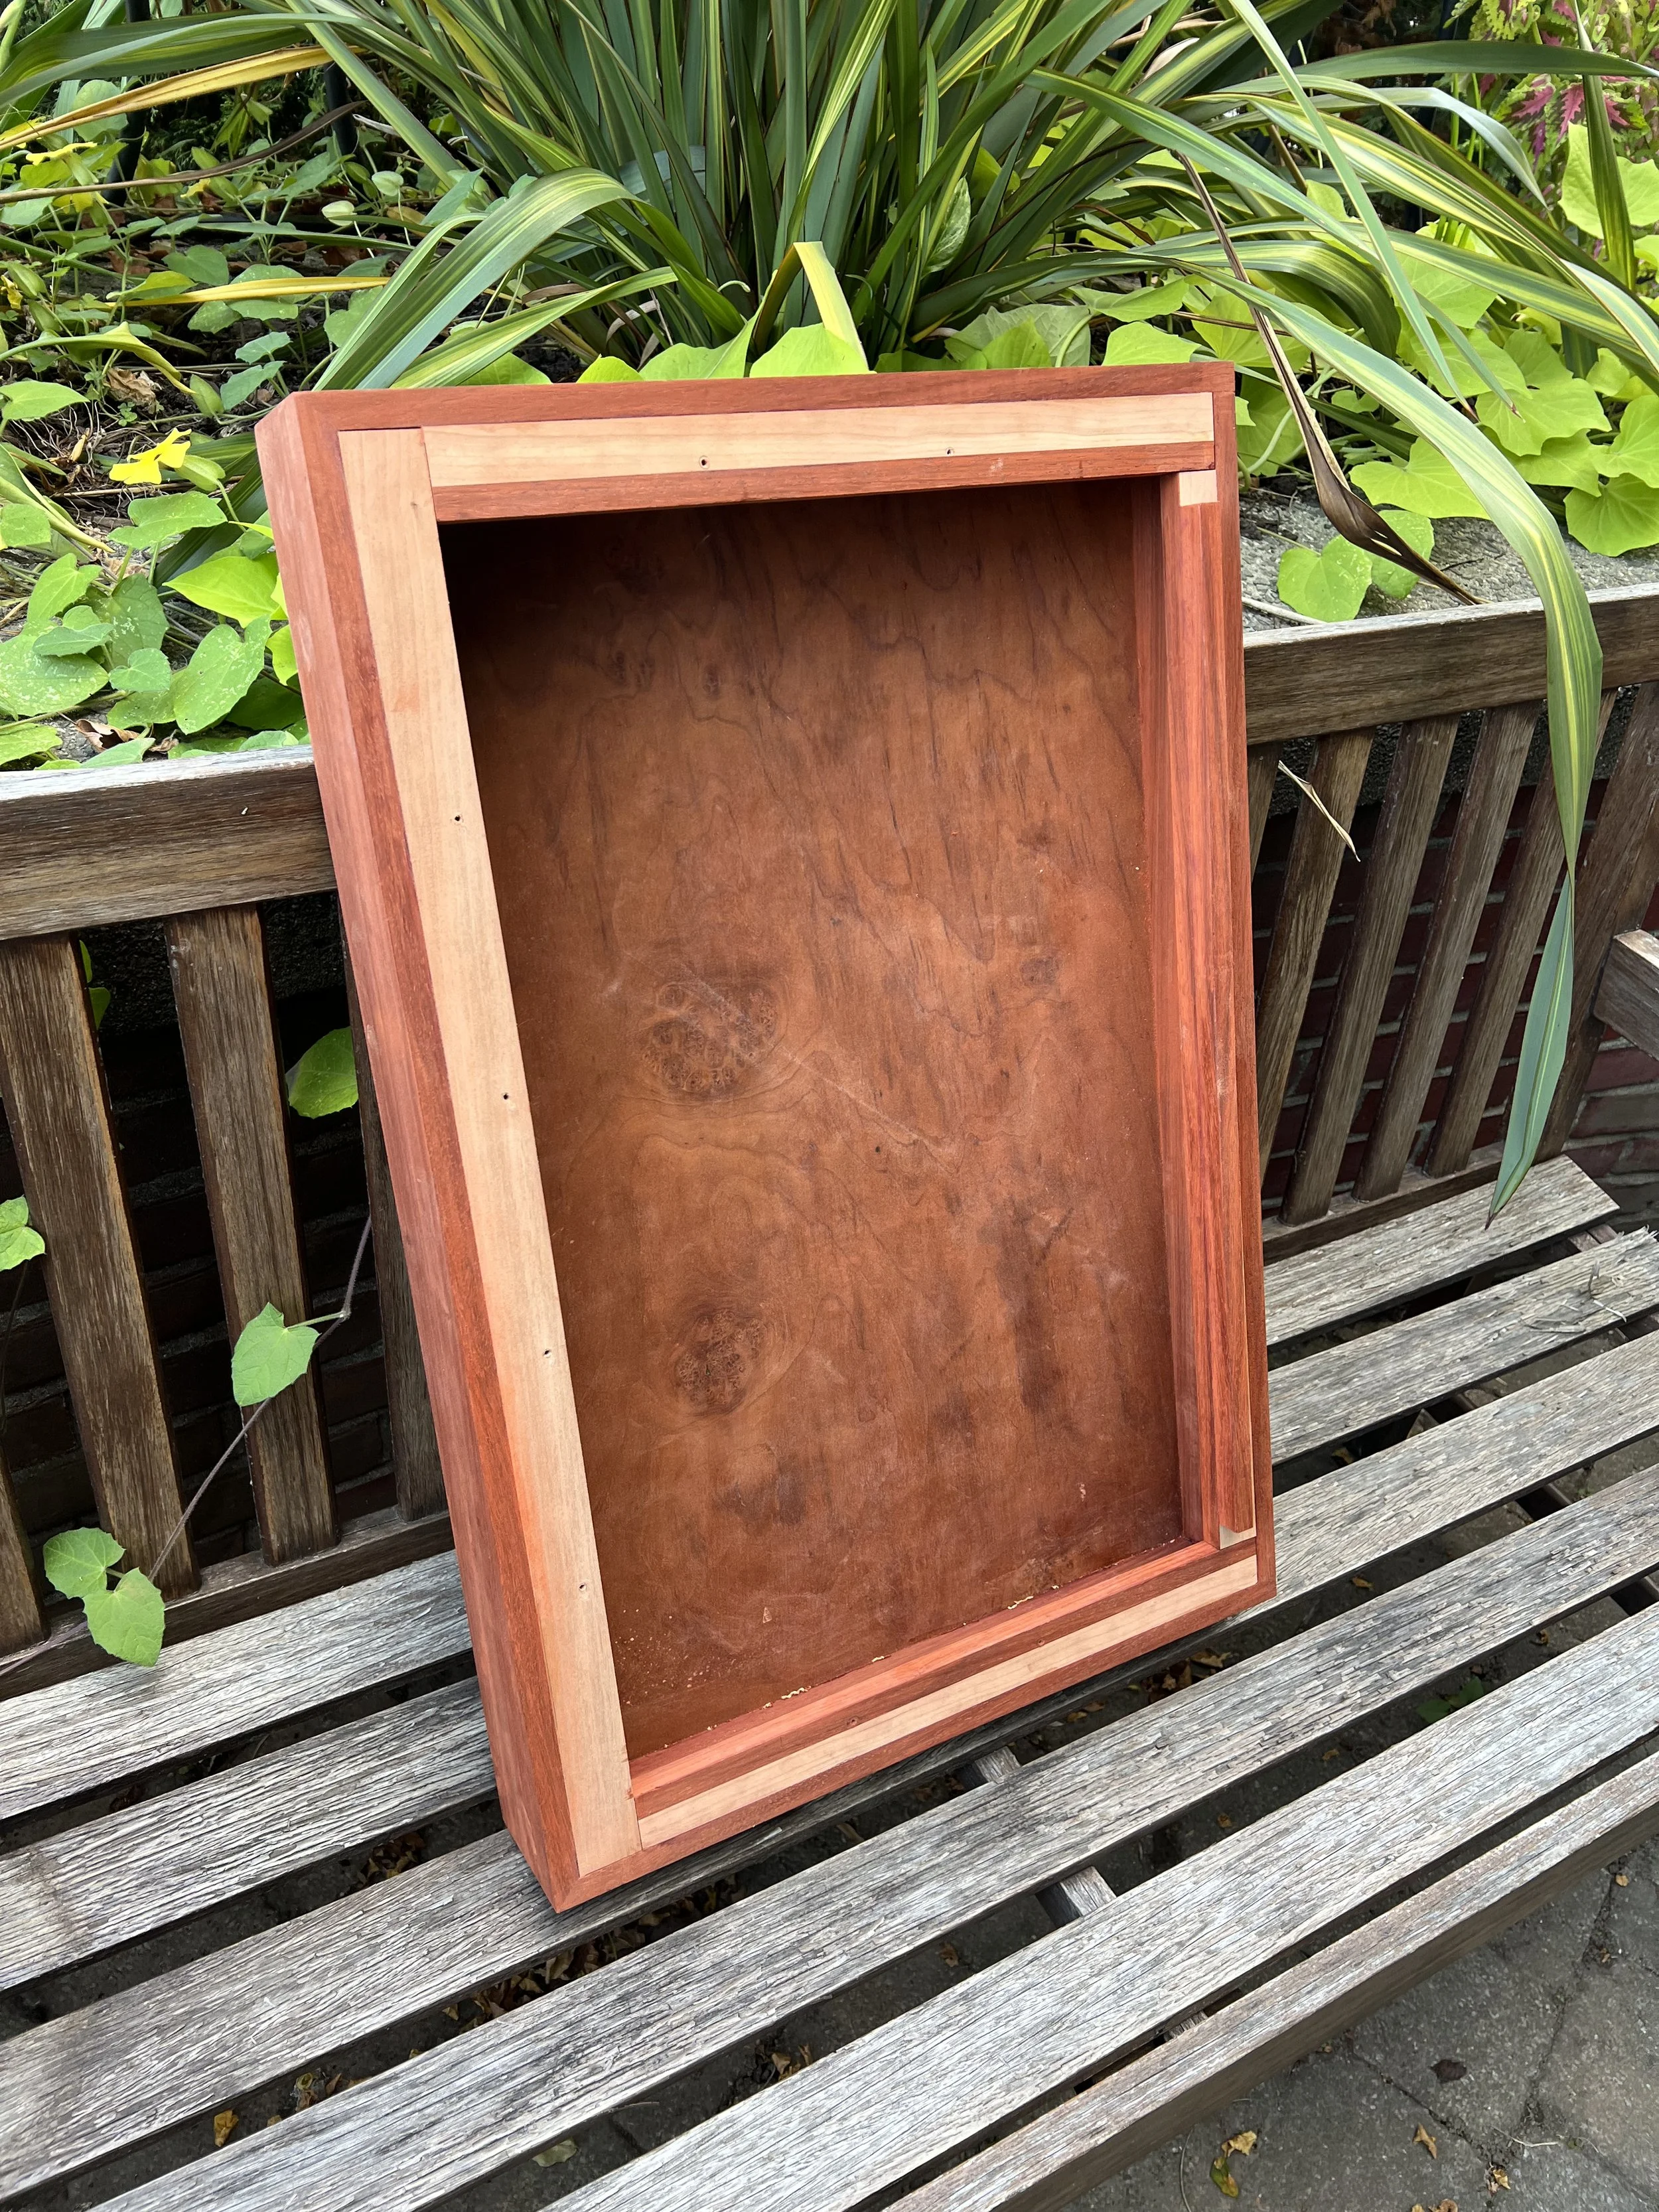
I glued strips of solid wood (cherry and padauk) to the undersides of the cap, so that there would be material to drill into when I screwed the cap to the rest of the cabinet.
Since the padauk on the cap had been cut and sanded more recently than the padauk on the rest of the cabinet, the cap was much more orange when I first placed it on the top. This did not last long, however, as the cap darkened quickly as it was exposed to sunlight.

