Backyard Birds – Part 28
Glue-Up Time!
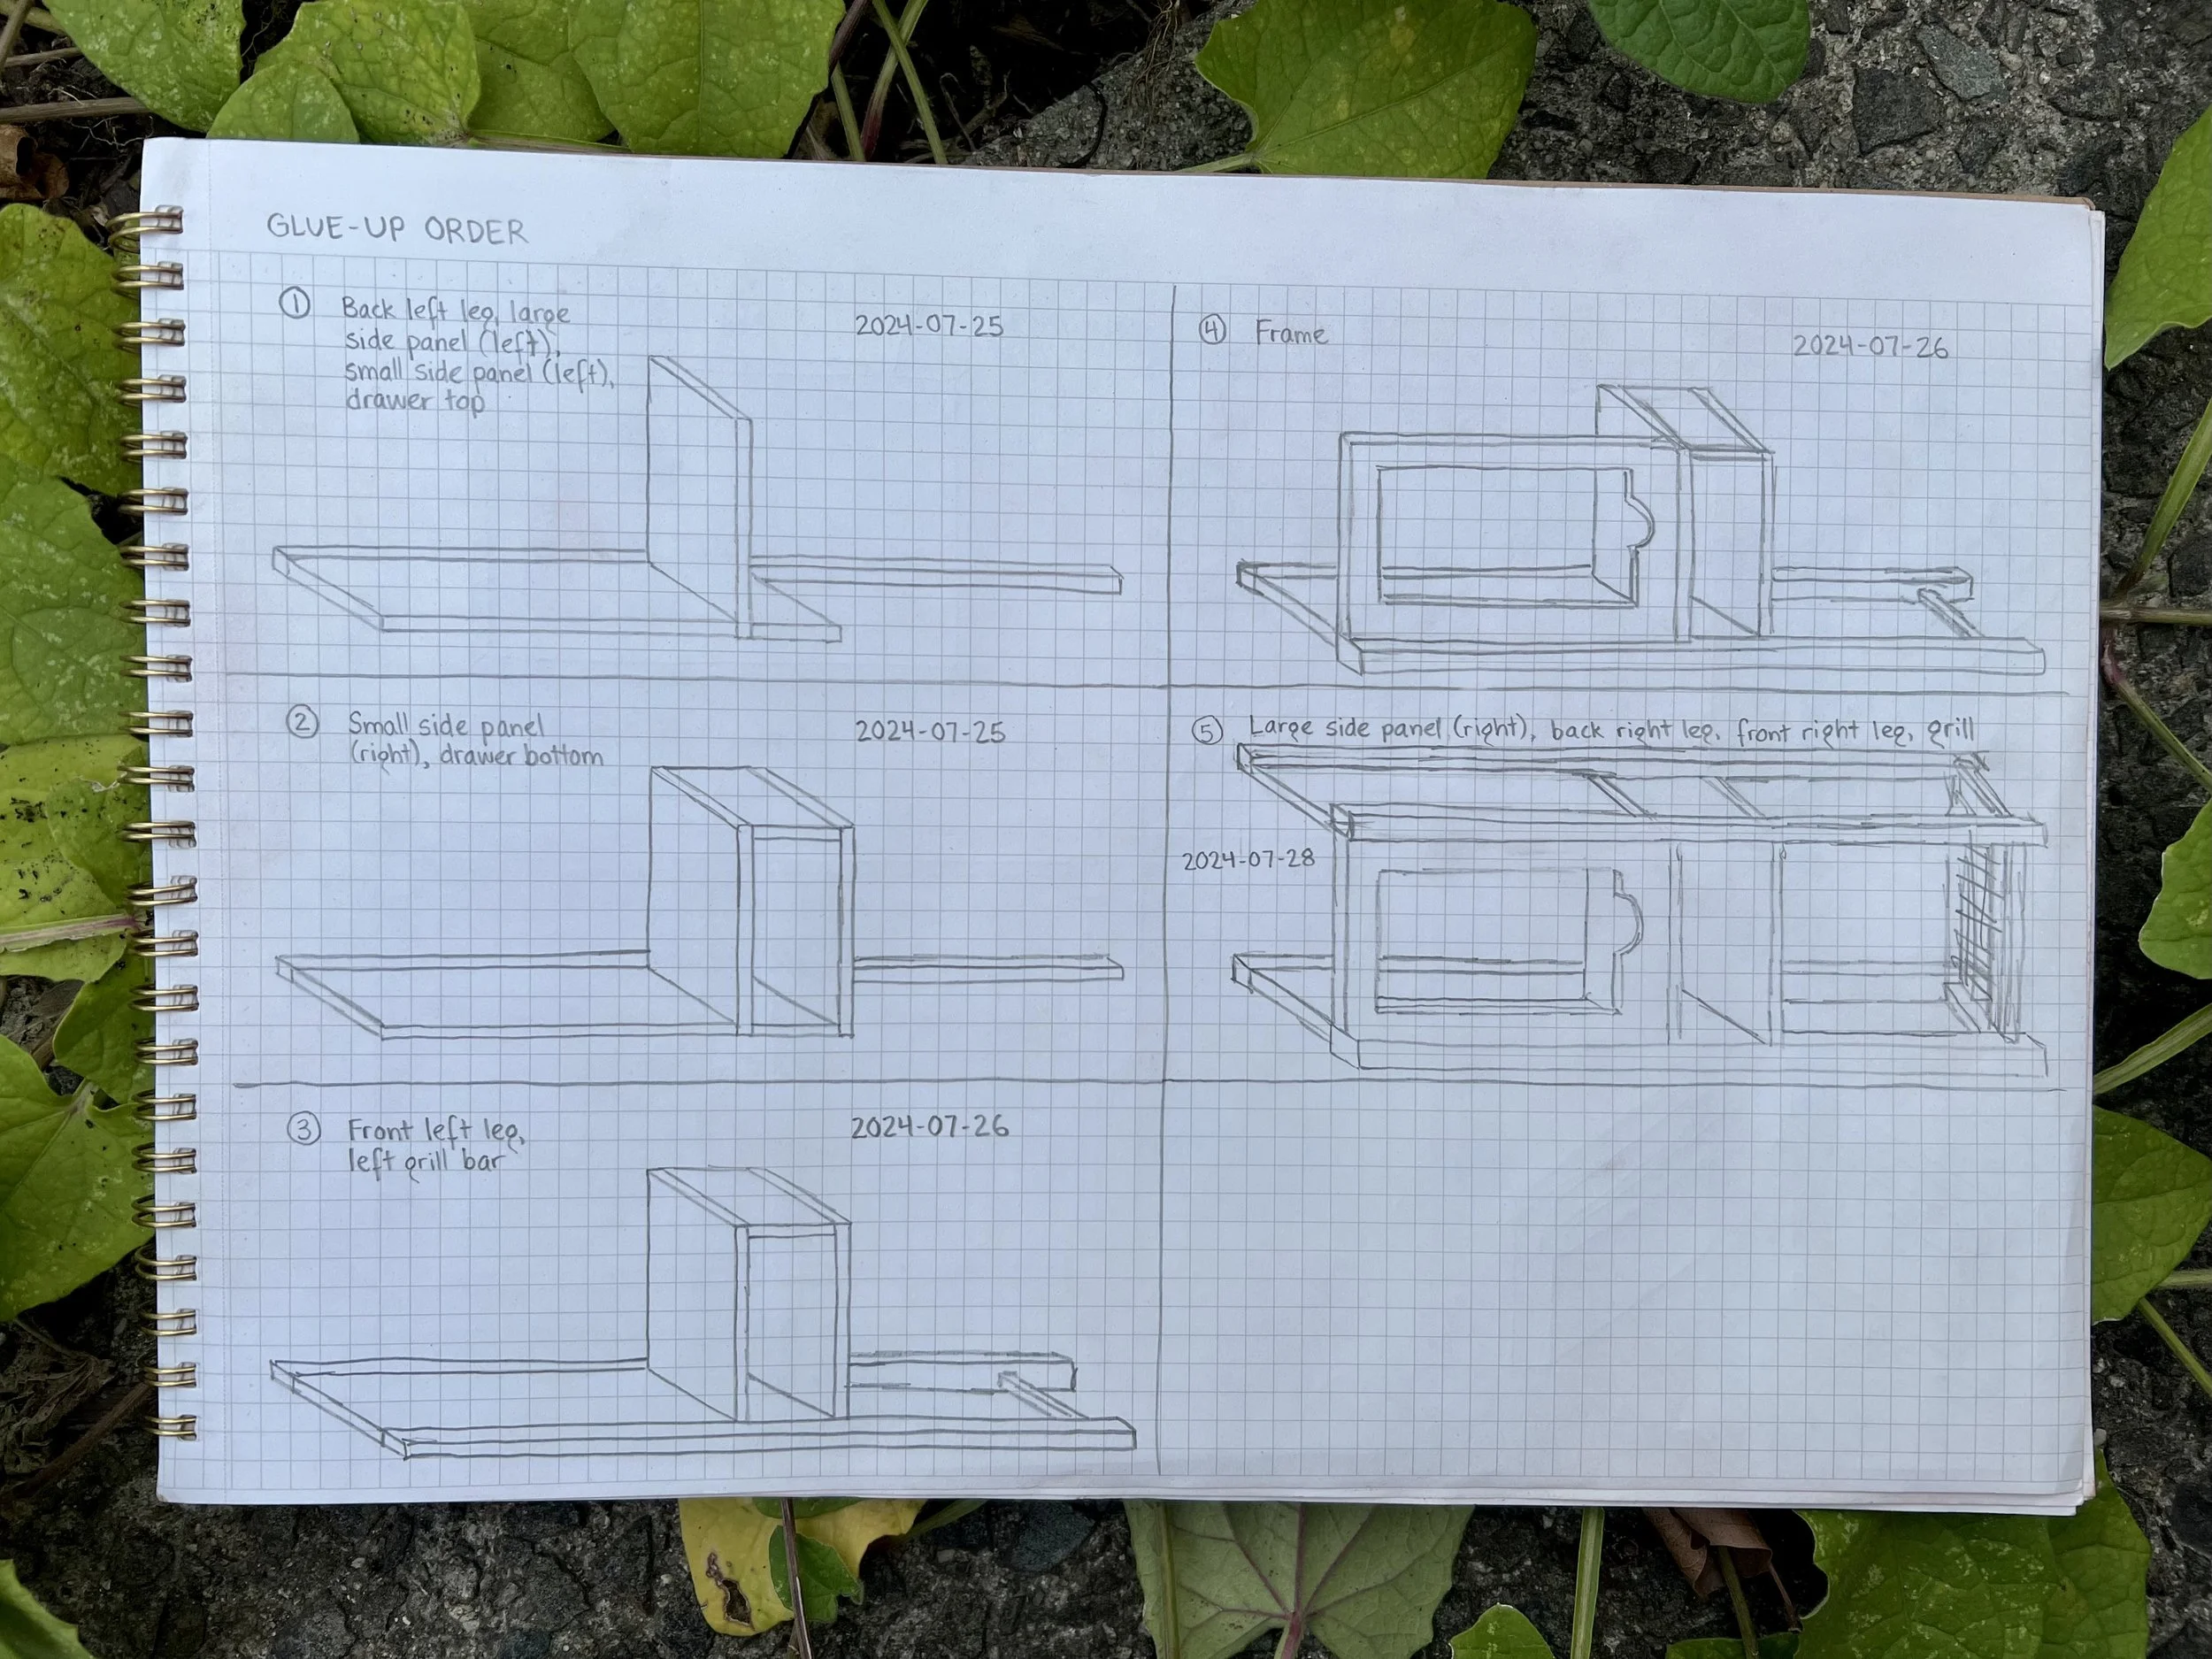
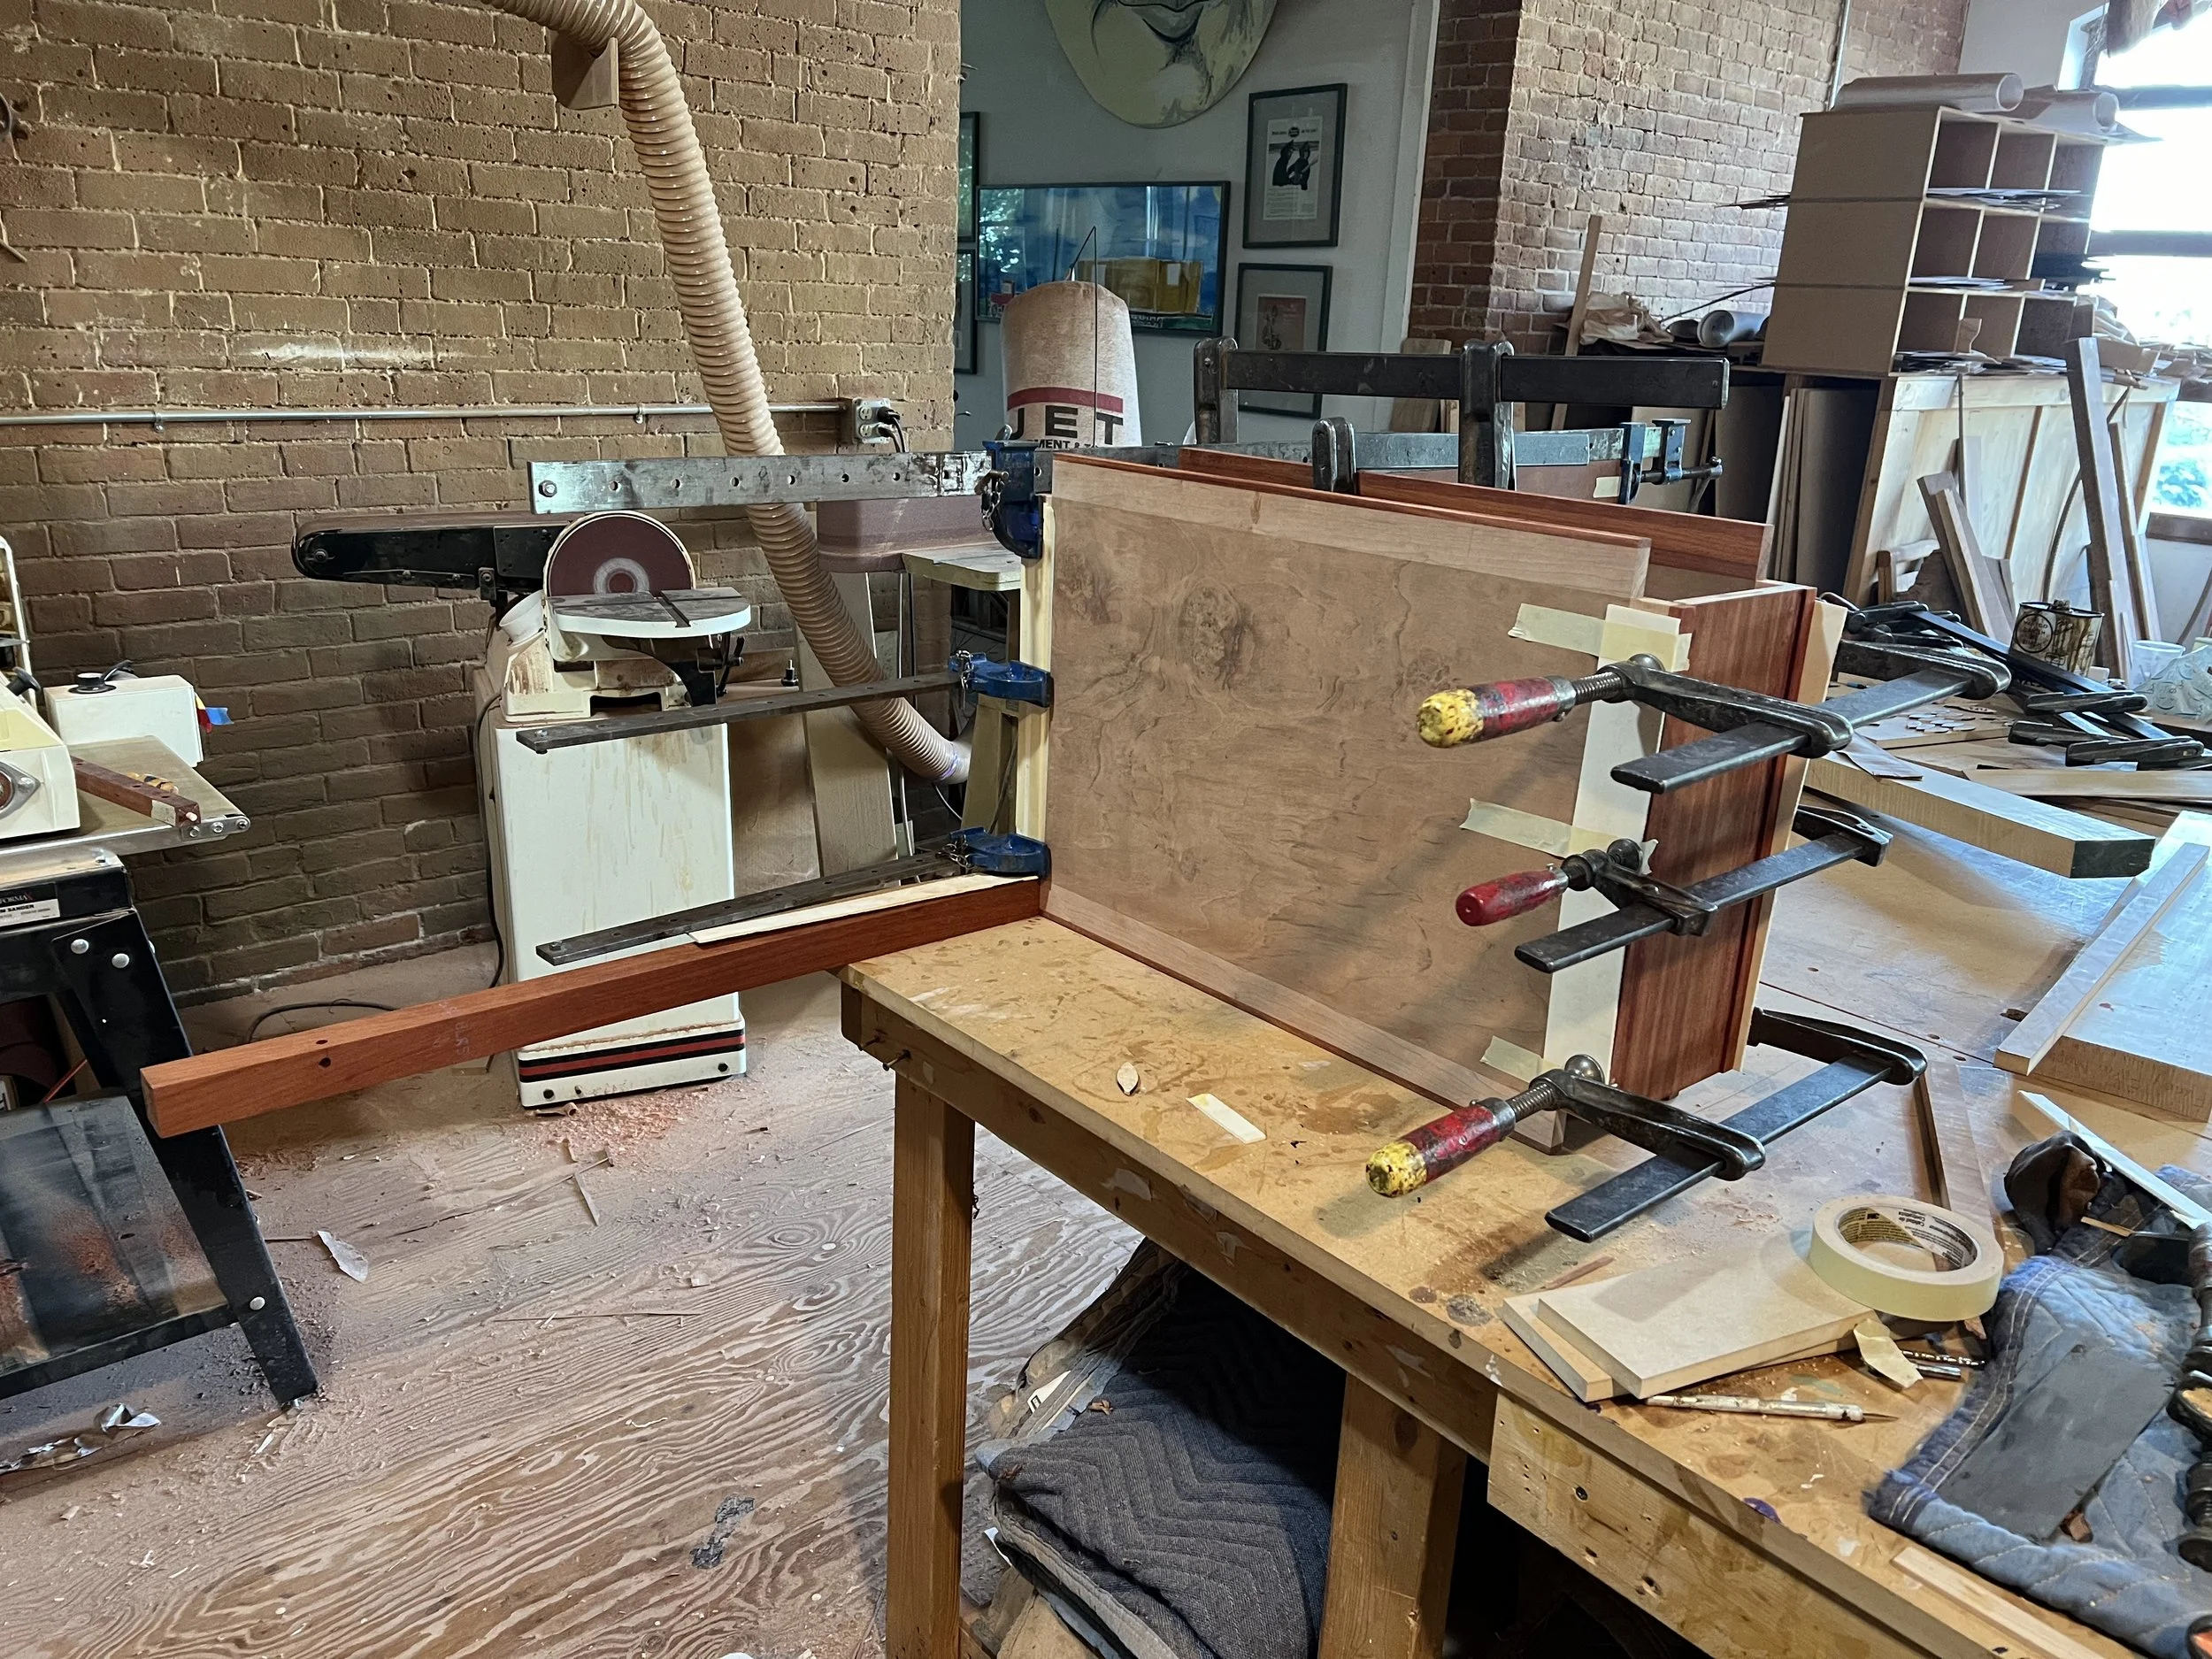
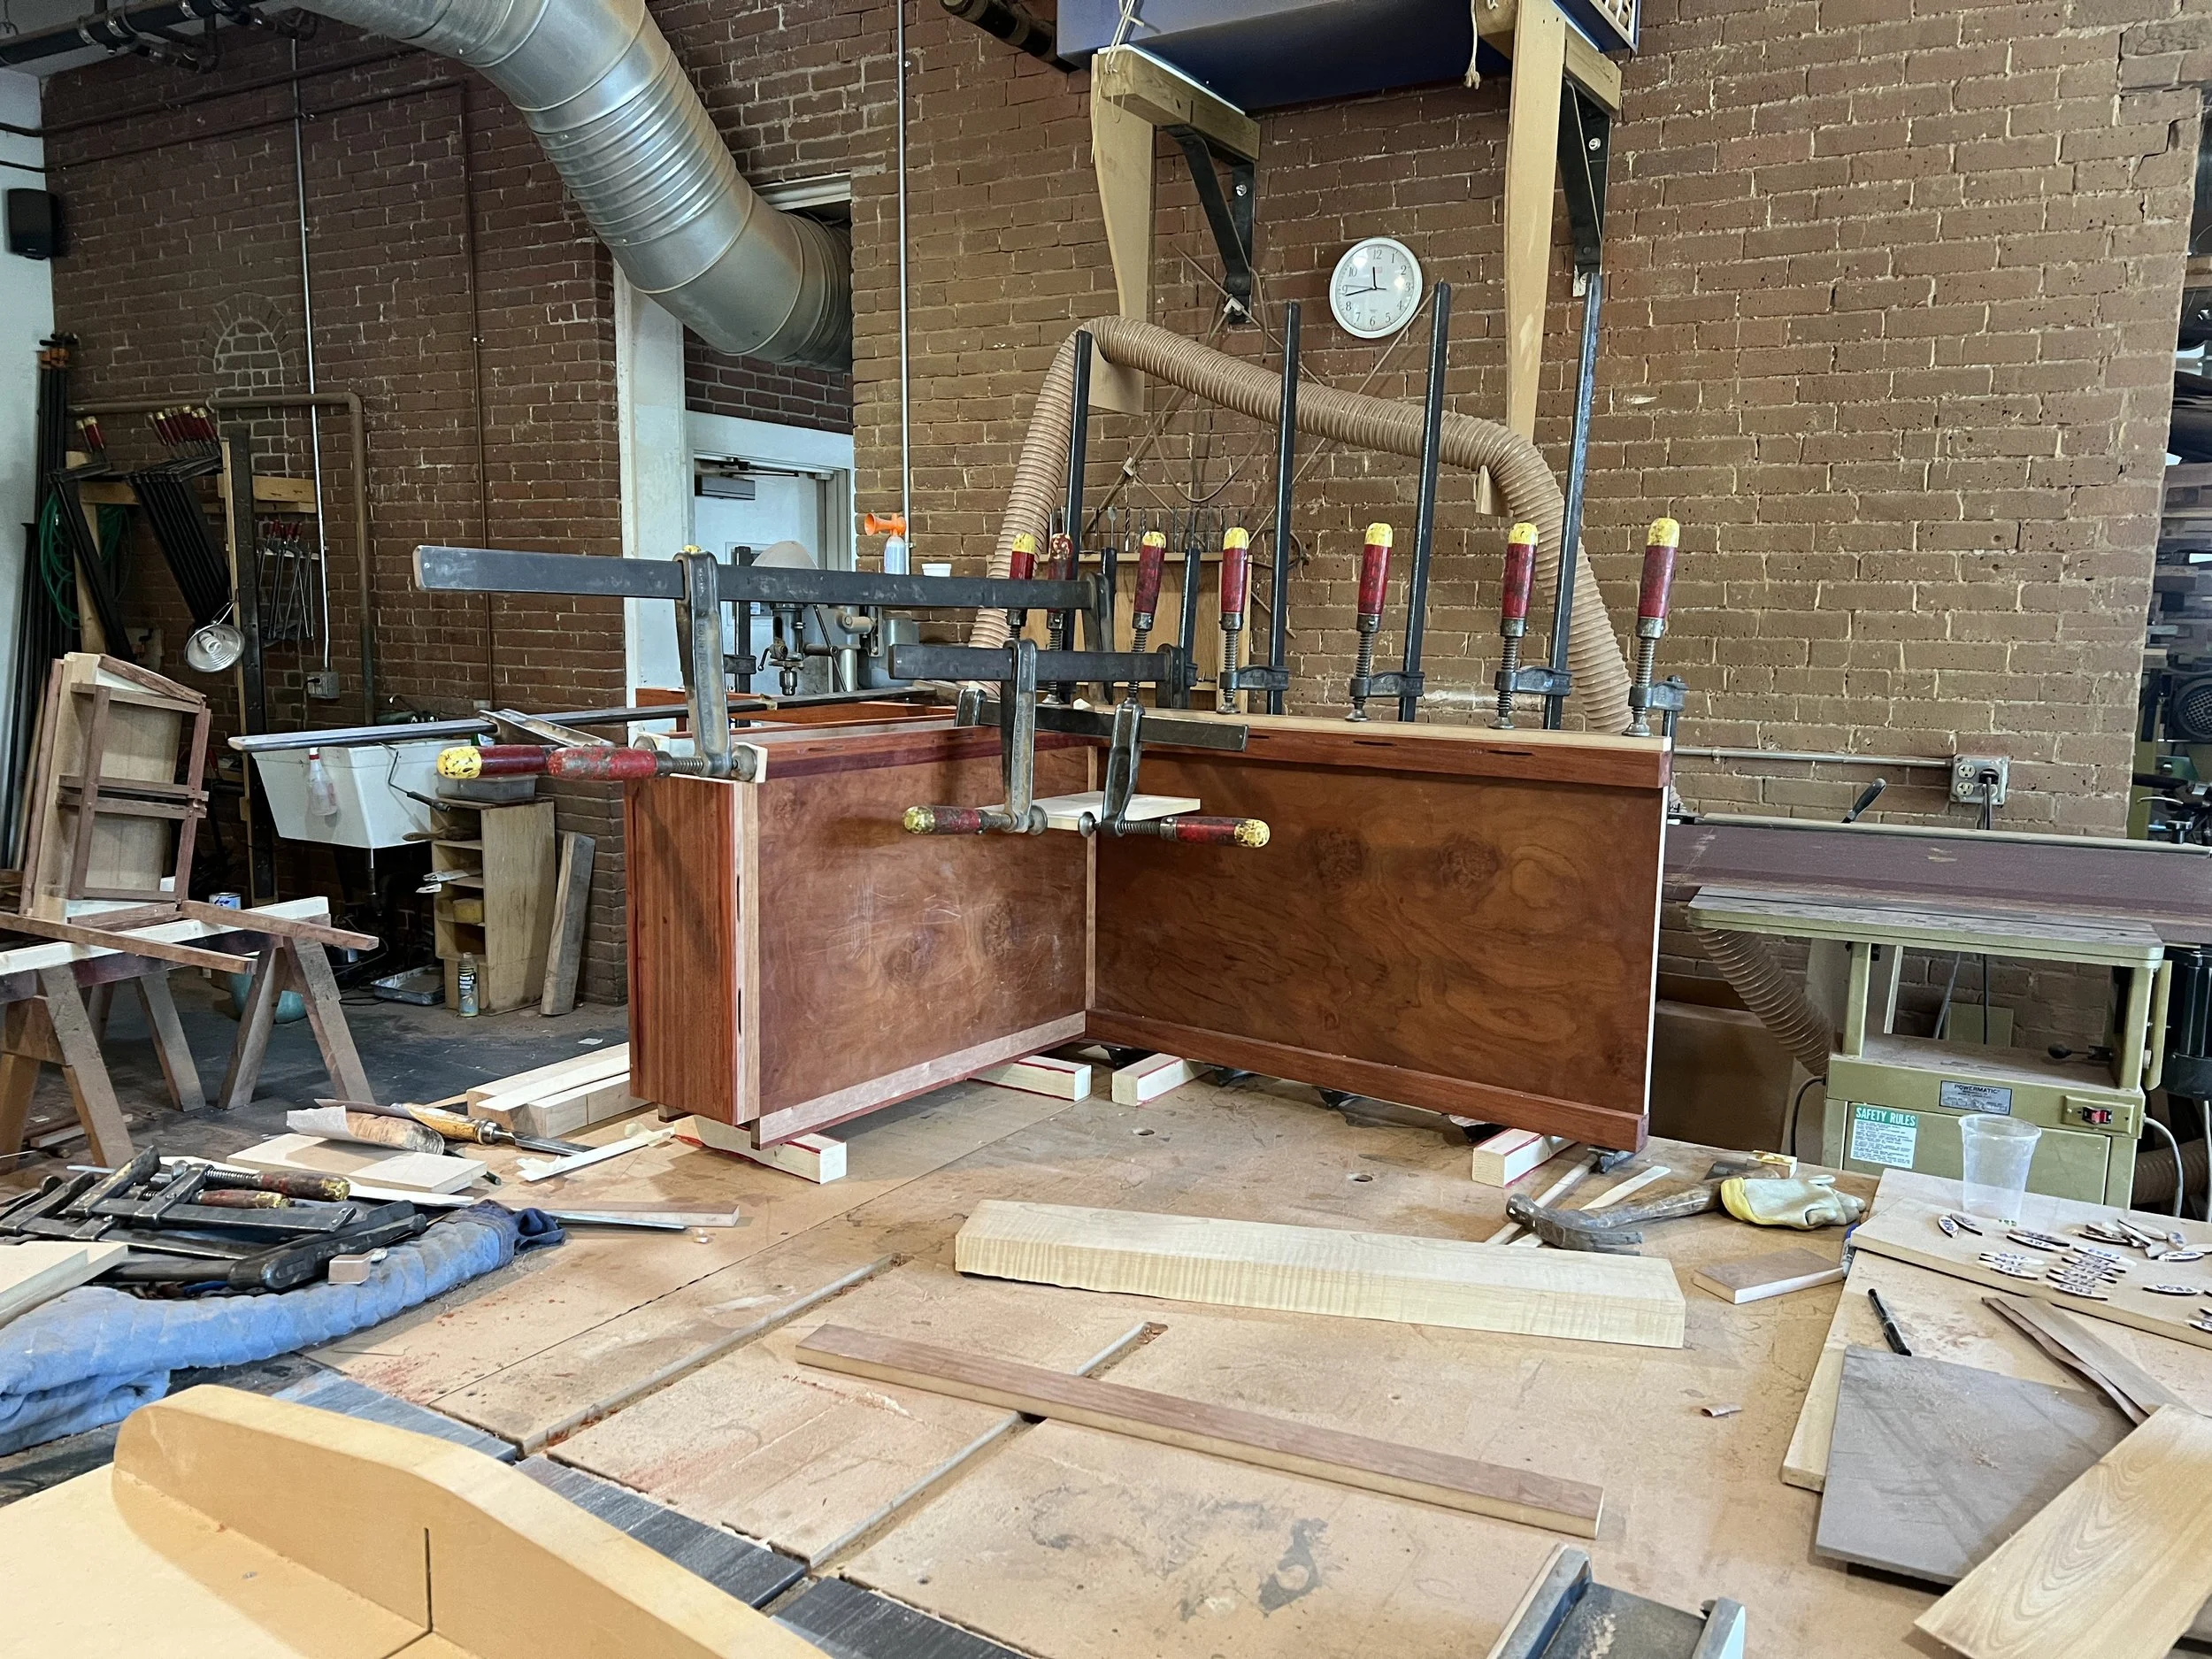
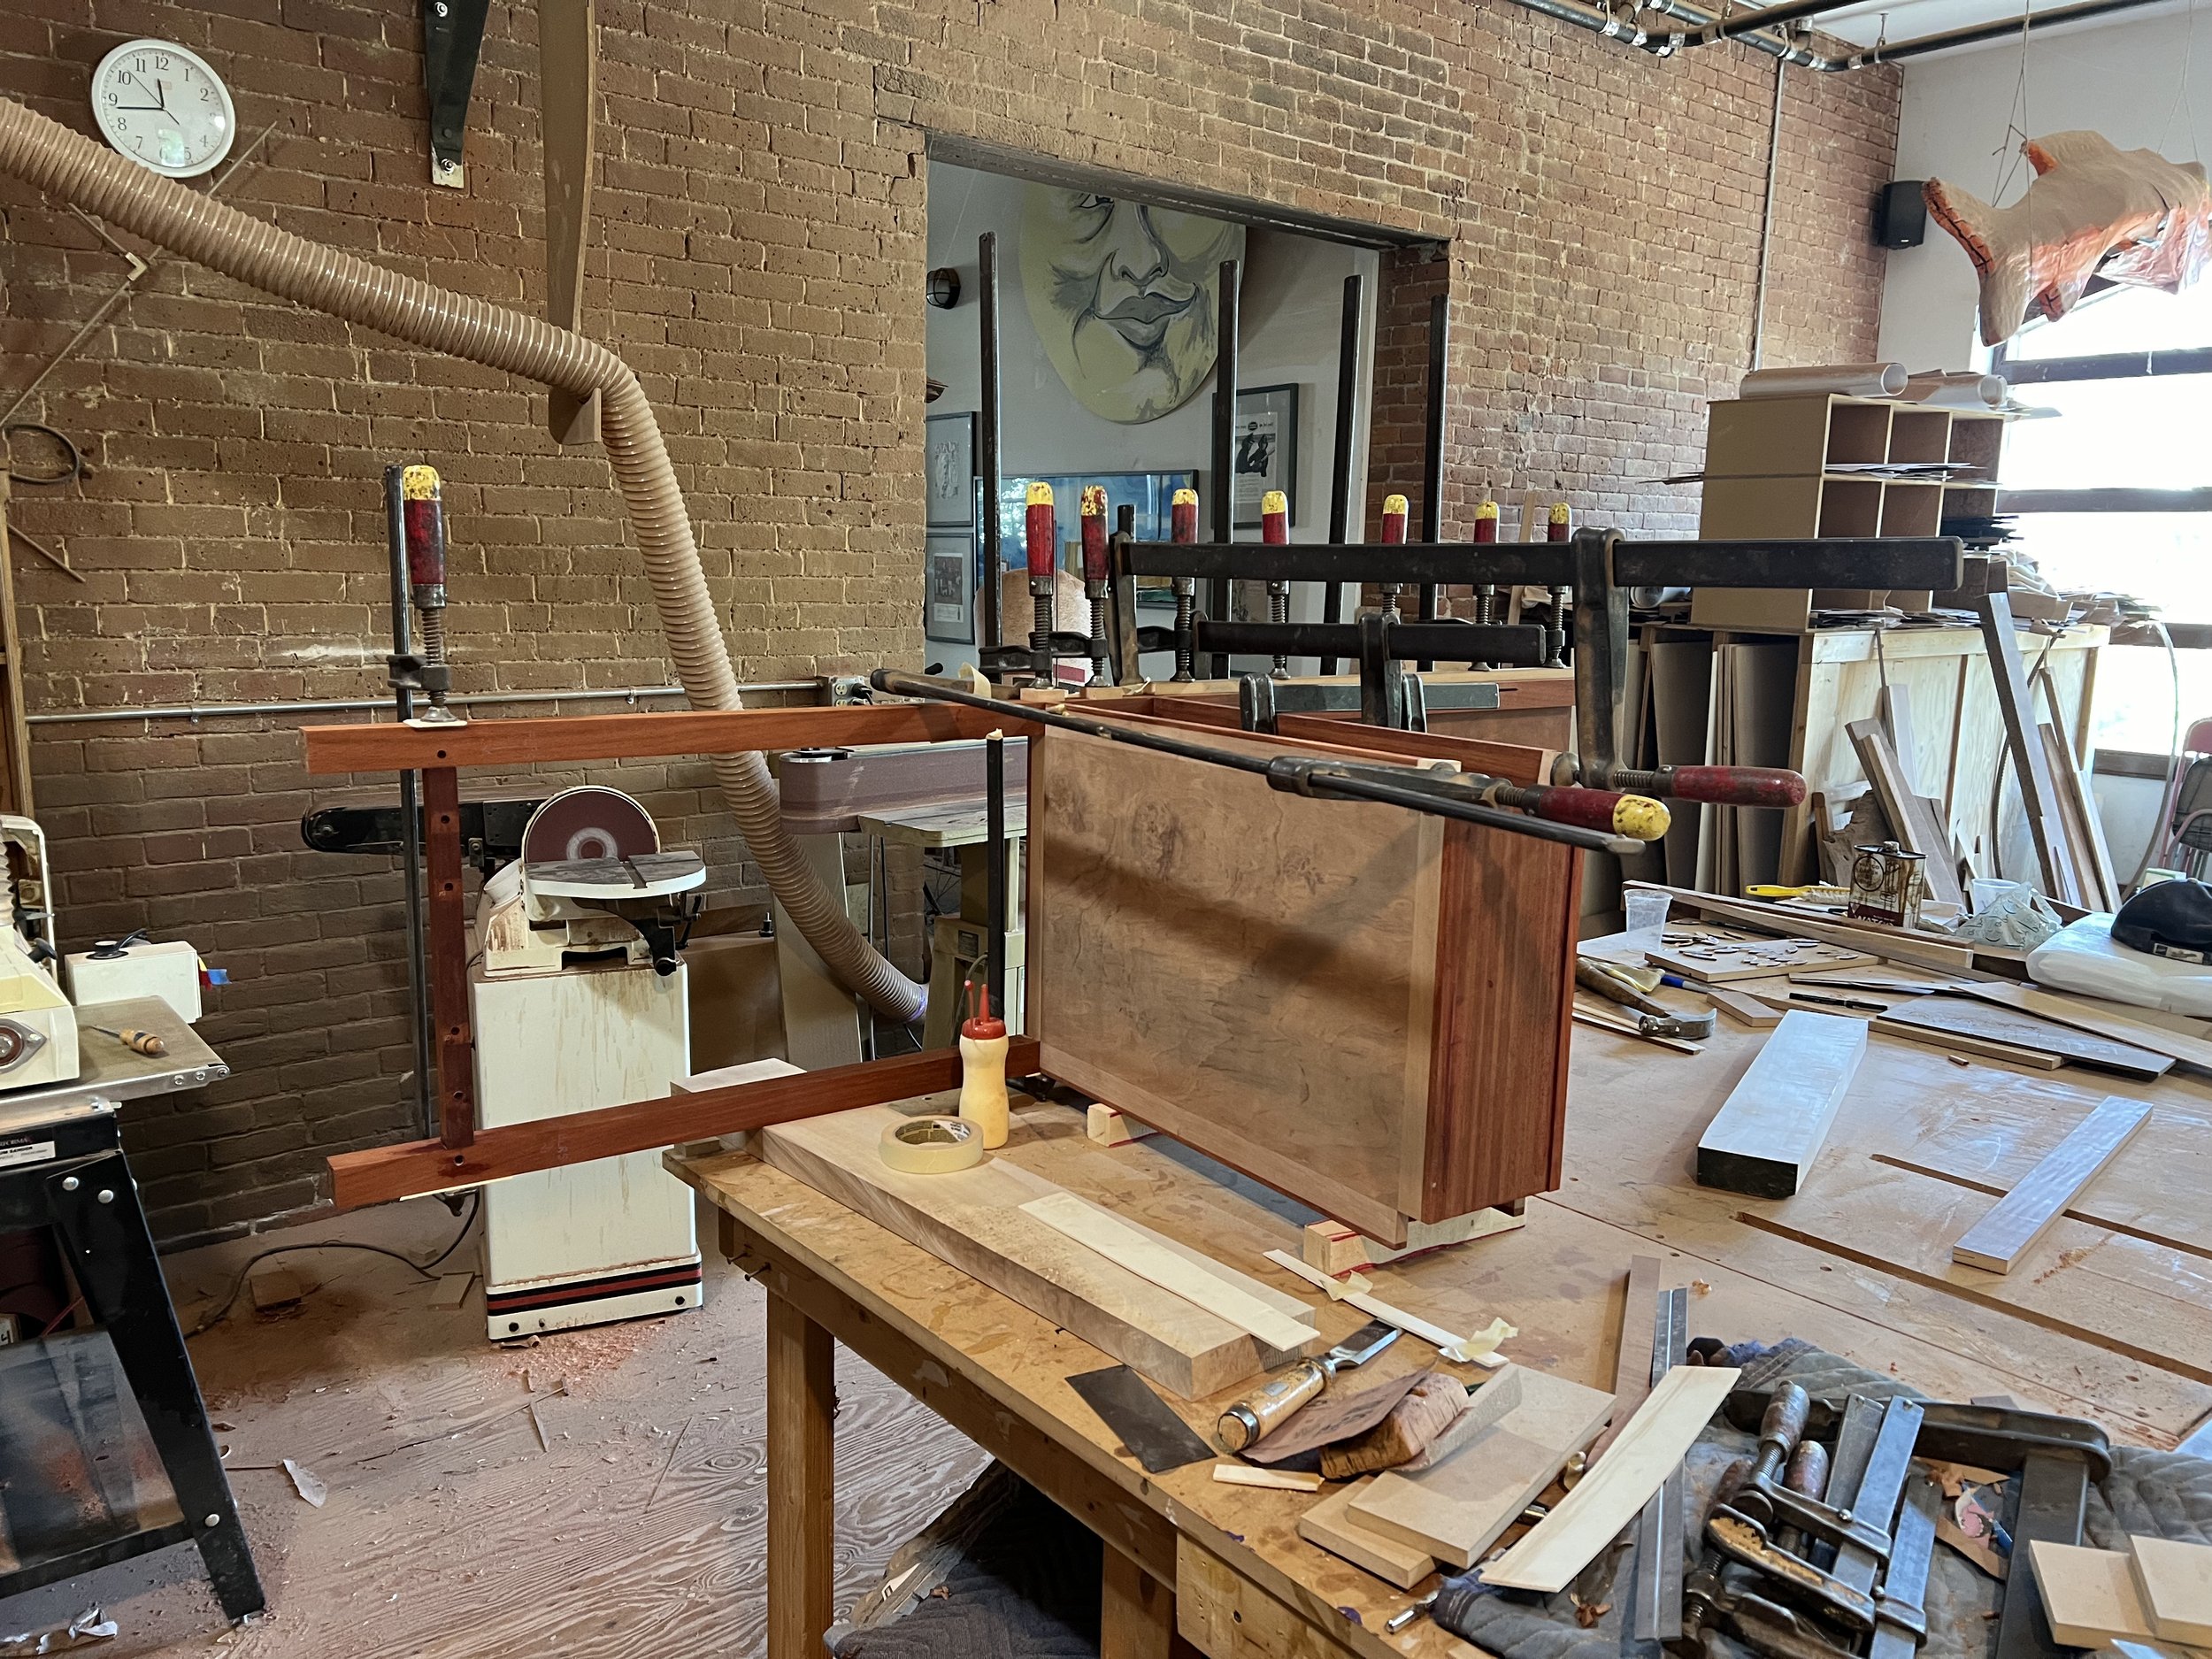
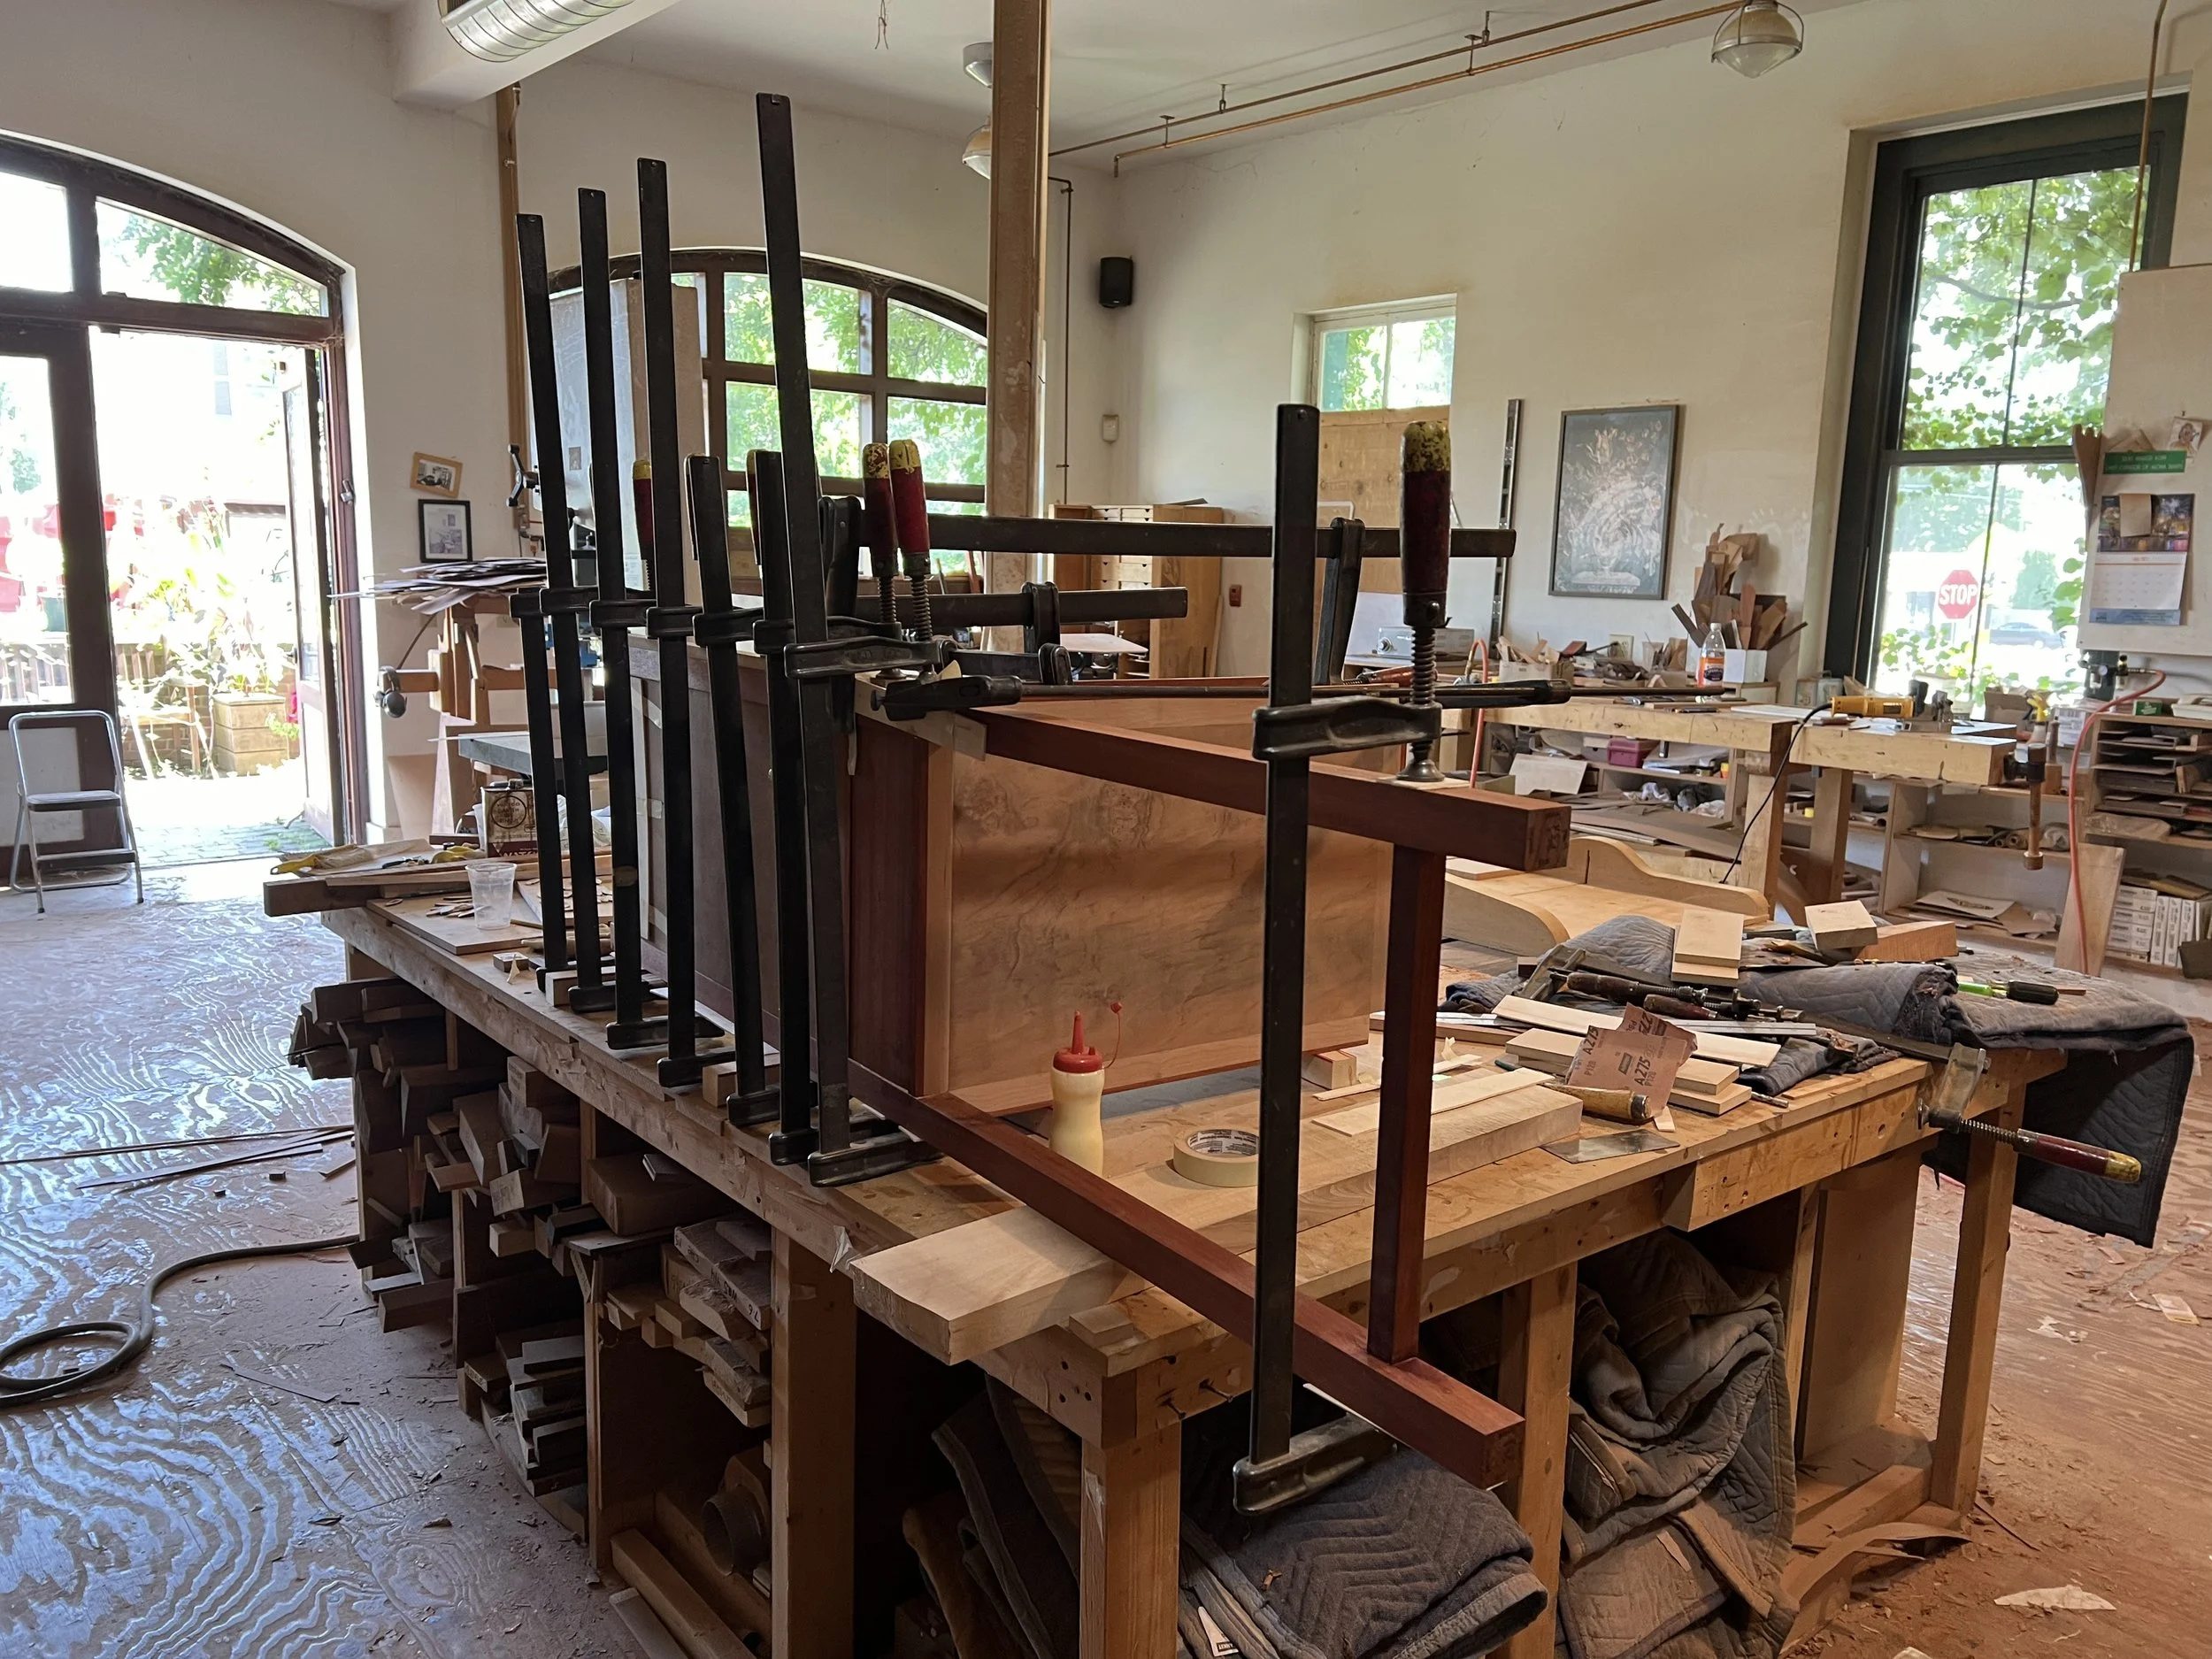
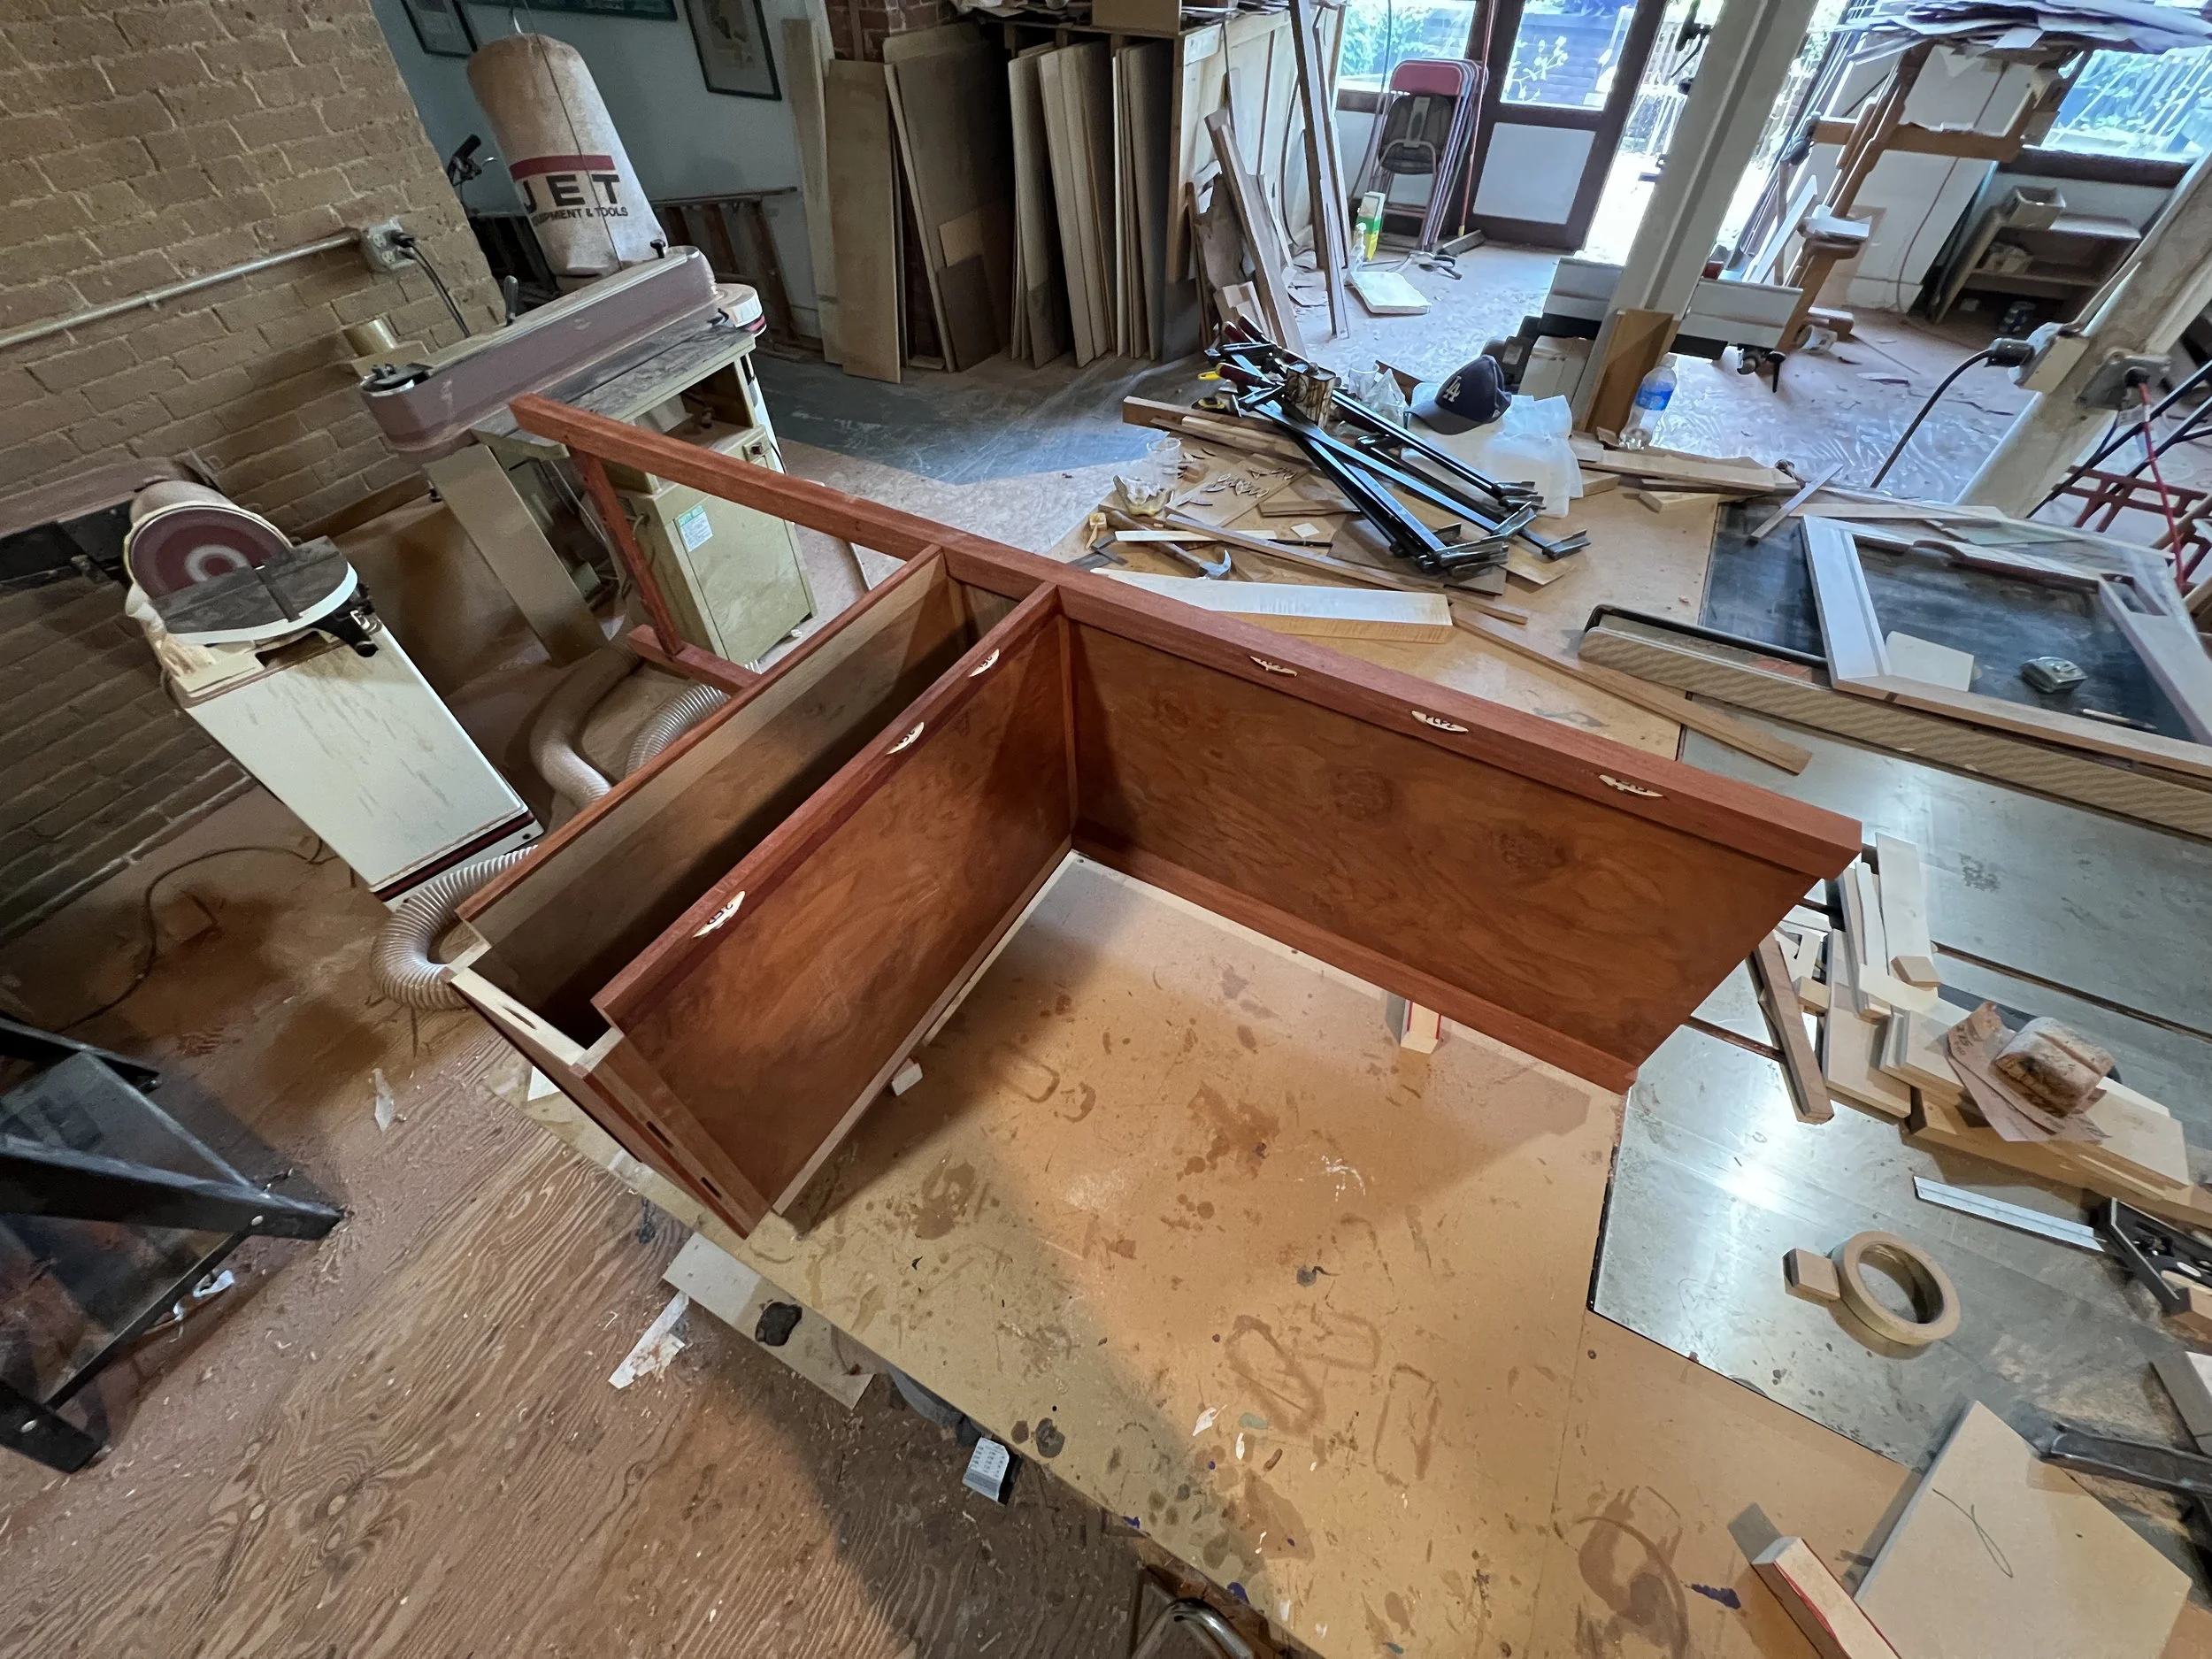
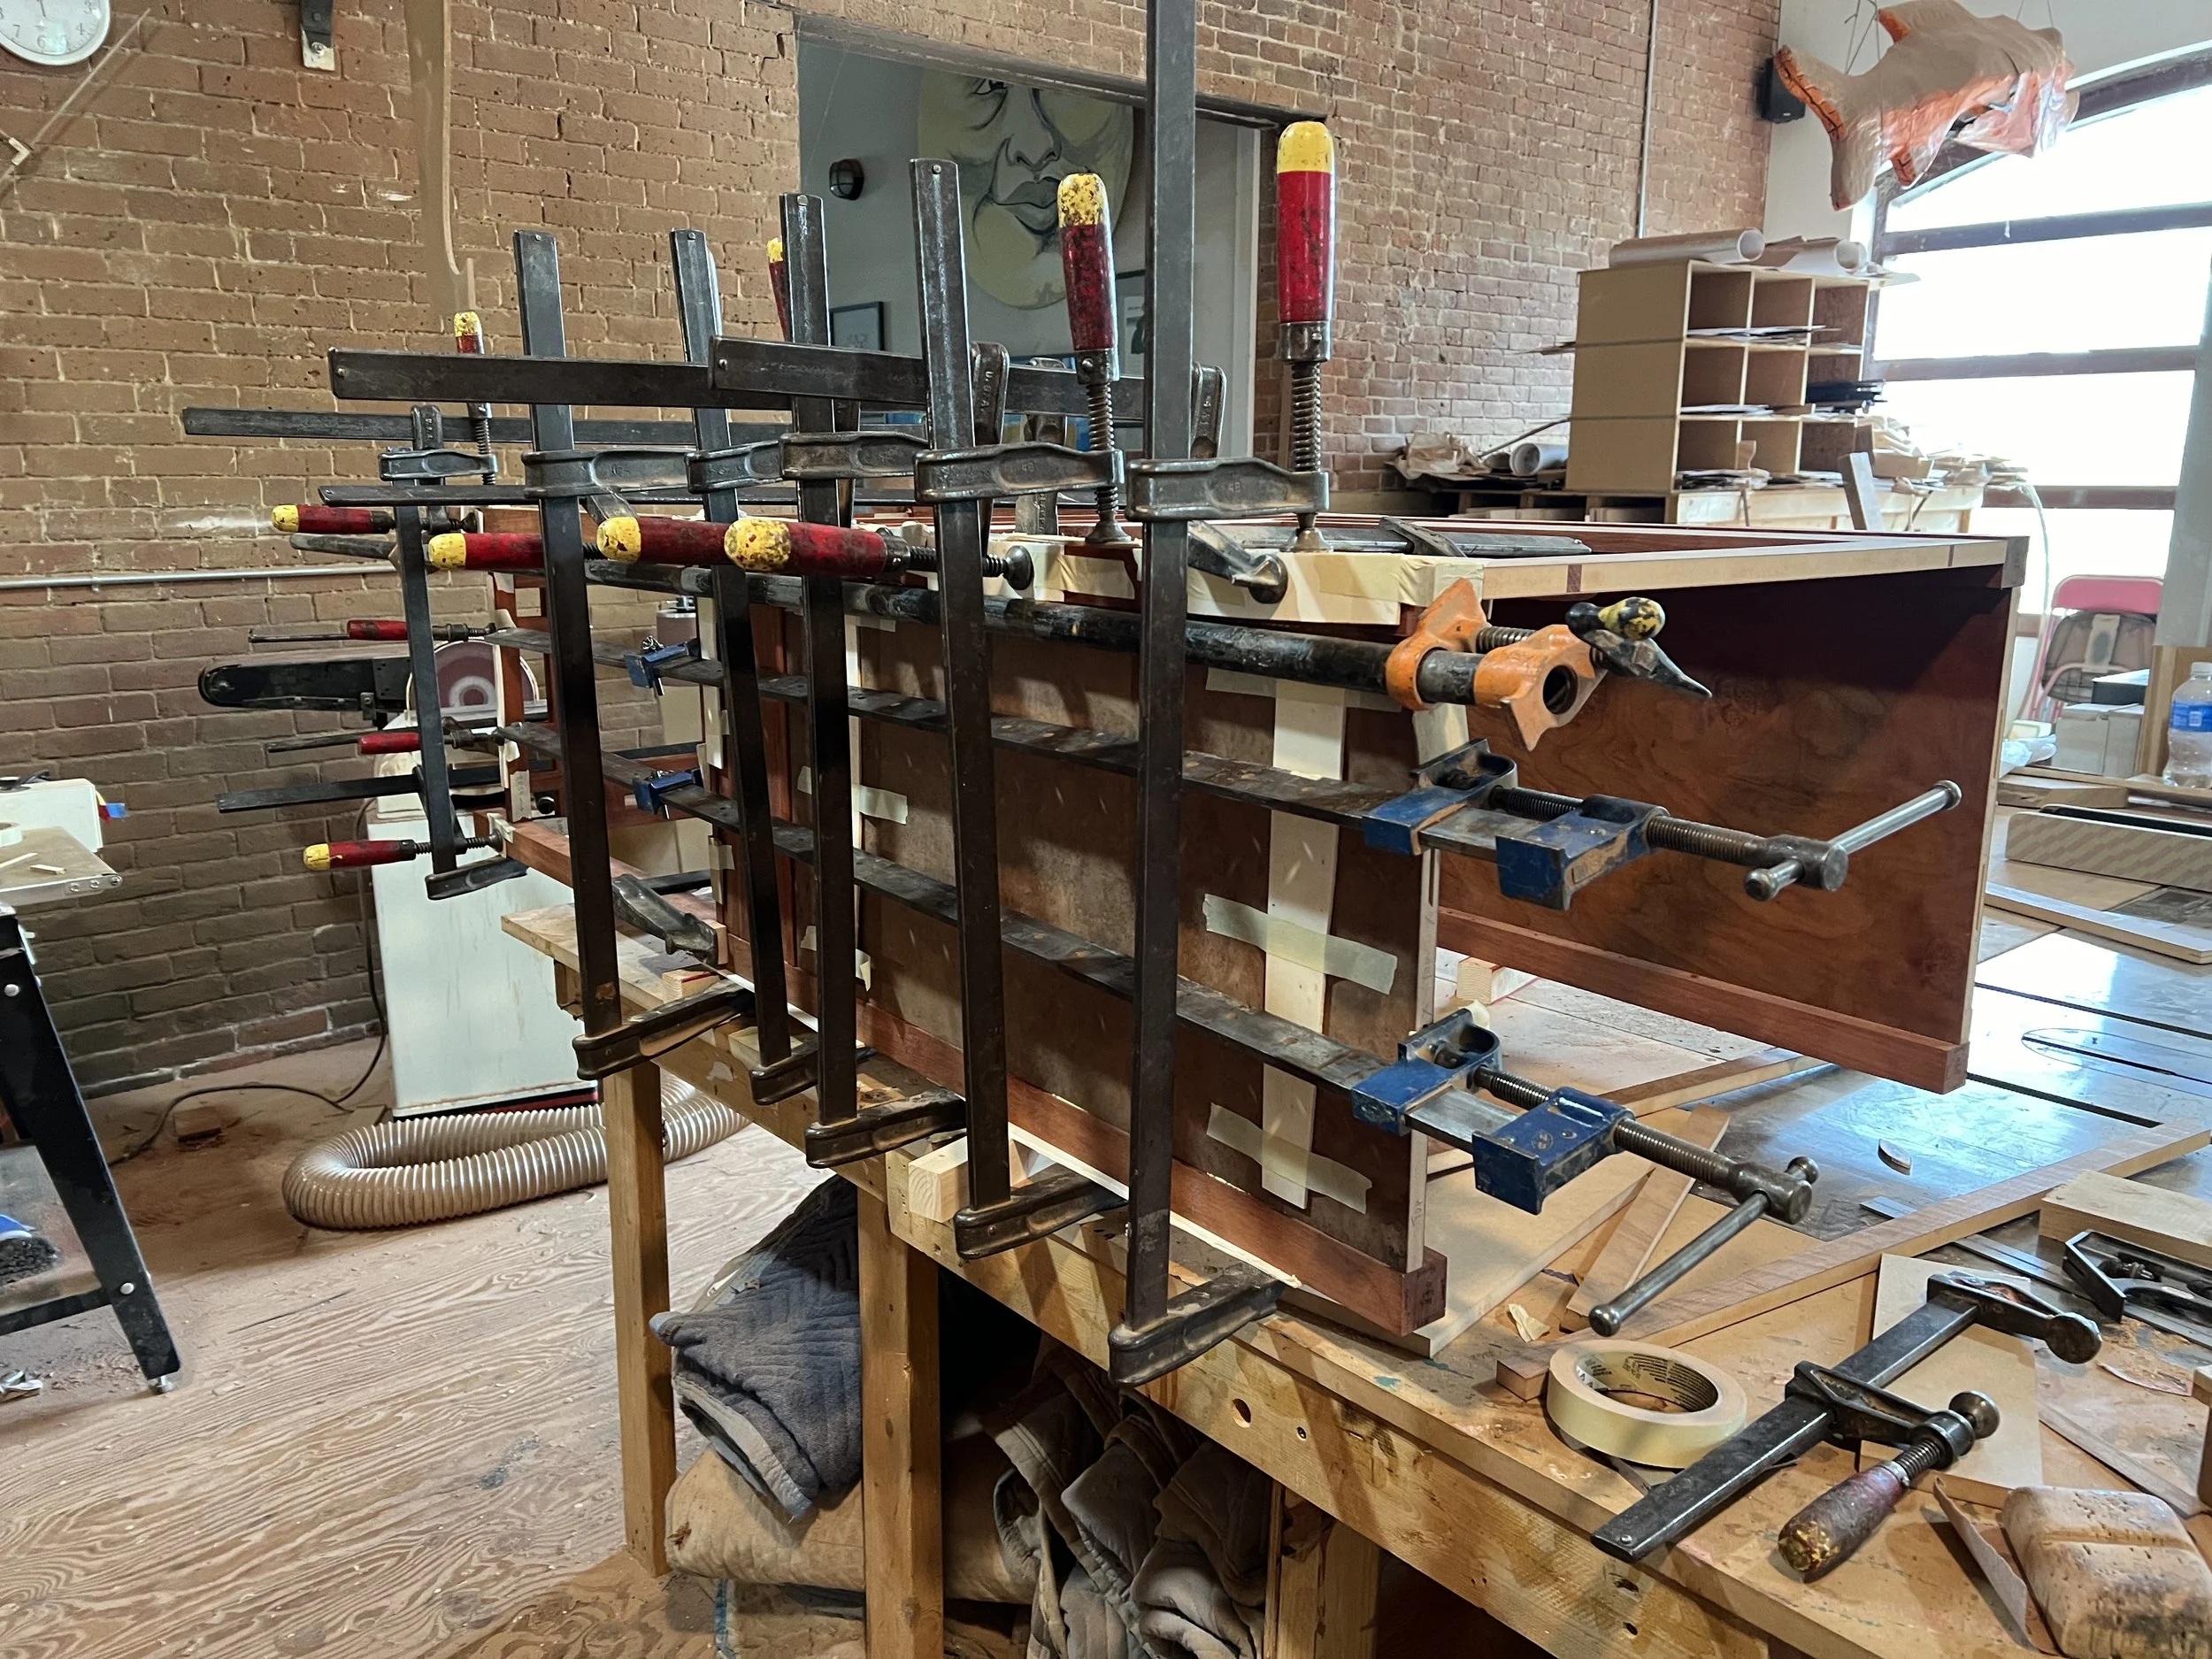
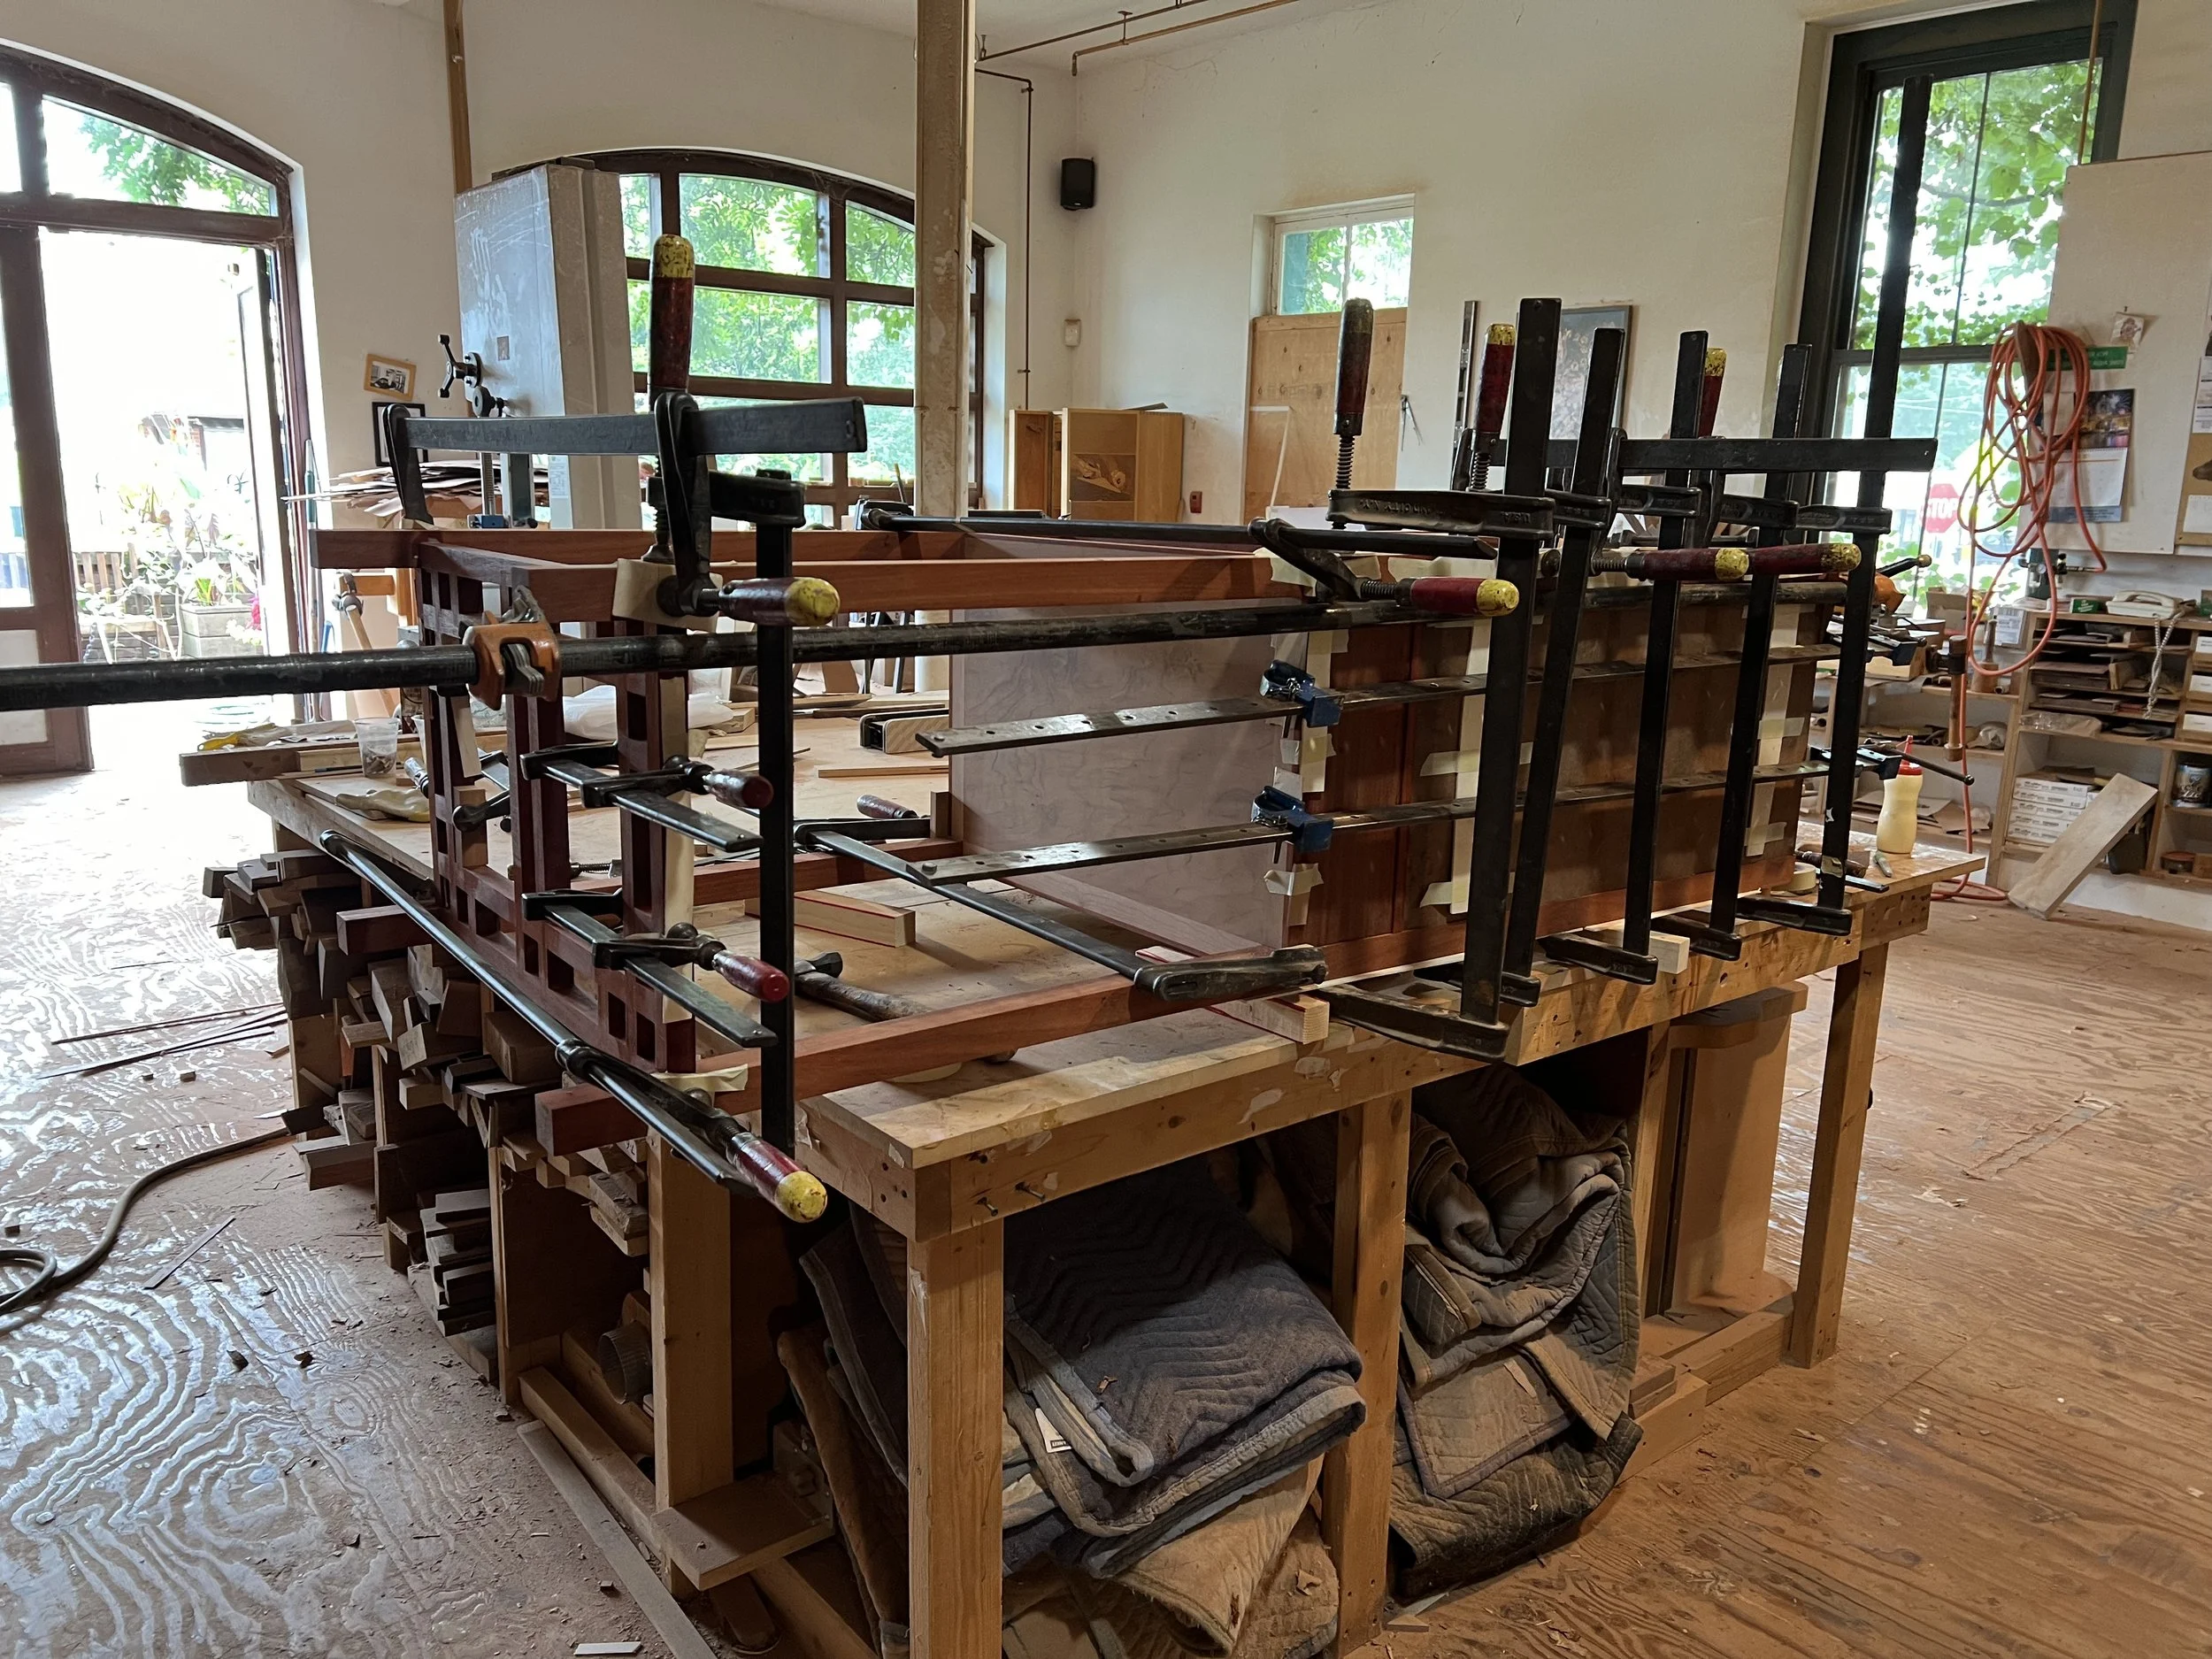
I had everything ready to put all the pieces together and make a 3D cabinet. Before gluing the parts together, I dry-clamped all the components (put all the parts together with clamps but without glue, to verify that everything fit).
I glued up the cabinet in five stages.
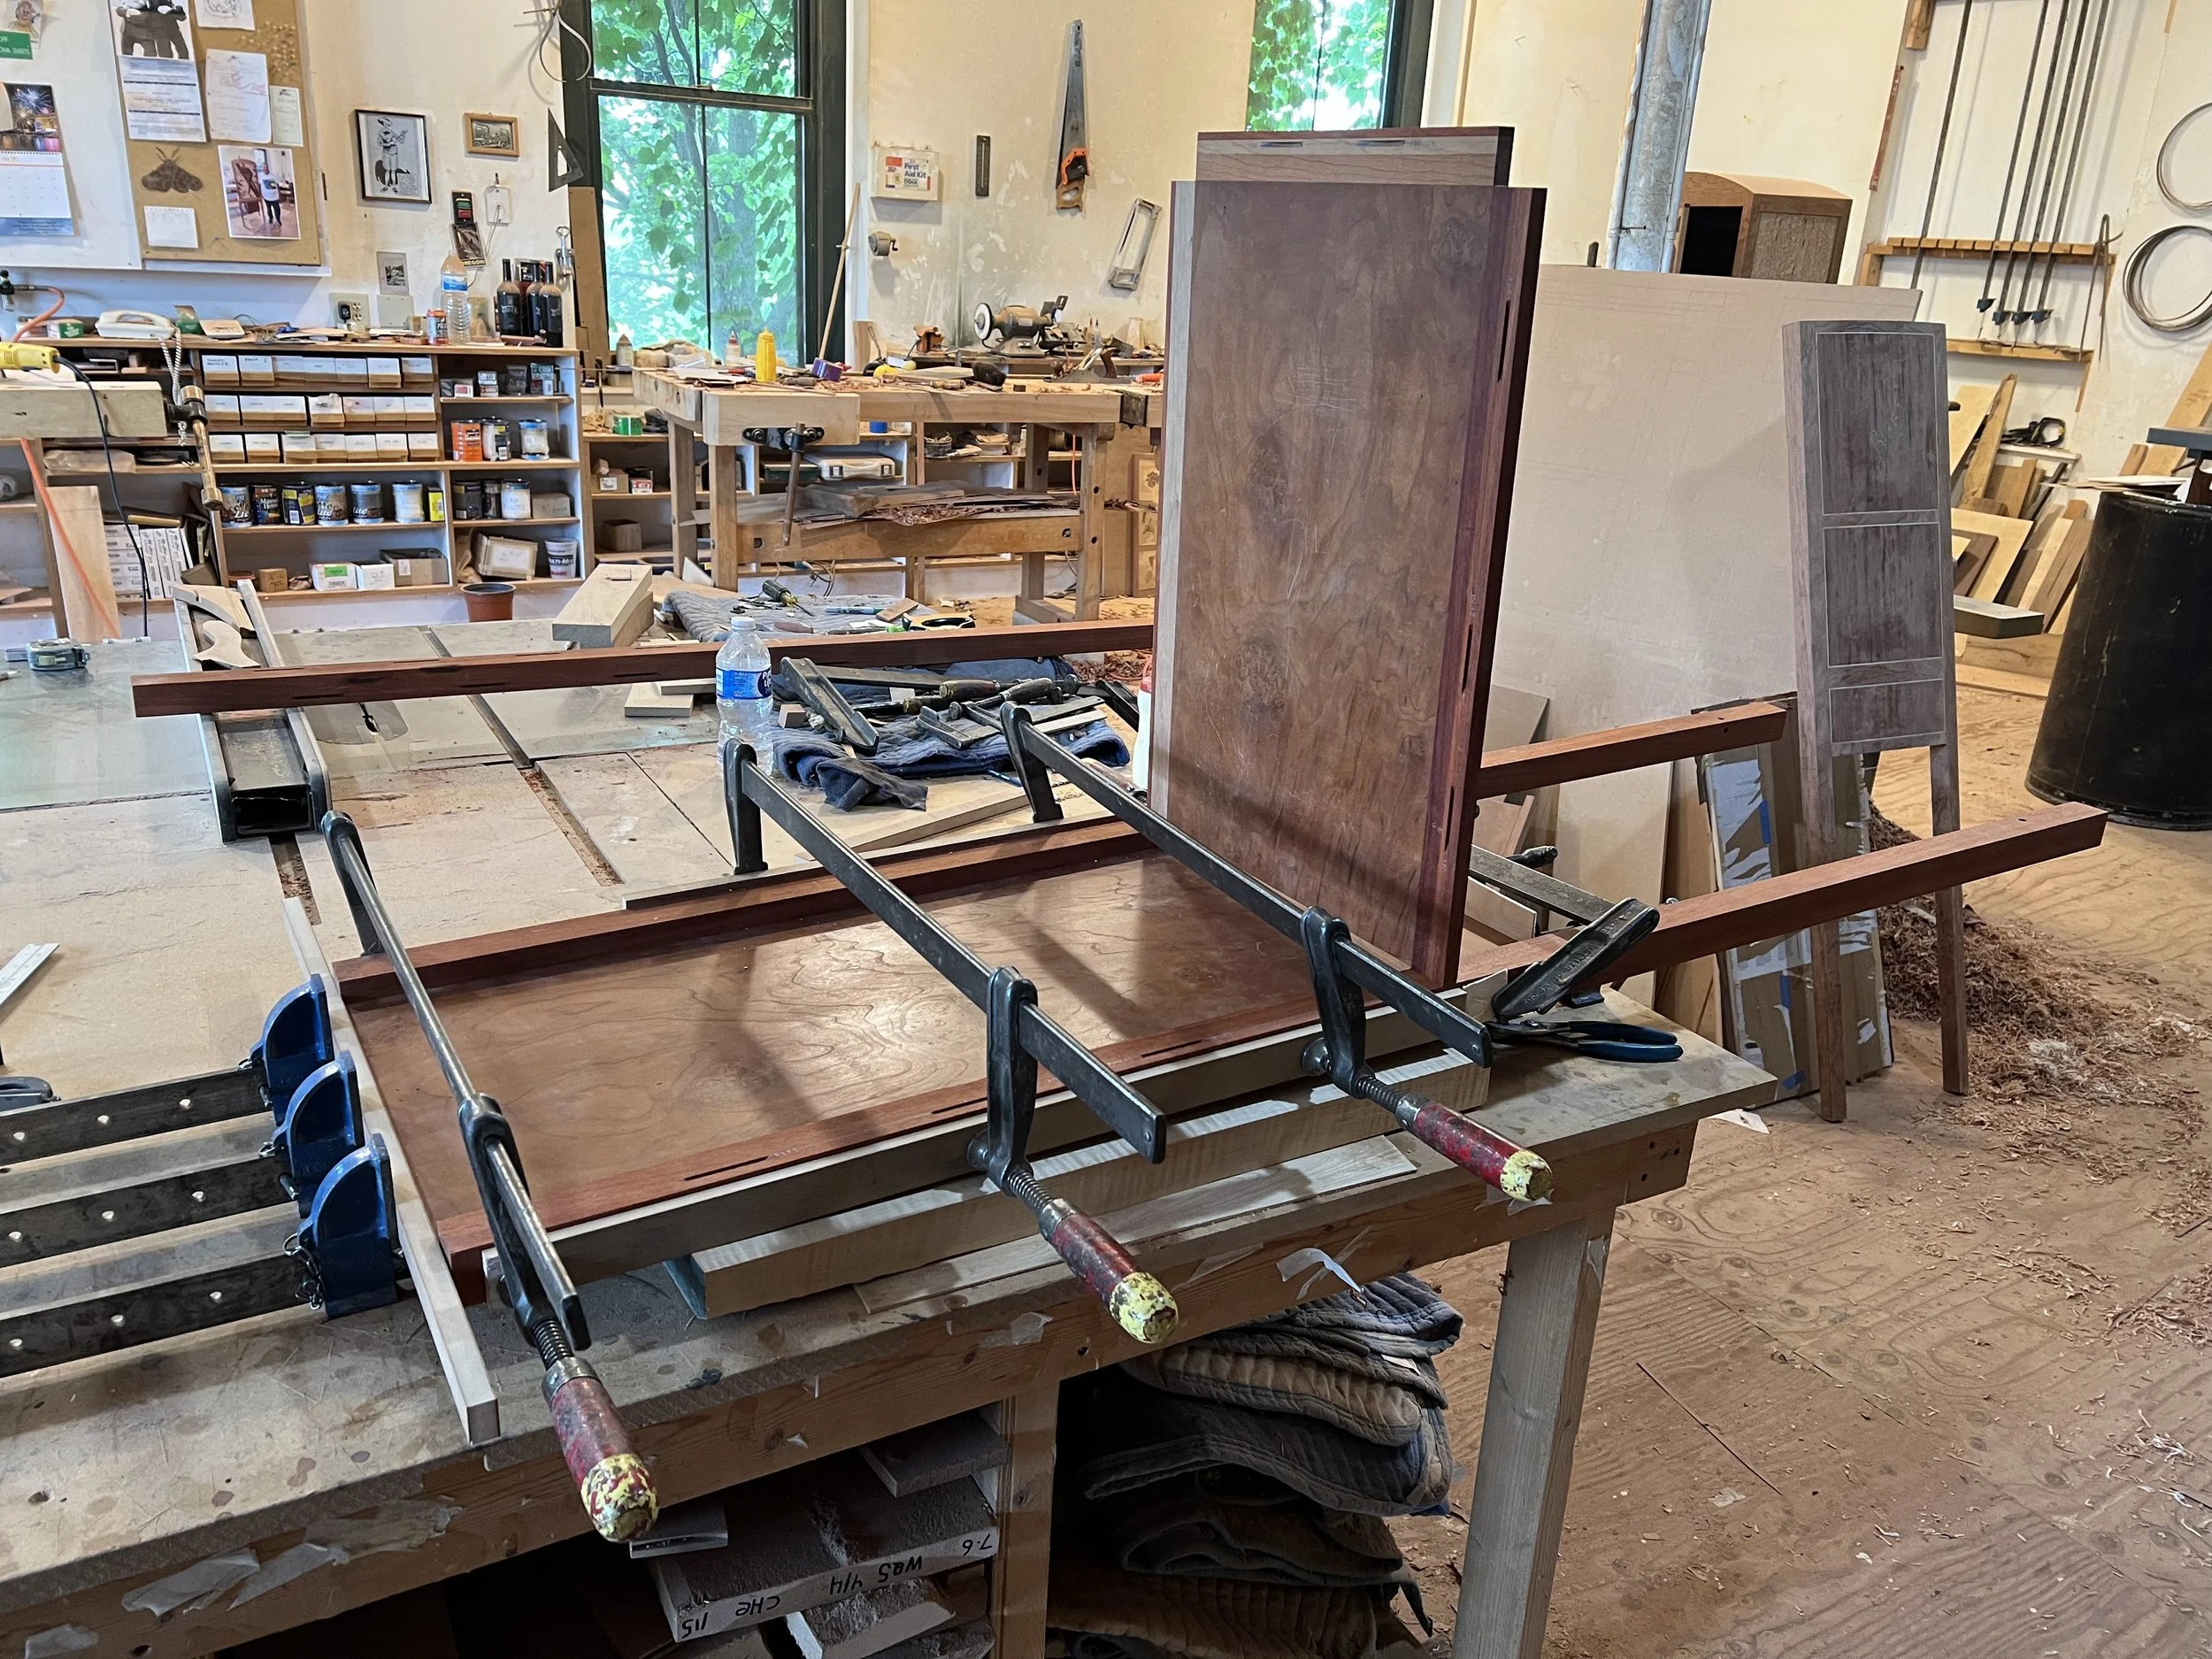
First, I glued the back left leg, the large left side panel, the small left side panel, and the top of the drawer. (I didn’t document making the small side panels and drawer case – they were just MDF with veneer glued on each side and, for the drawer case, some strips of solid wood around the edges).
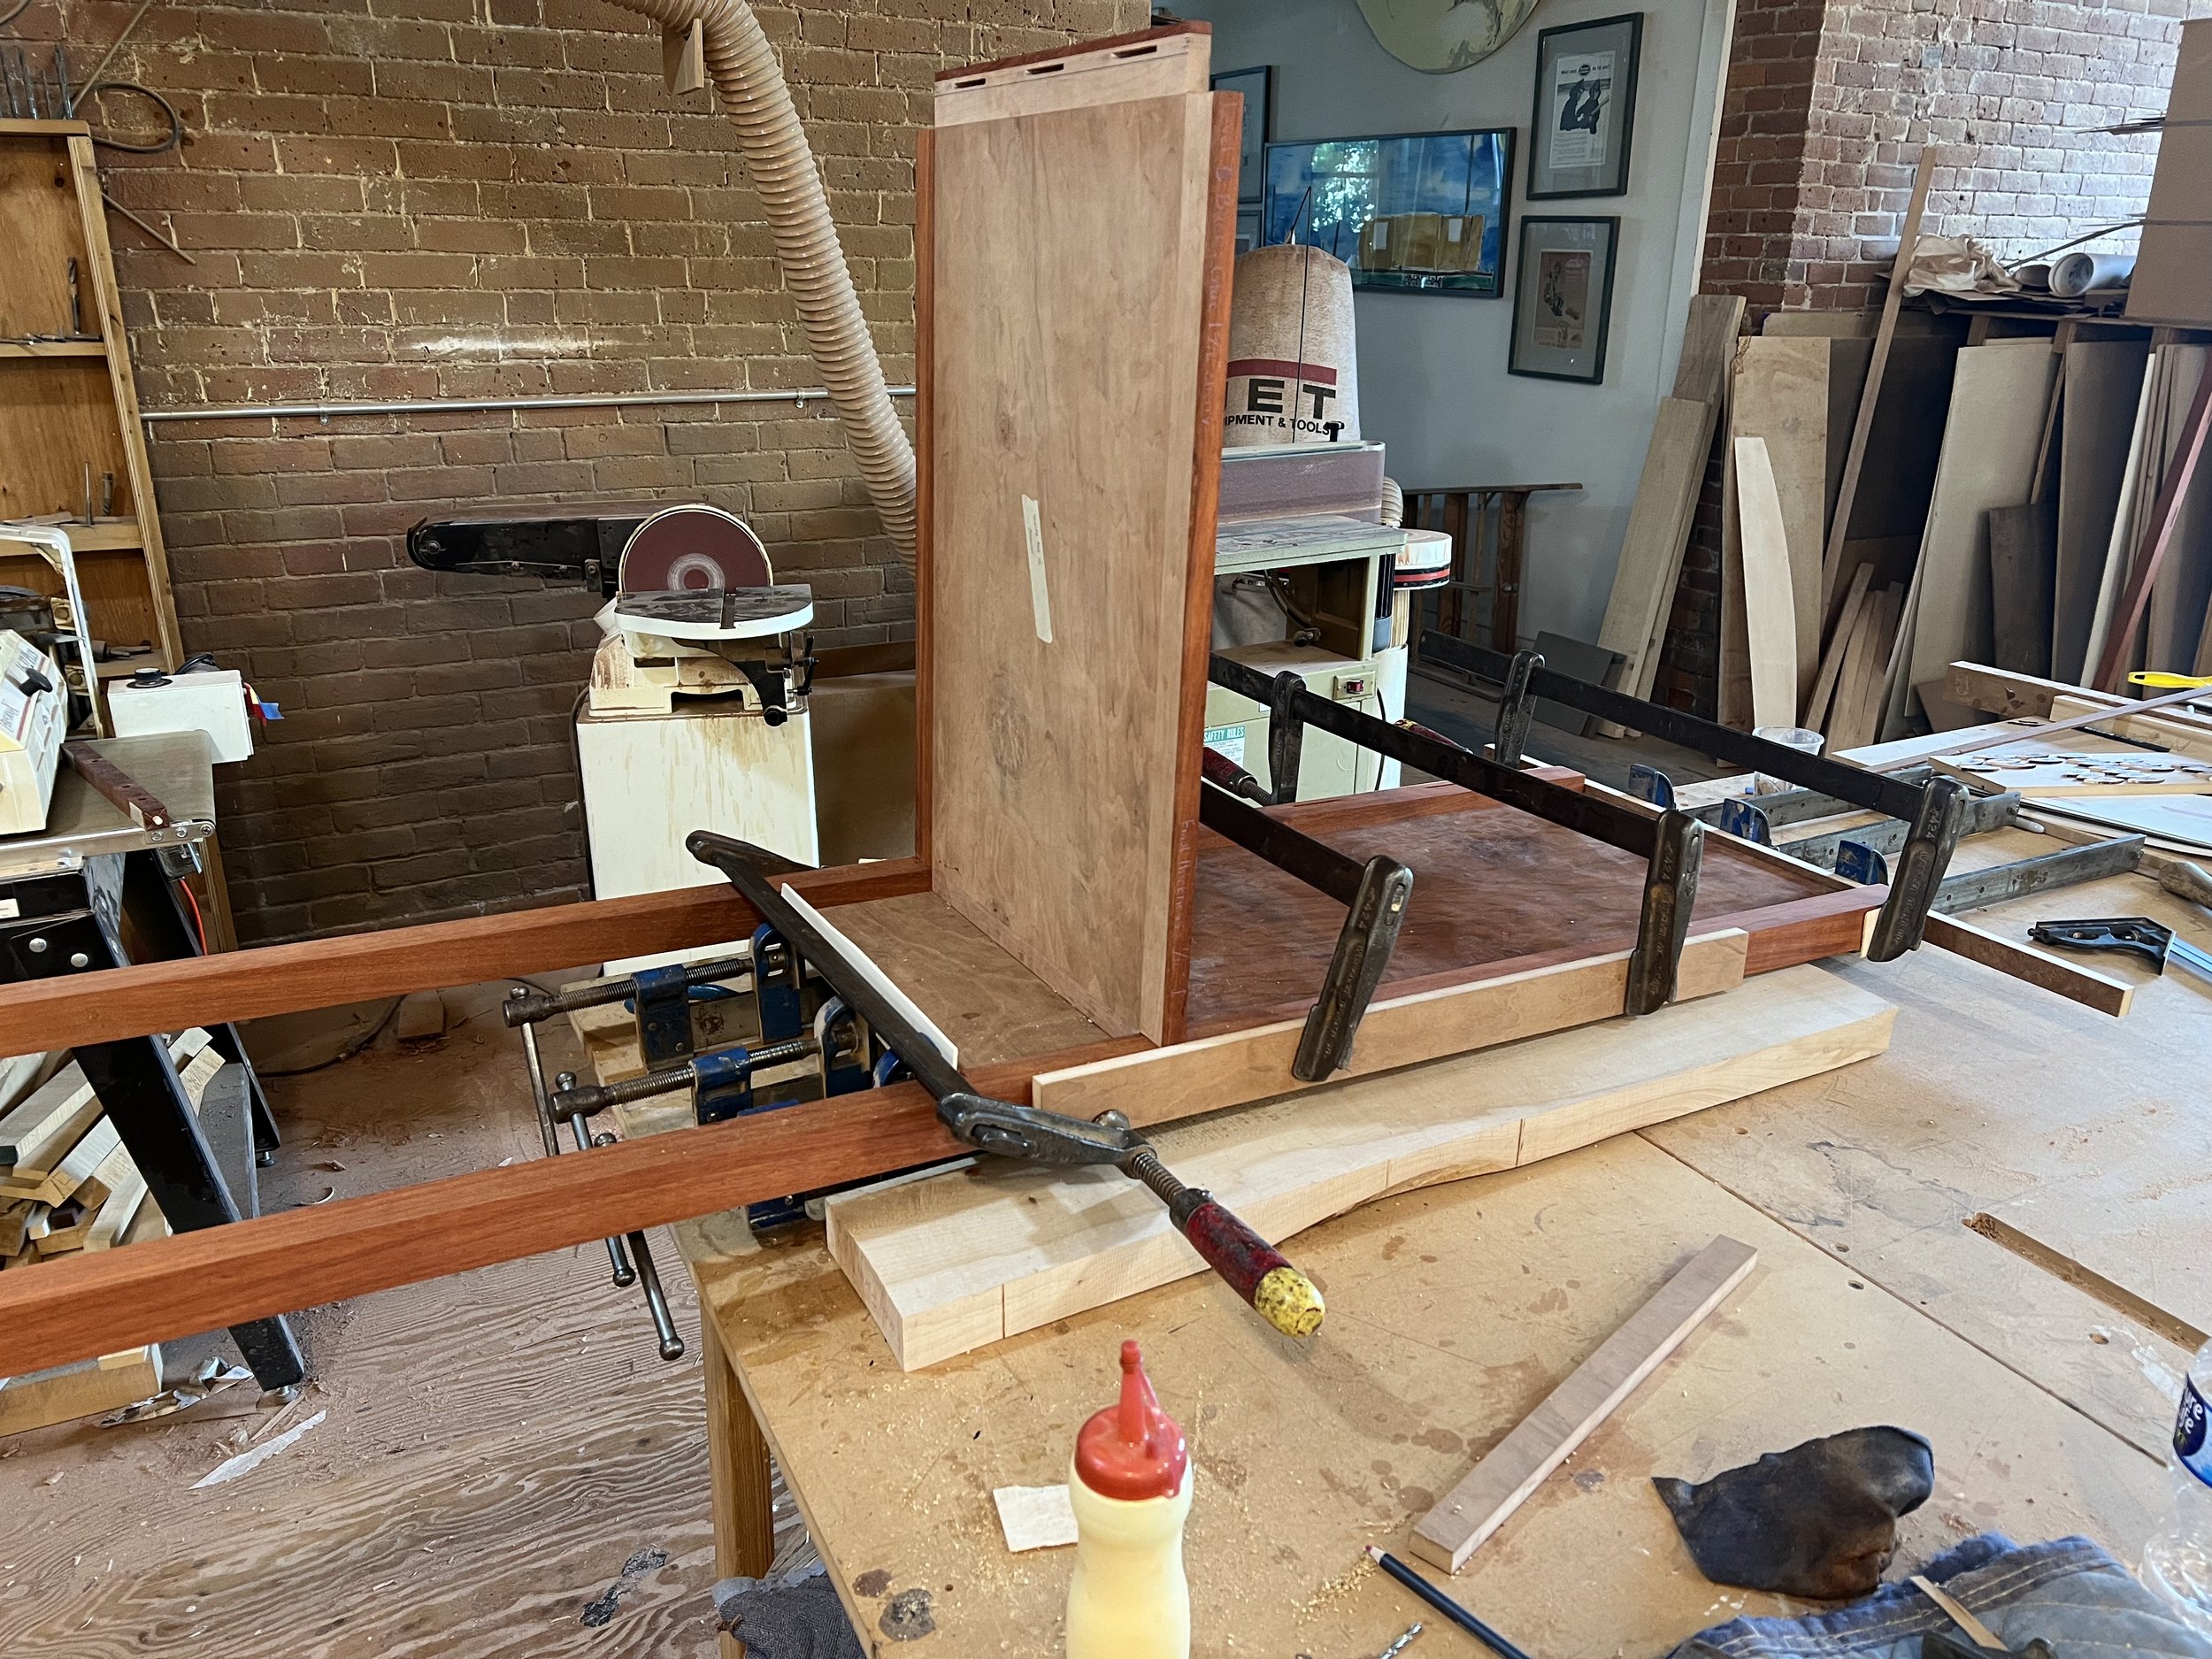
Second, I glued the other small side panel and the bottom of the drawer.
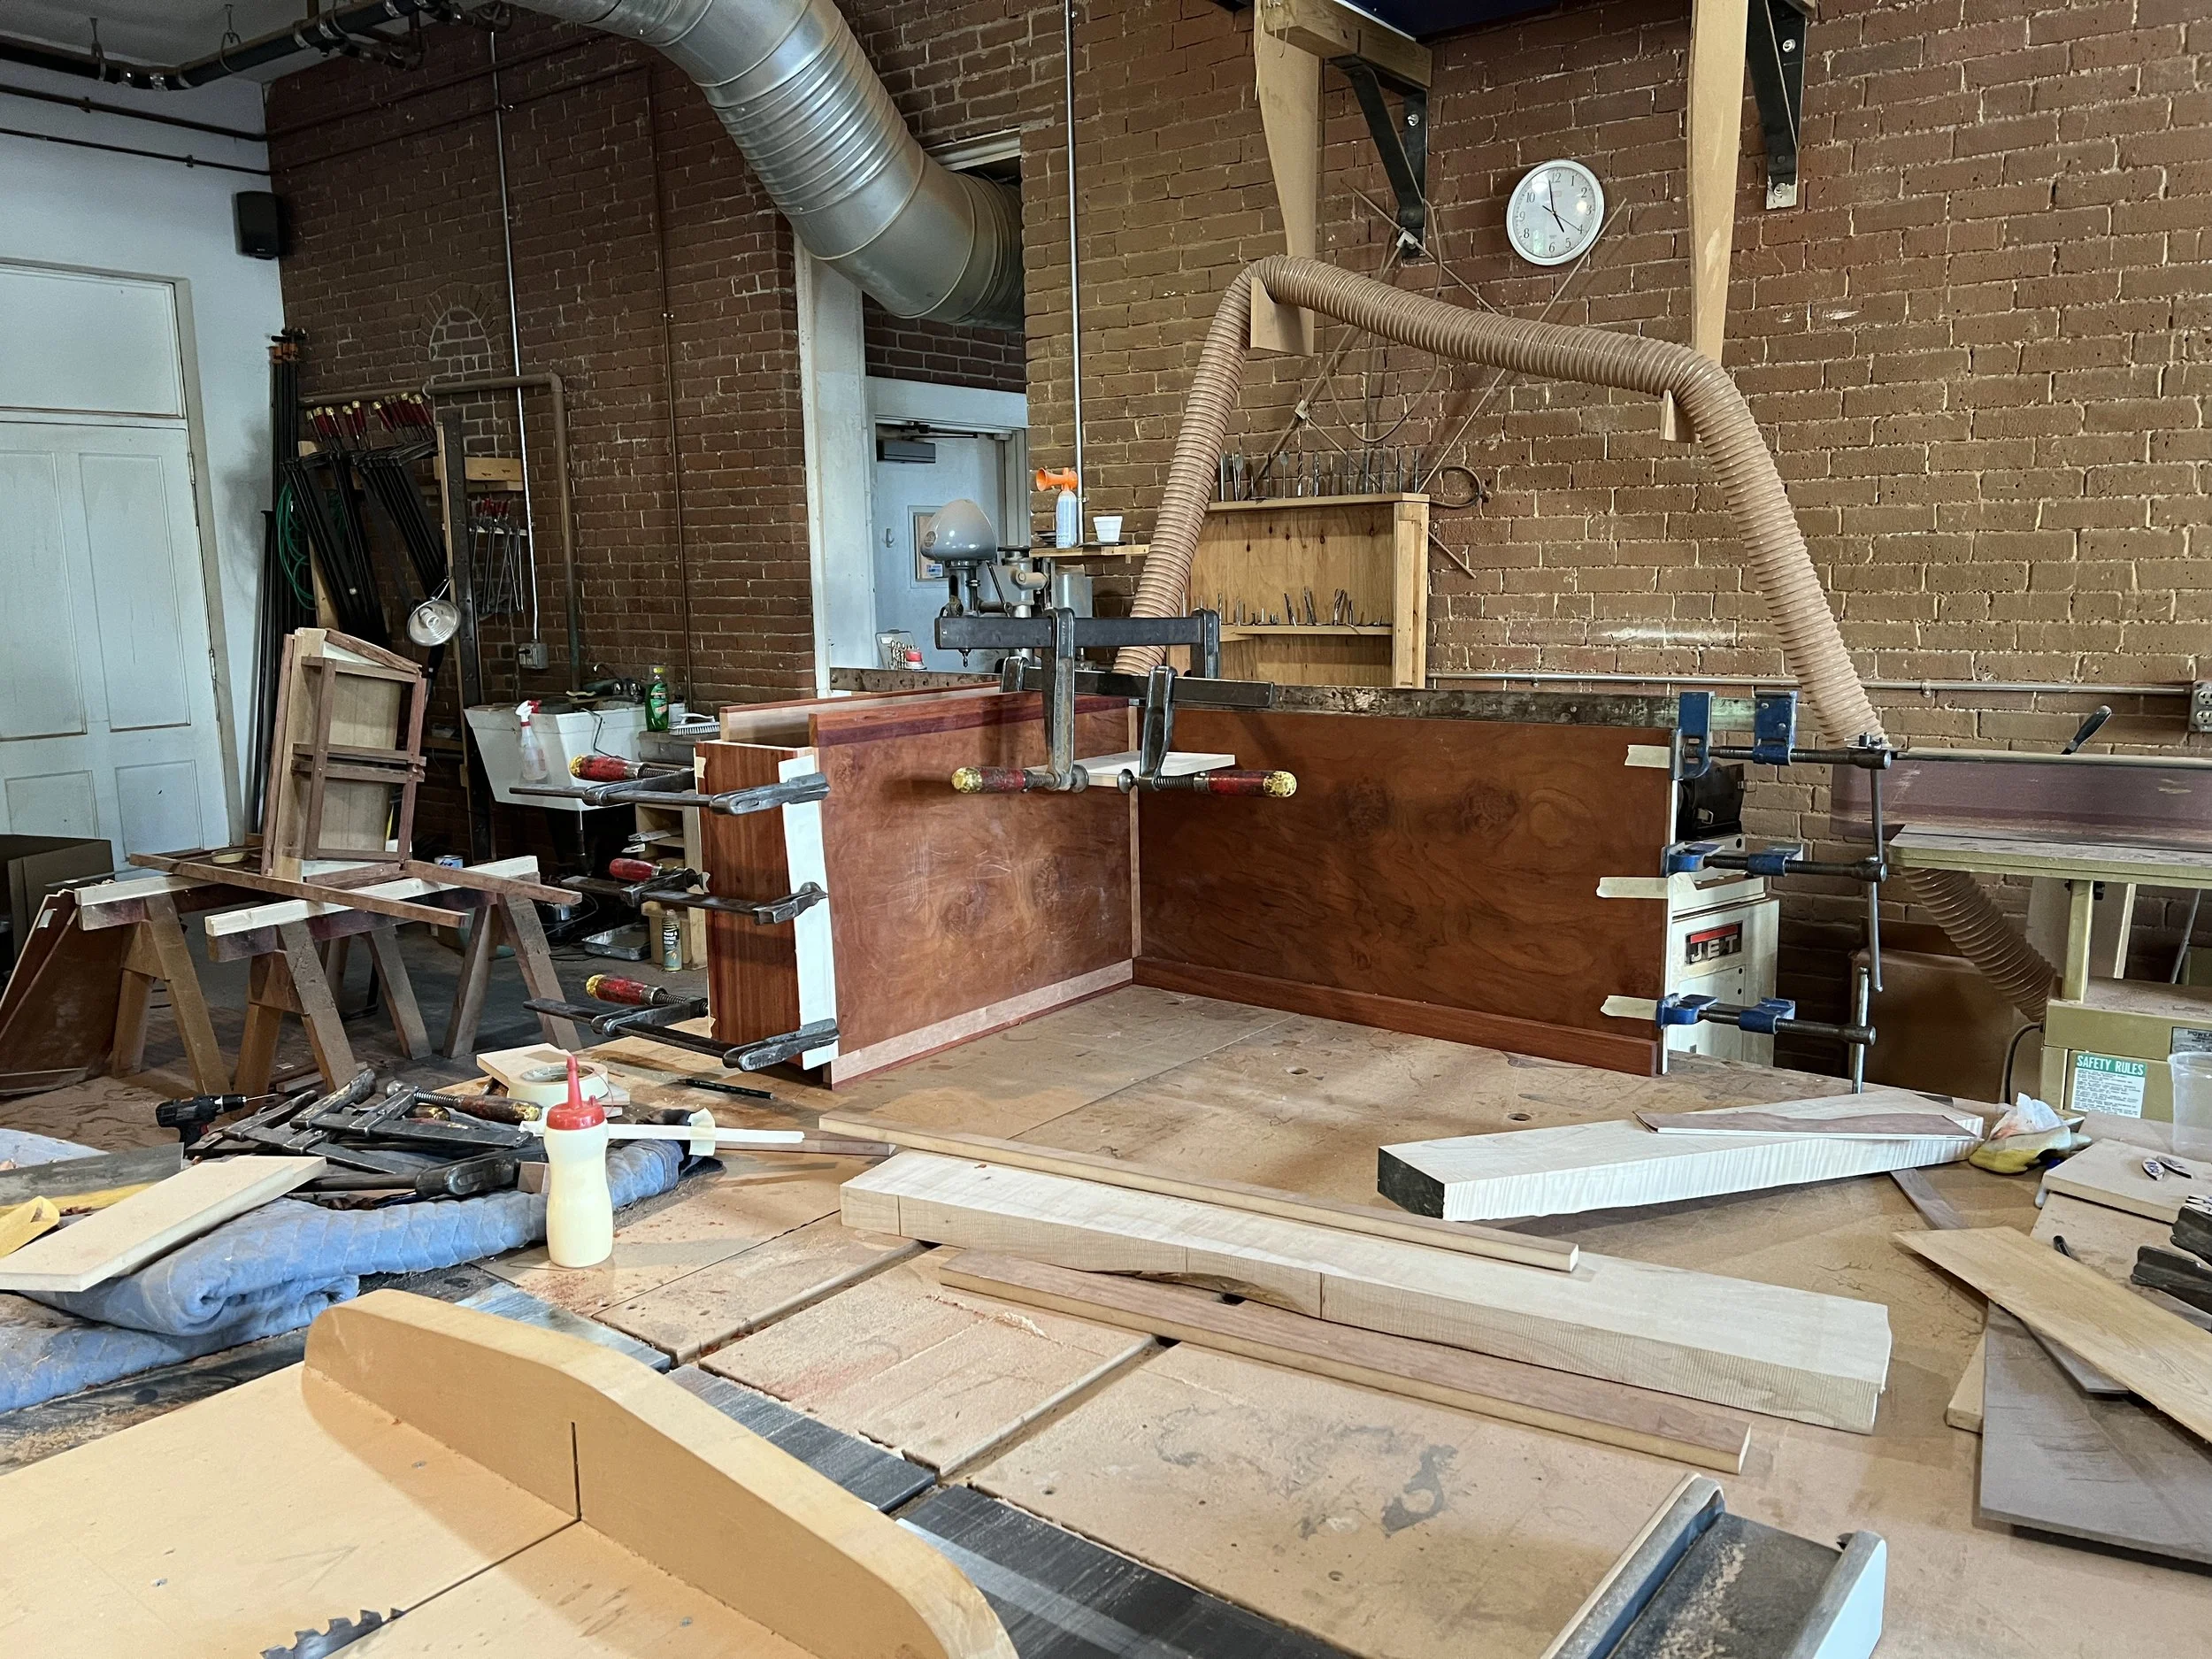
Third, I glued on the front left leg and the side of the grill between the two left legs.
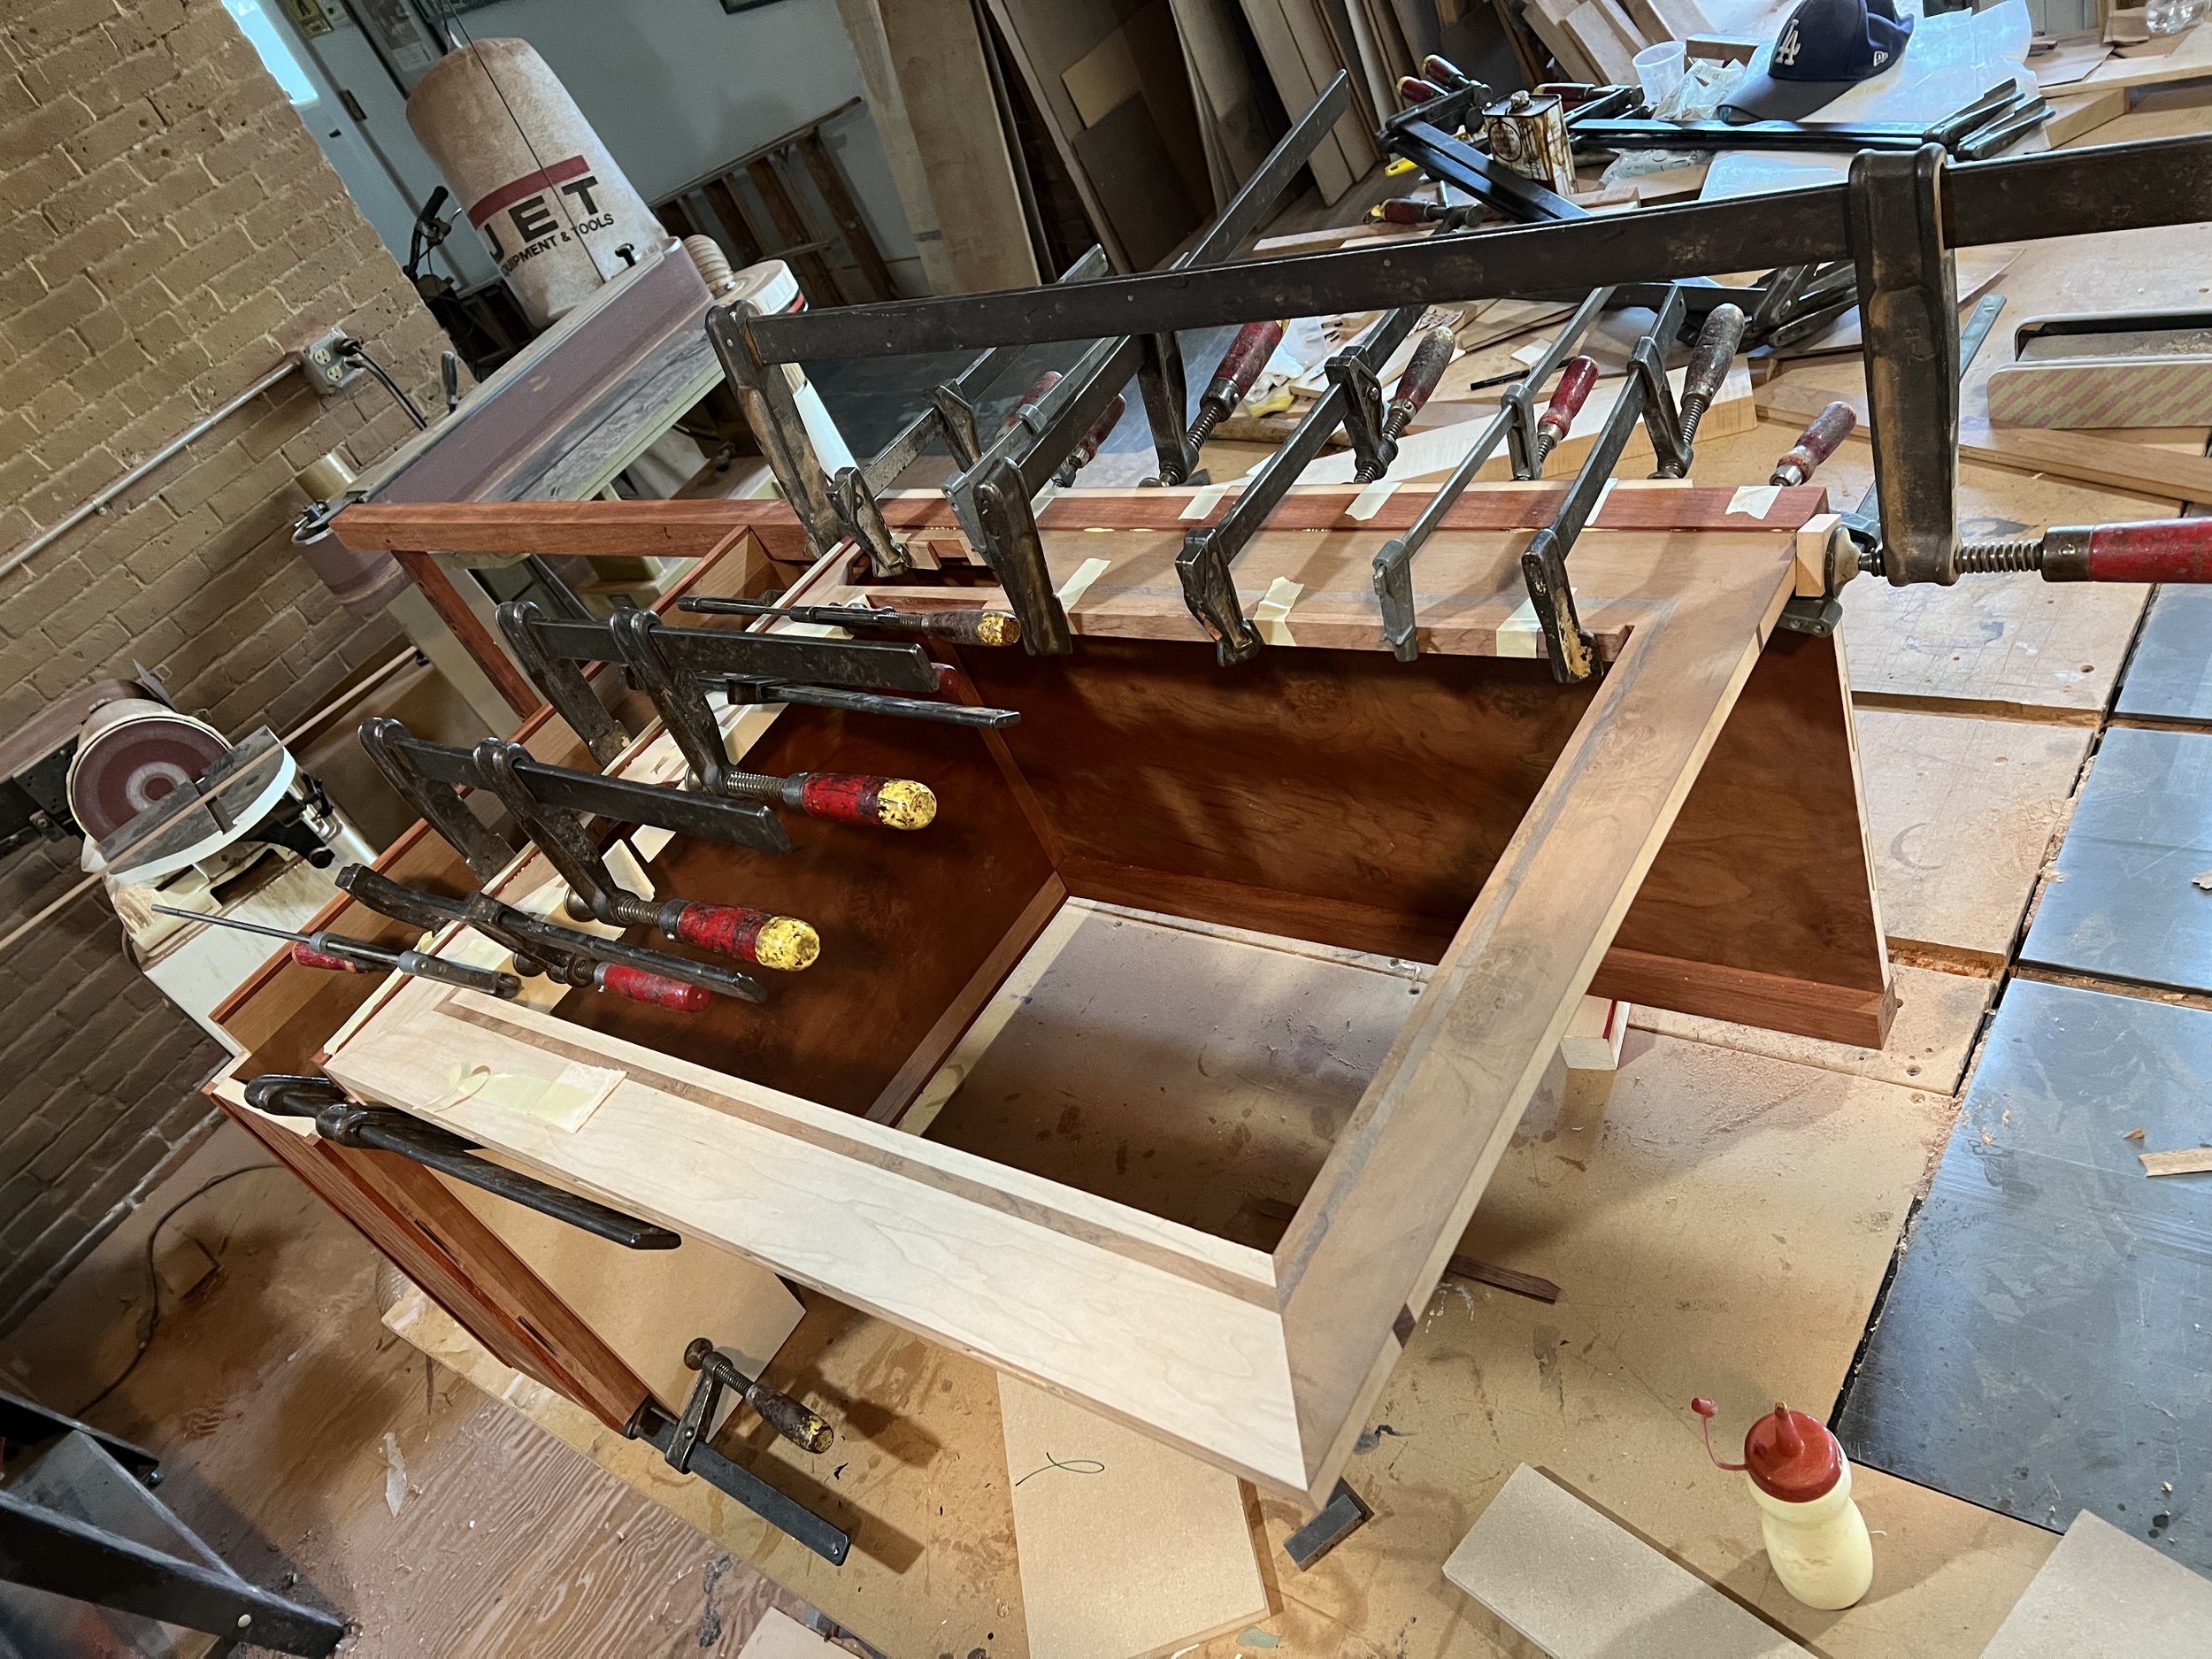
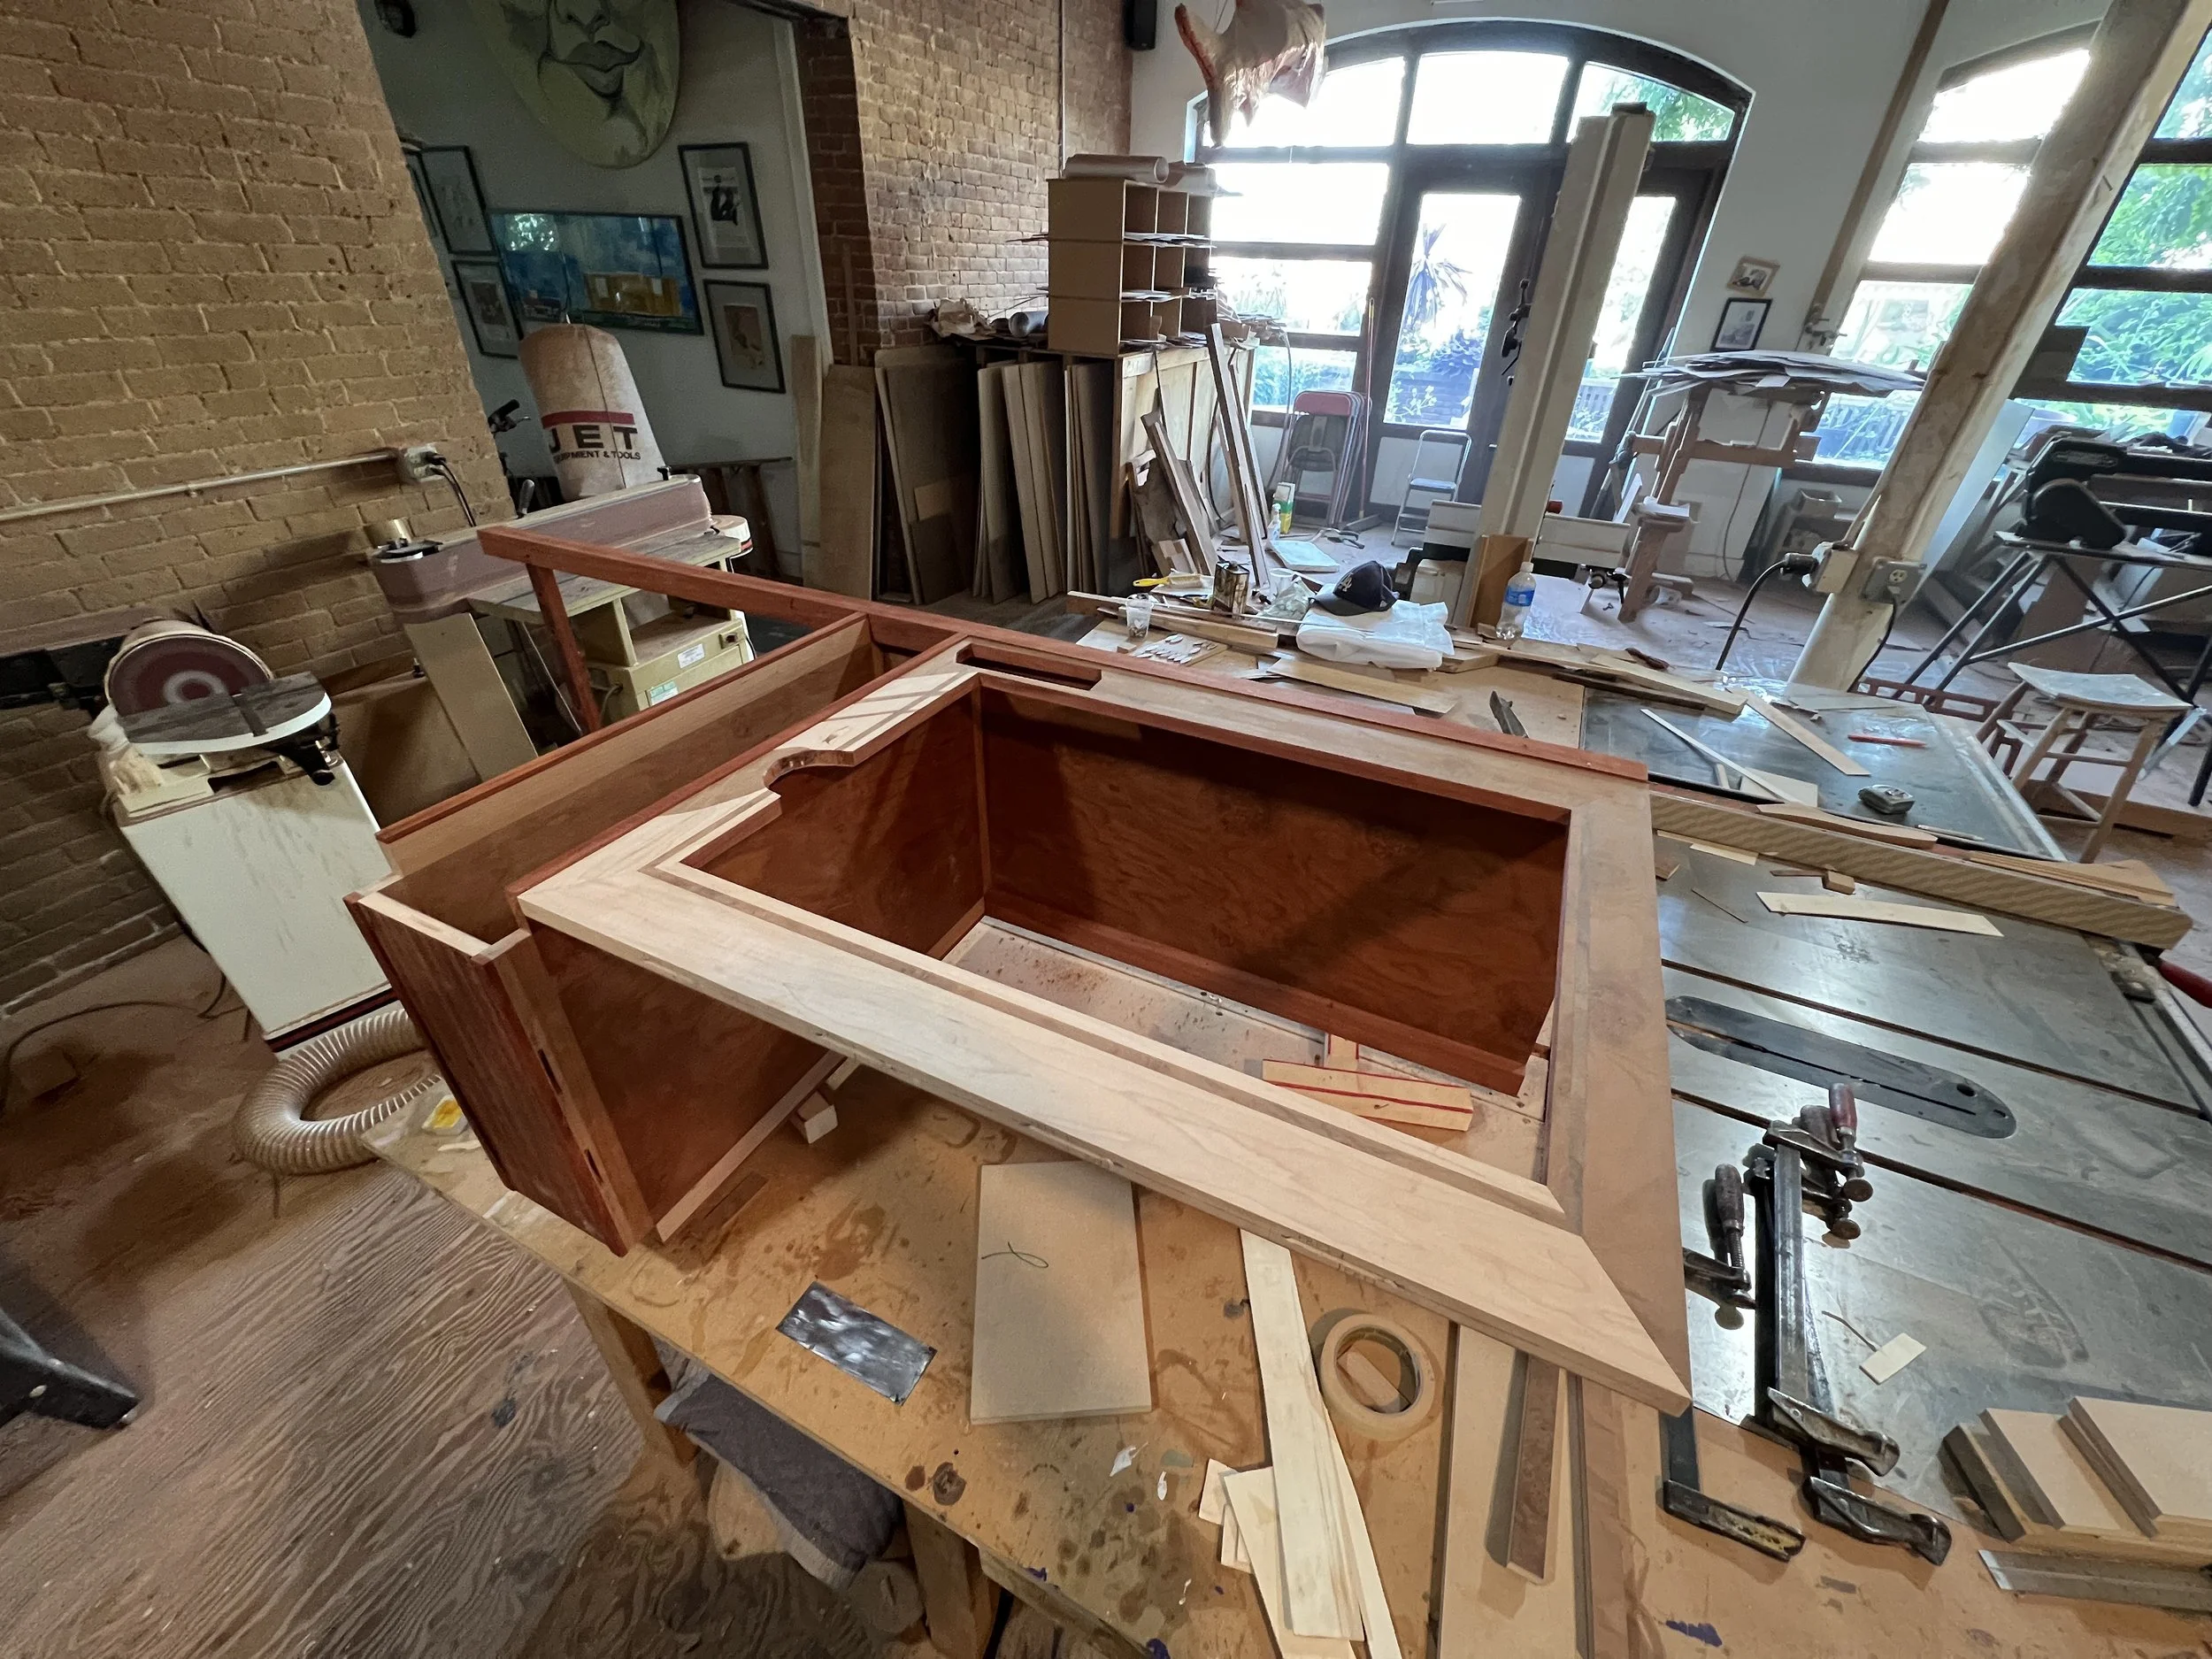
Fourth, I glued the marquetry frame to the front of the cabinet.
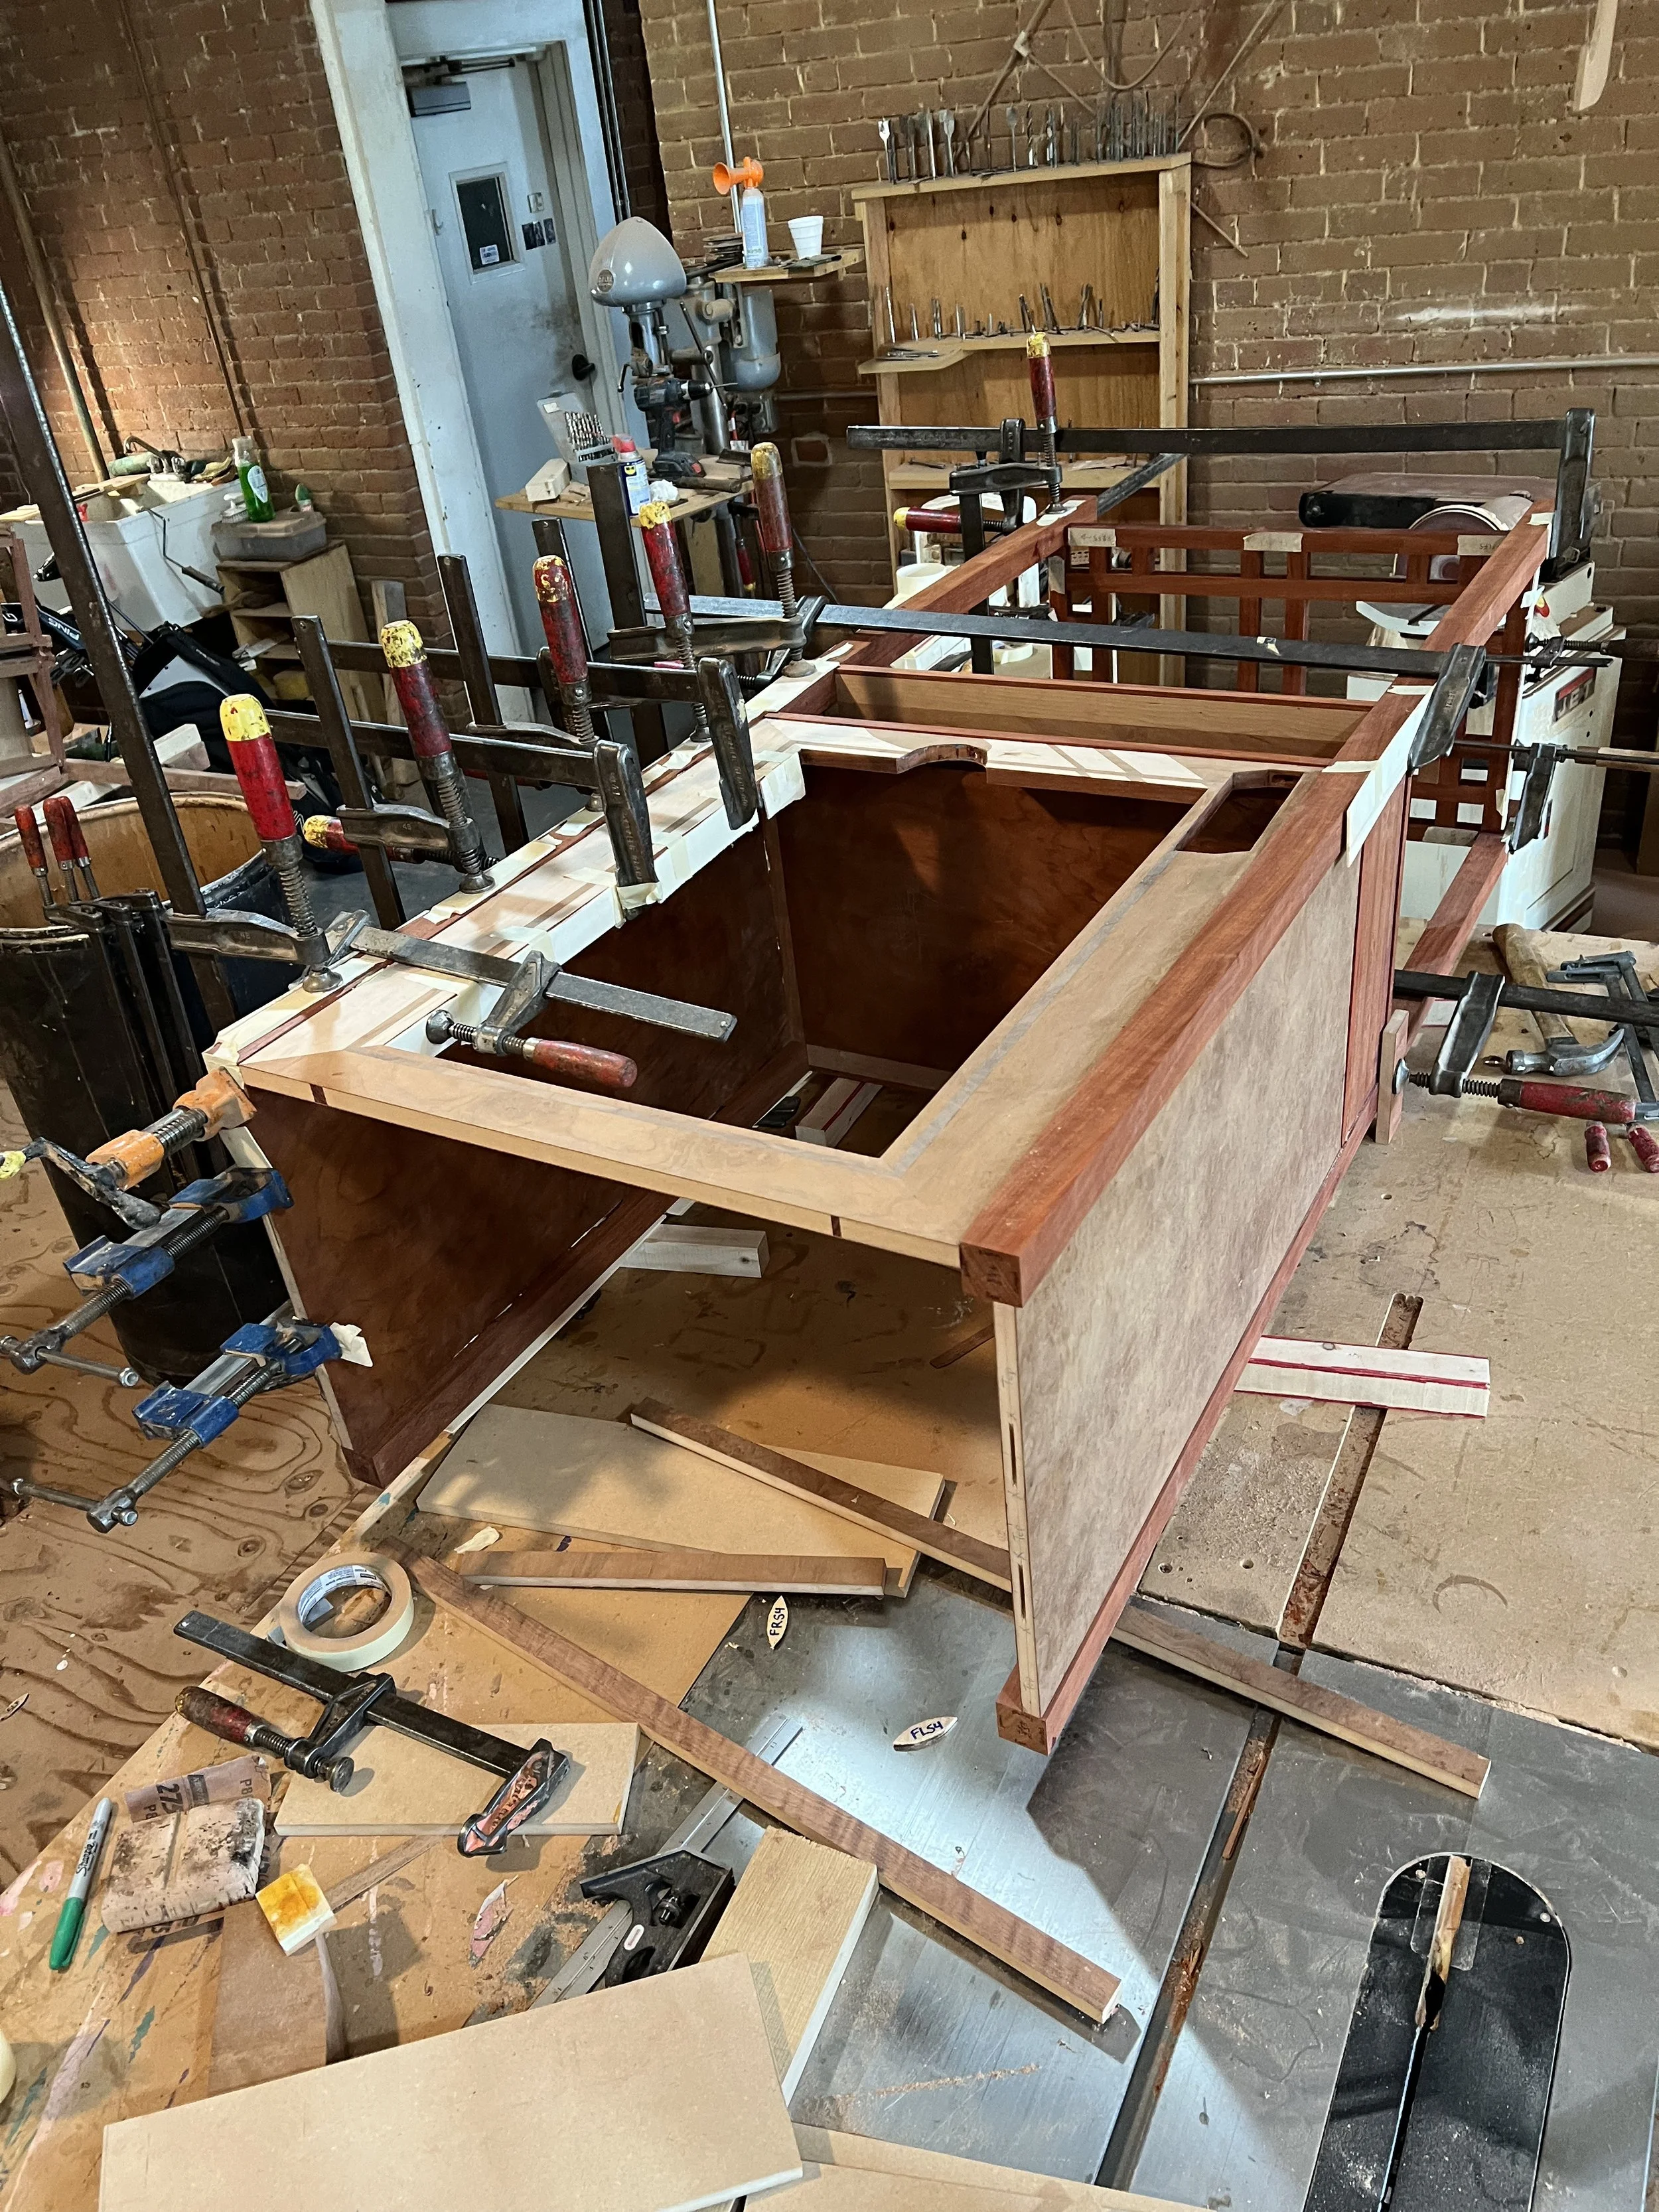
The final stage of the glue-up was the most complicated. I had to glue the large right side panel, the two right legs, and the rest of the grill. My dad helped me with this step, because this was a two-person job where we had to work very quickly to get everything in place before the glue set.
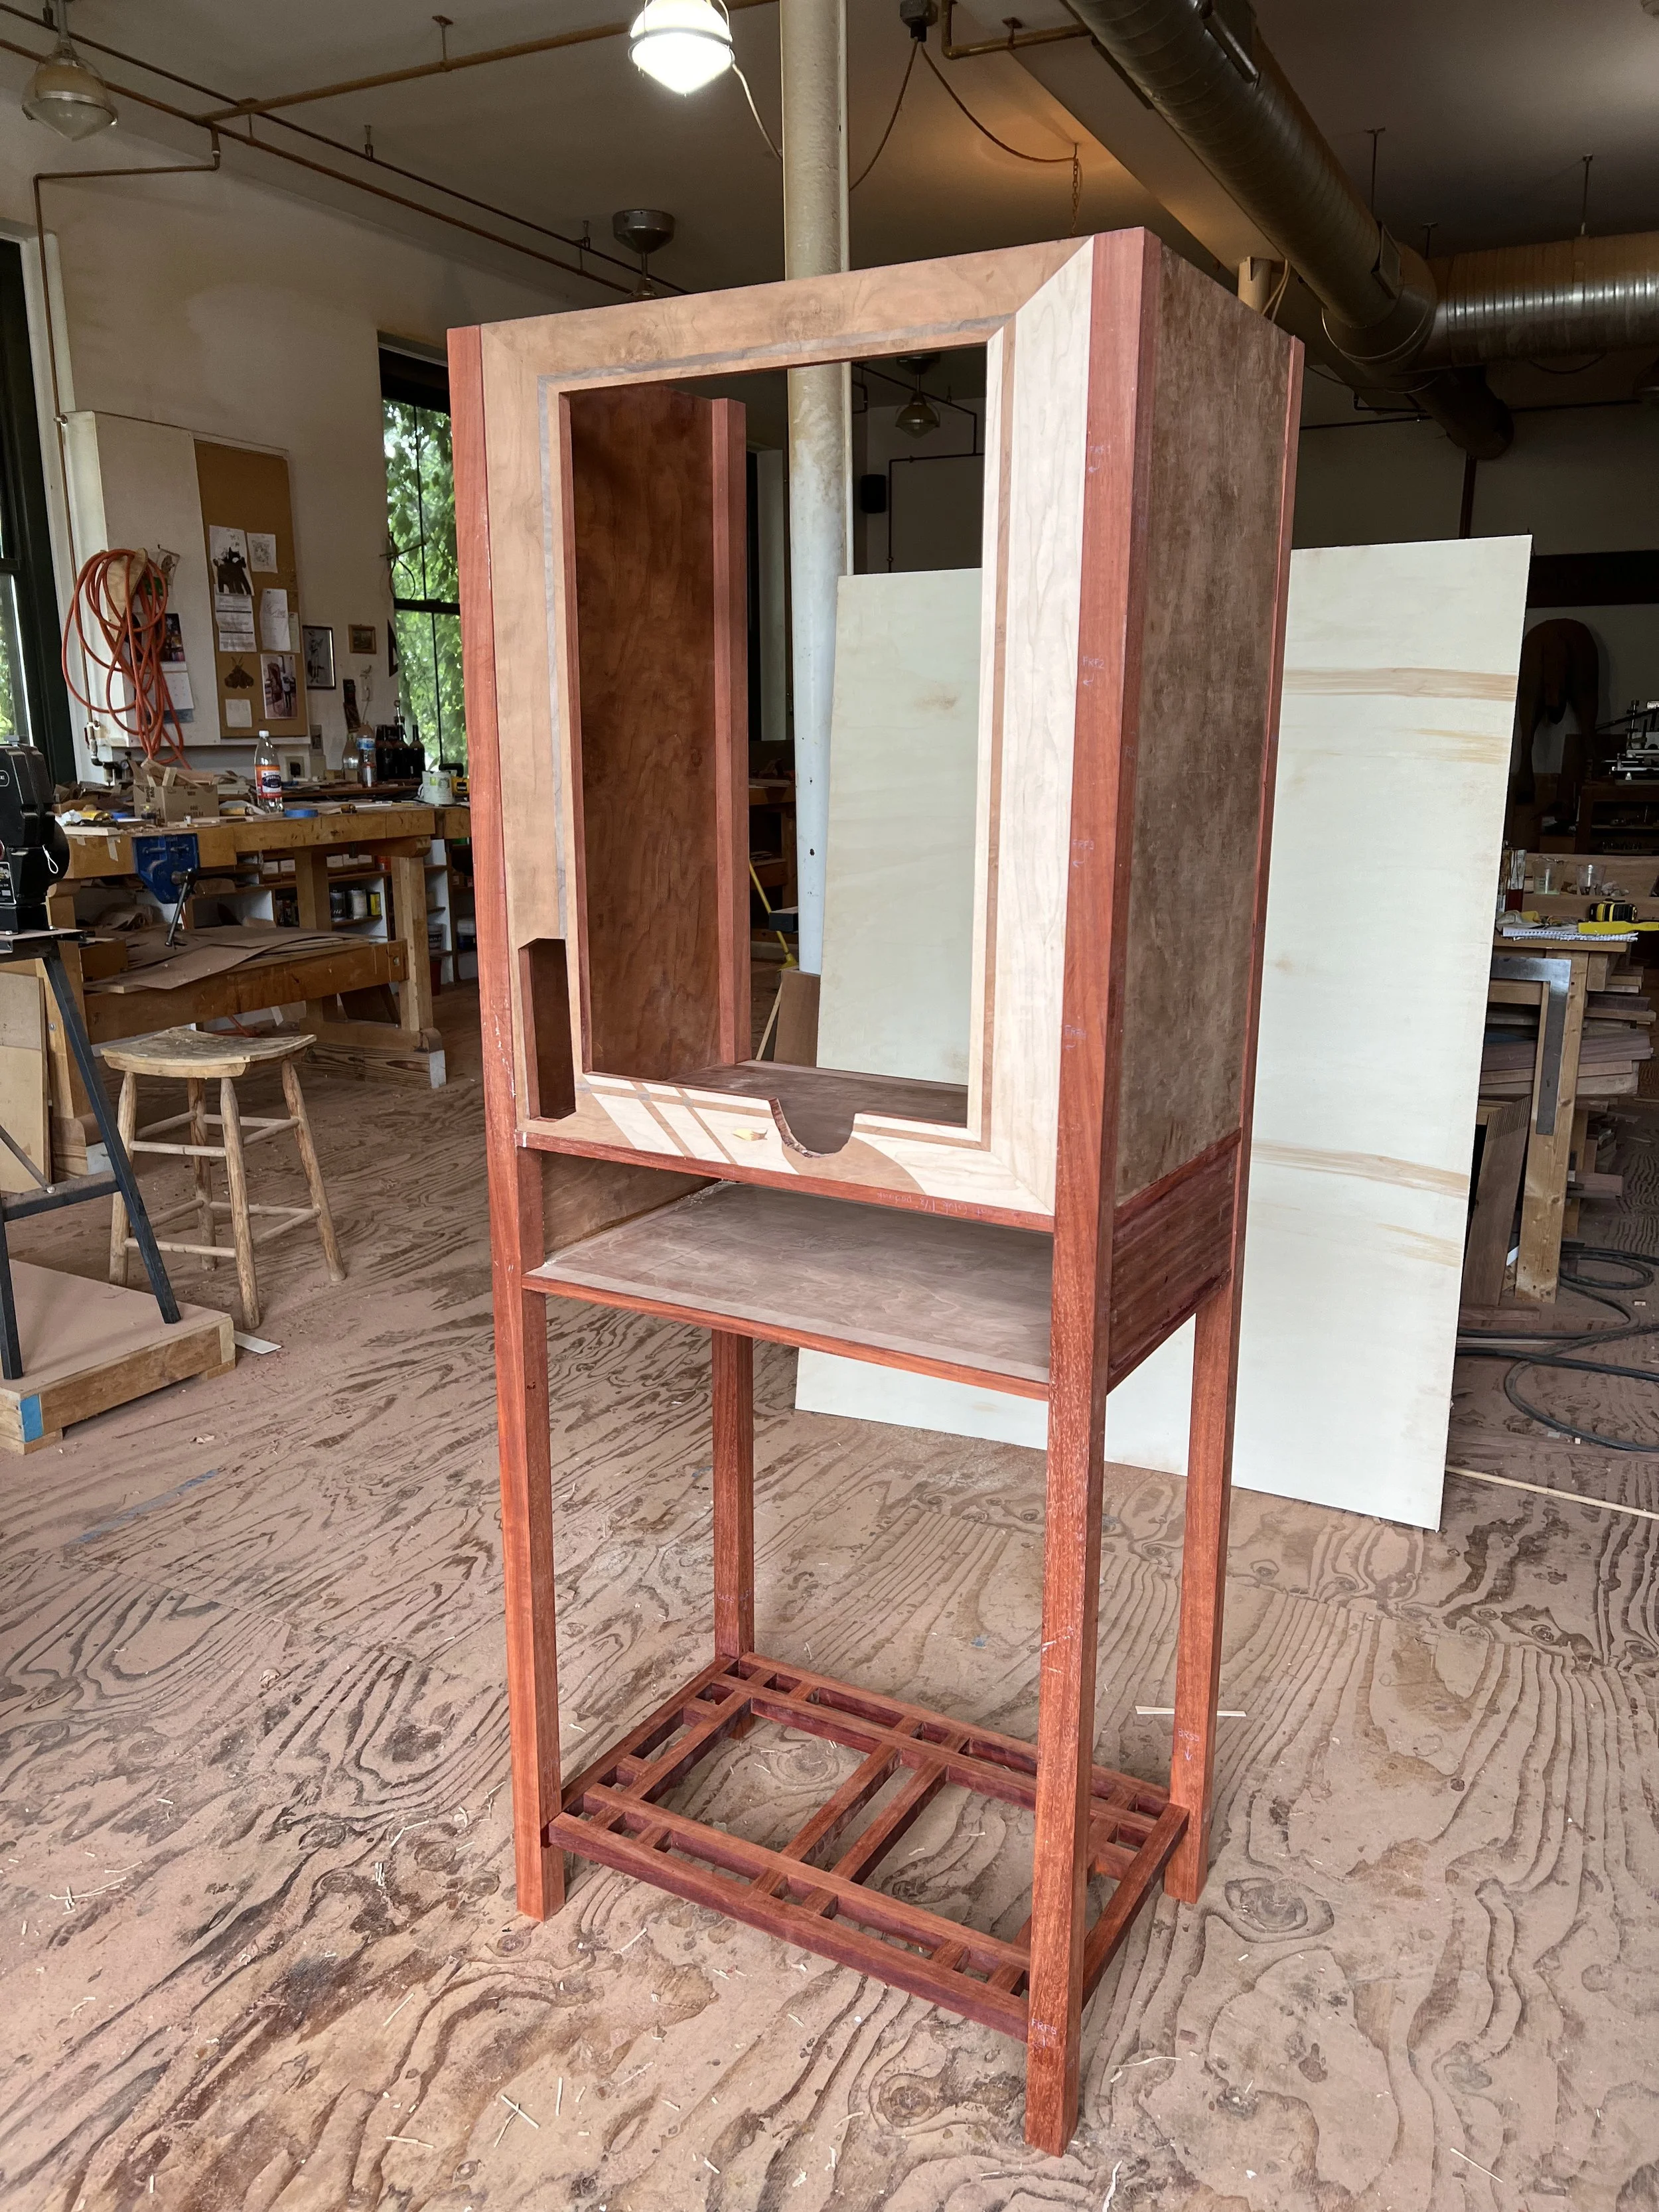
A few hours later, after glue had dried, I was finally able to stand the cabinet up on its feet!
If you’re wondering why the cabinet has no top and no back, that is because I had decided to make those separately and screw them on. This would both make it easier to access the insides of the cabinet, and would make the piece more easy to move, because the back and top could be detached.
