Backyard Birds – Part 26
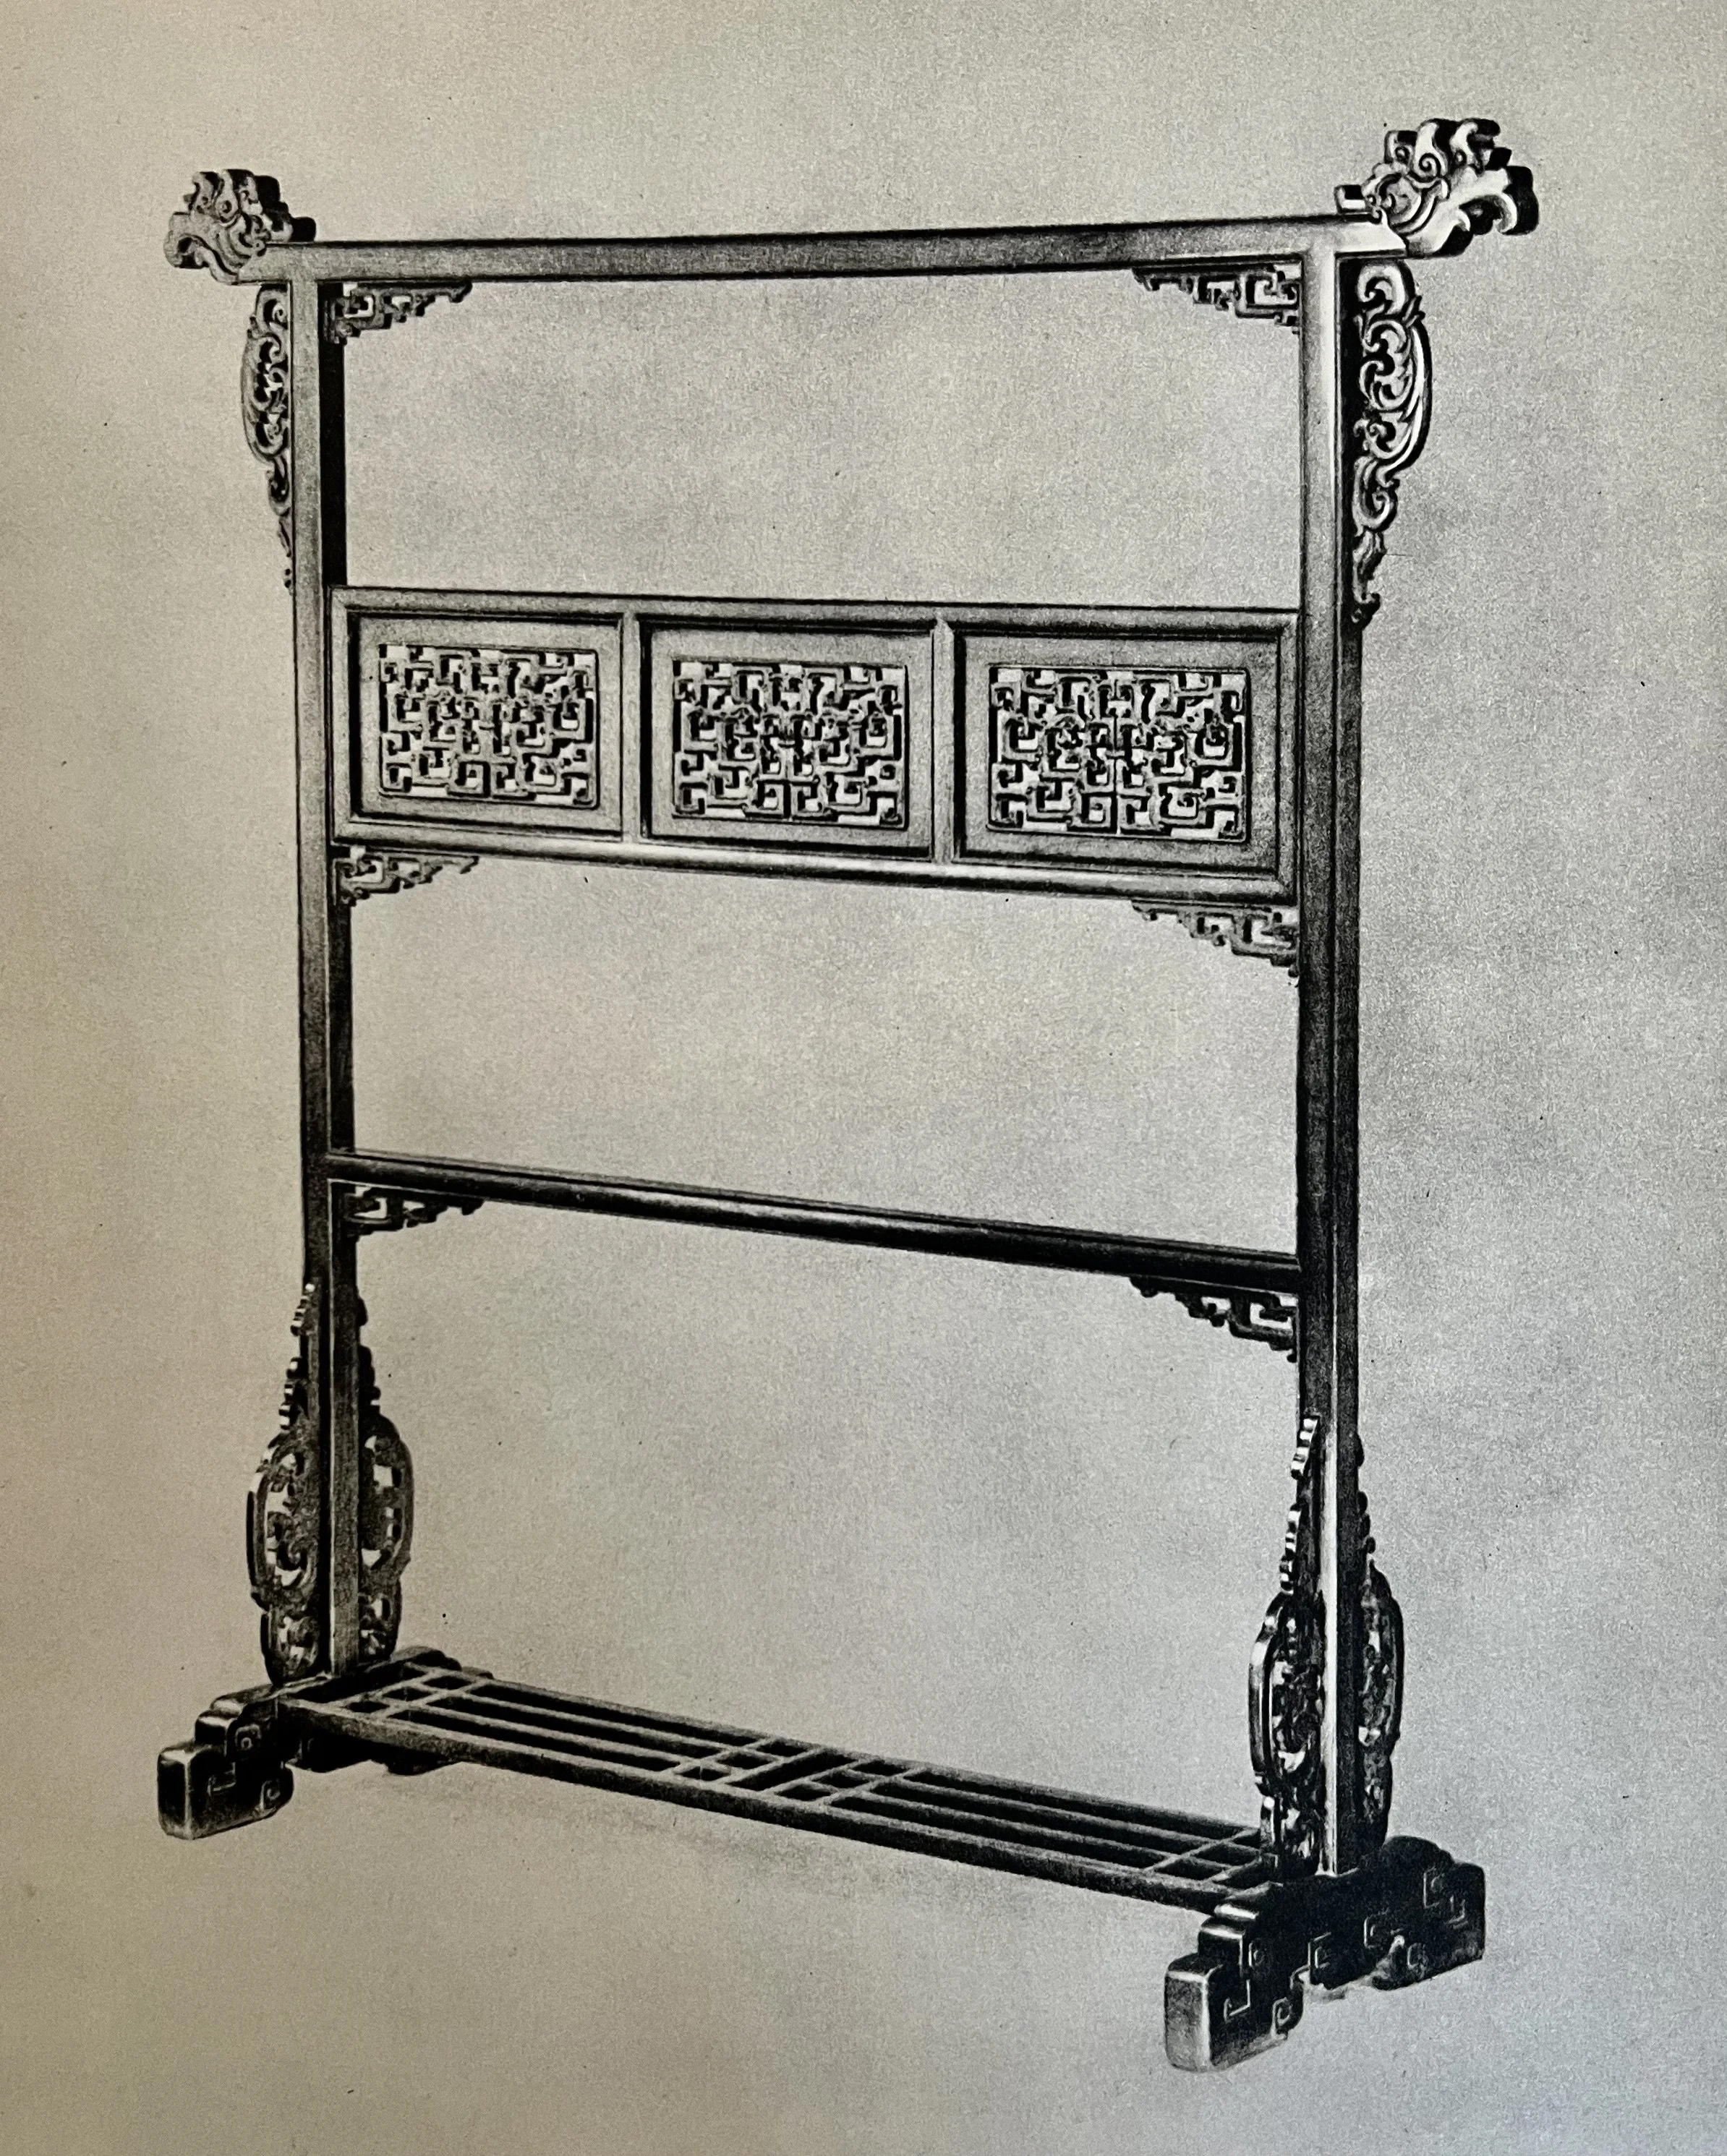
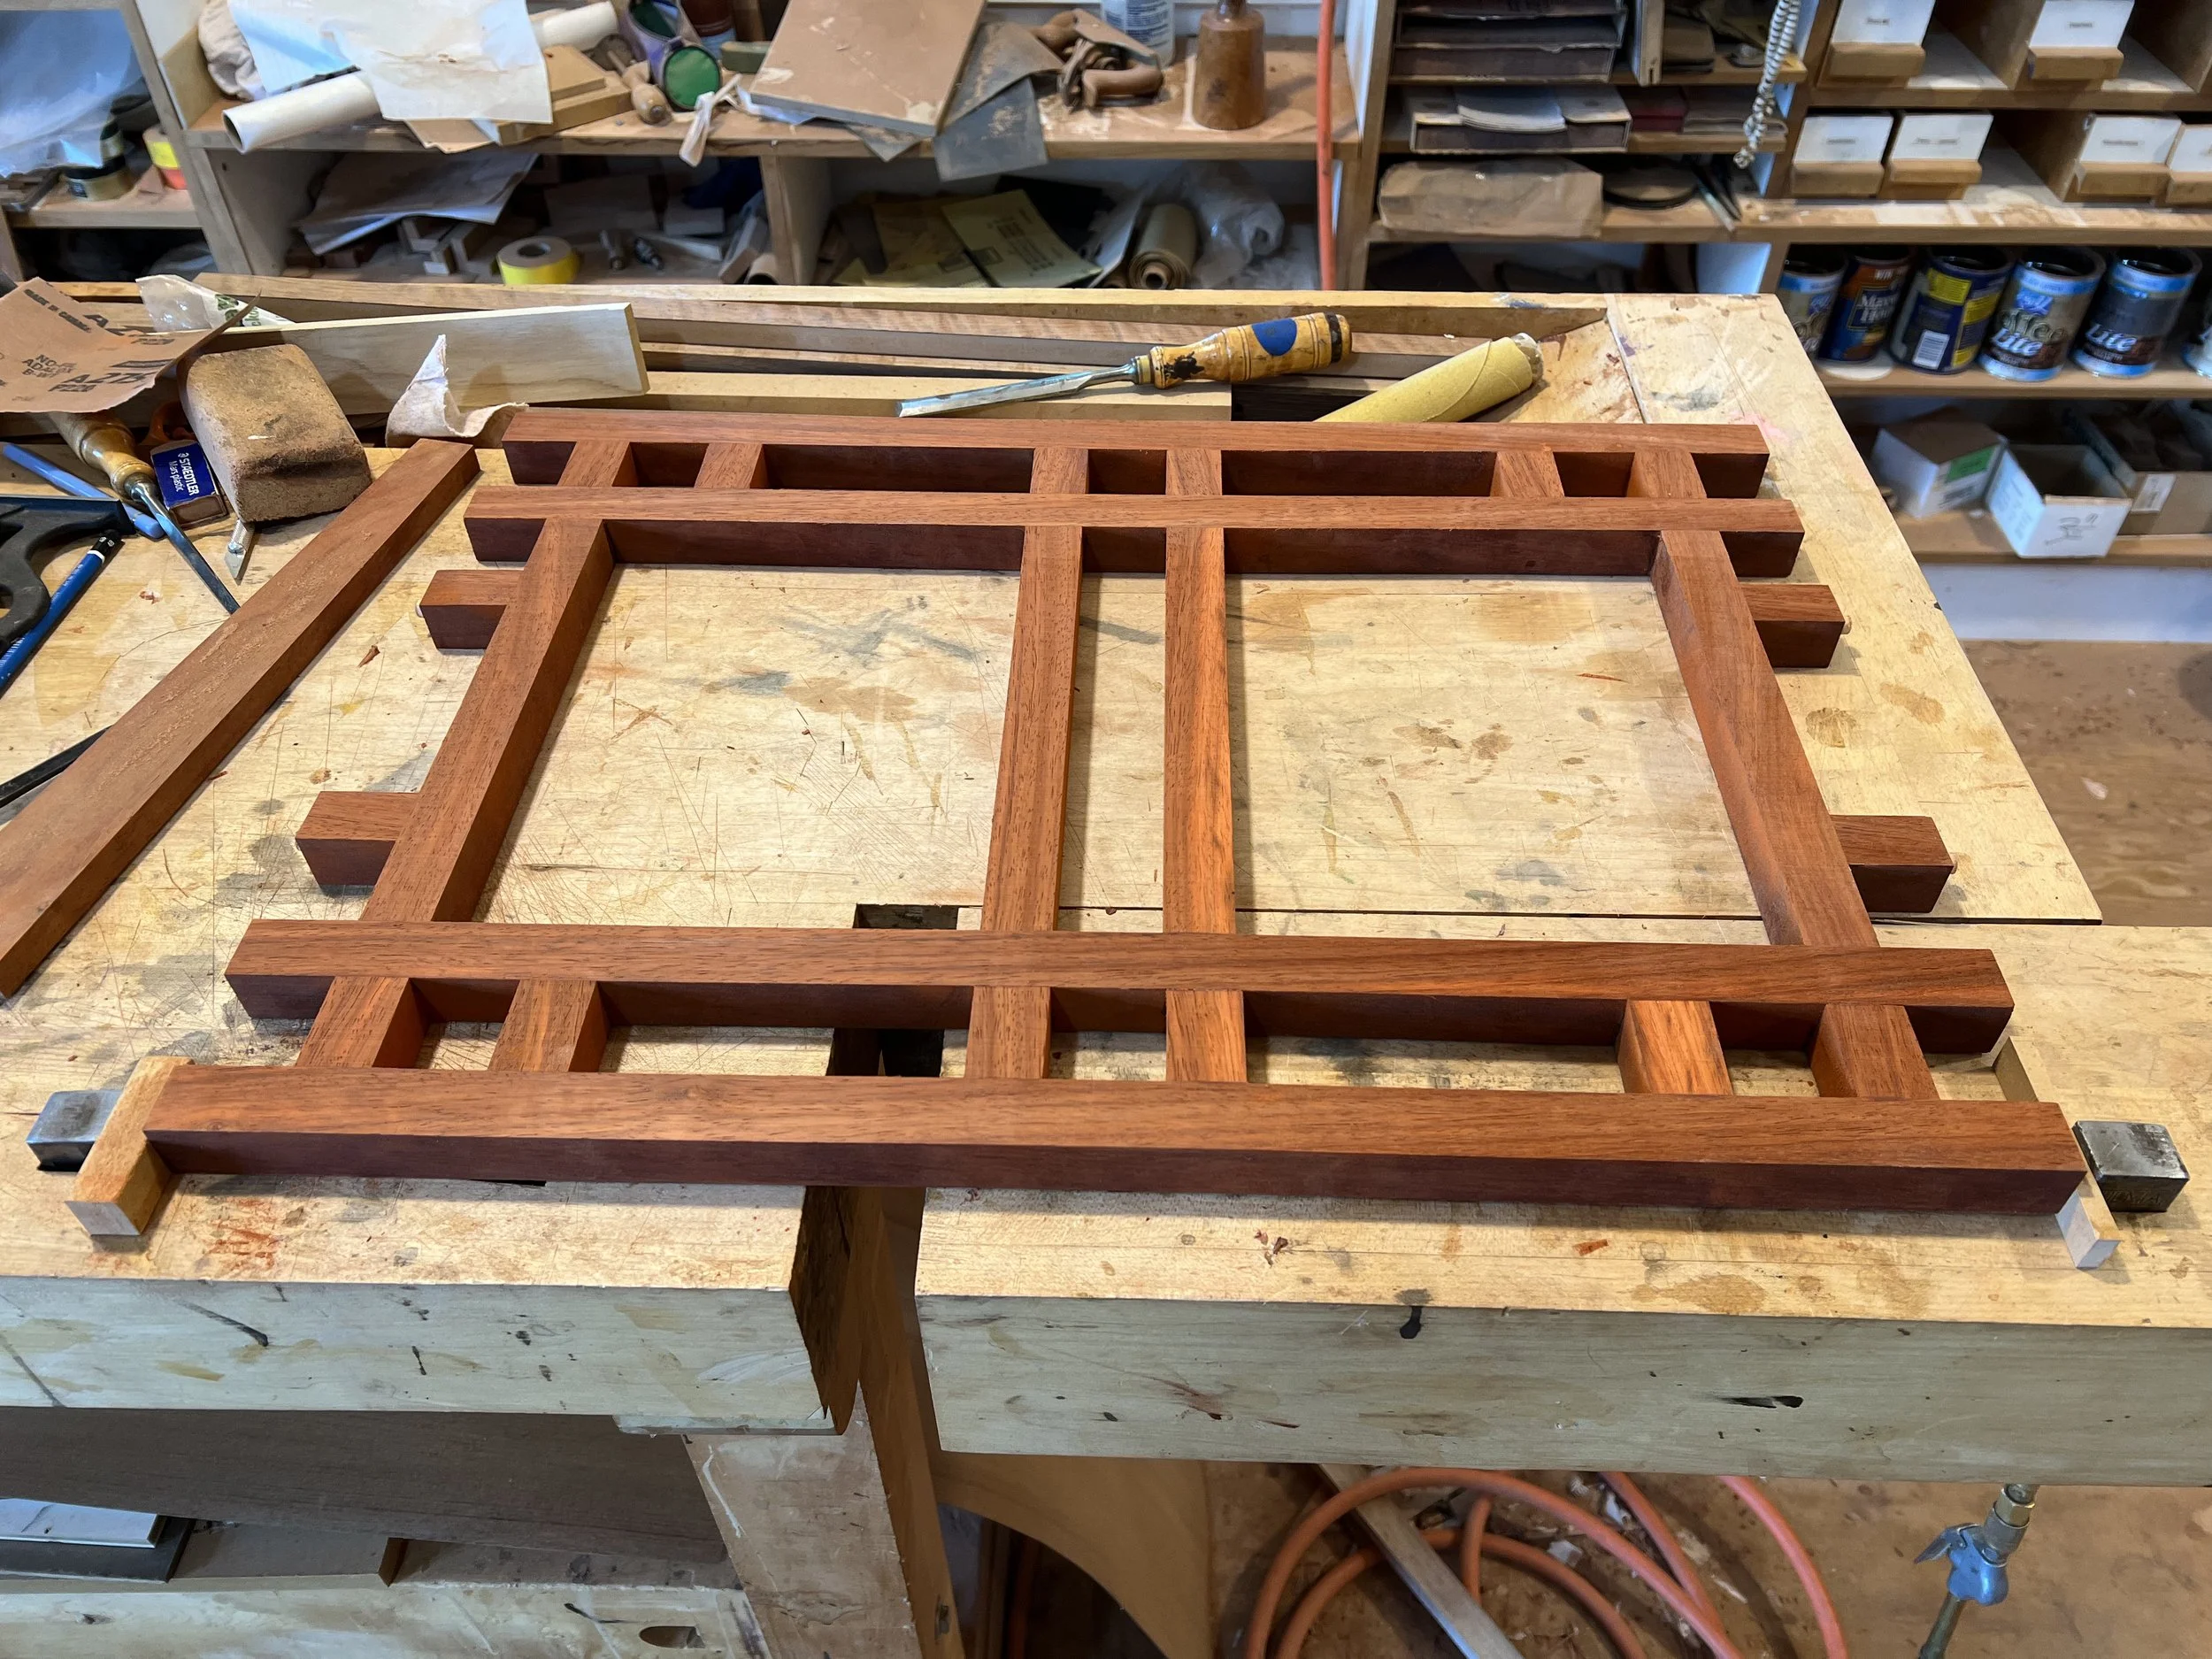
My cabinet design included a grill-like structure near the floor, an idea that I got from a clothes rack in a book on Chinese furniture.
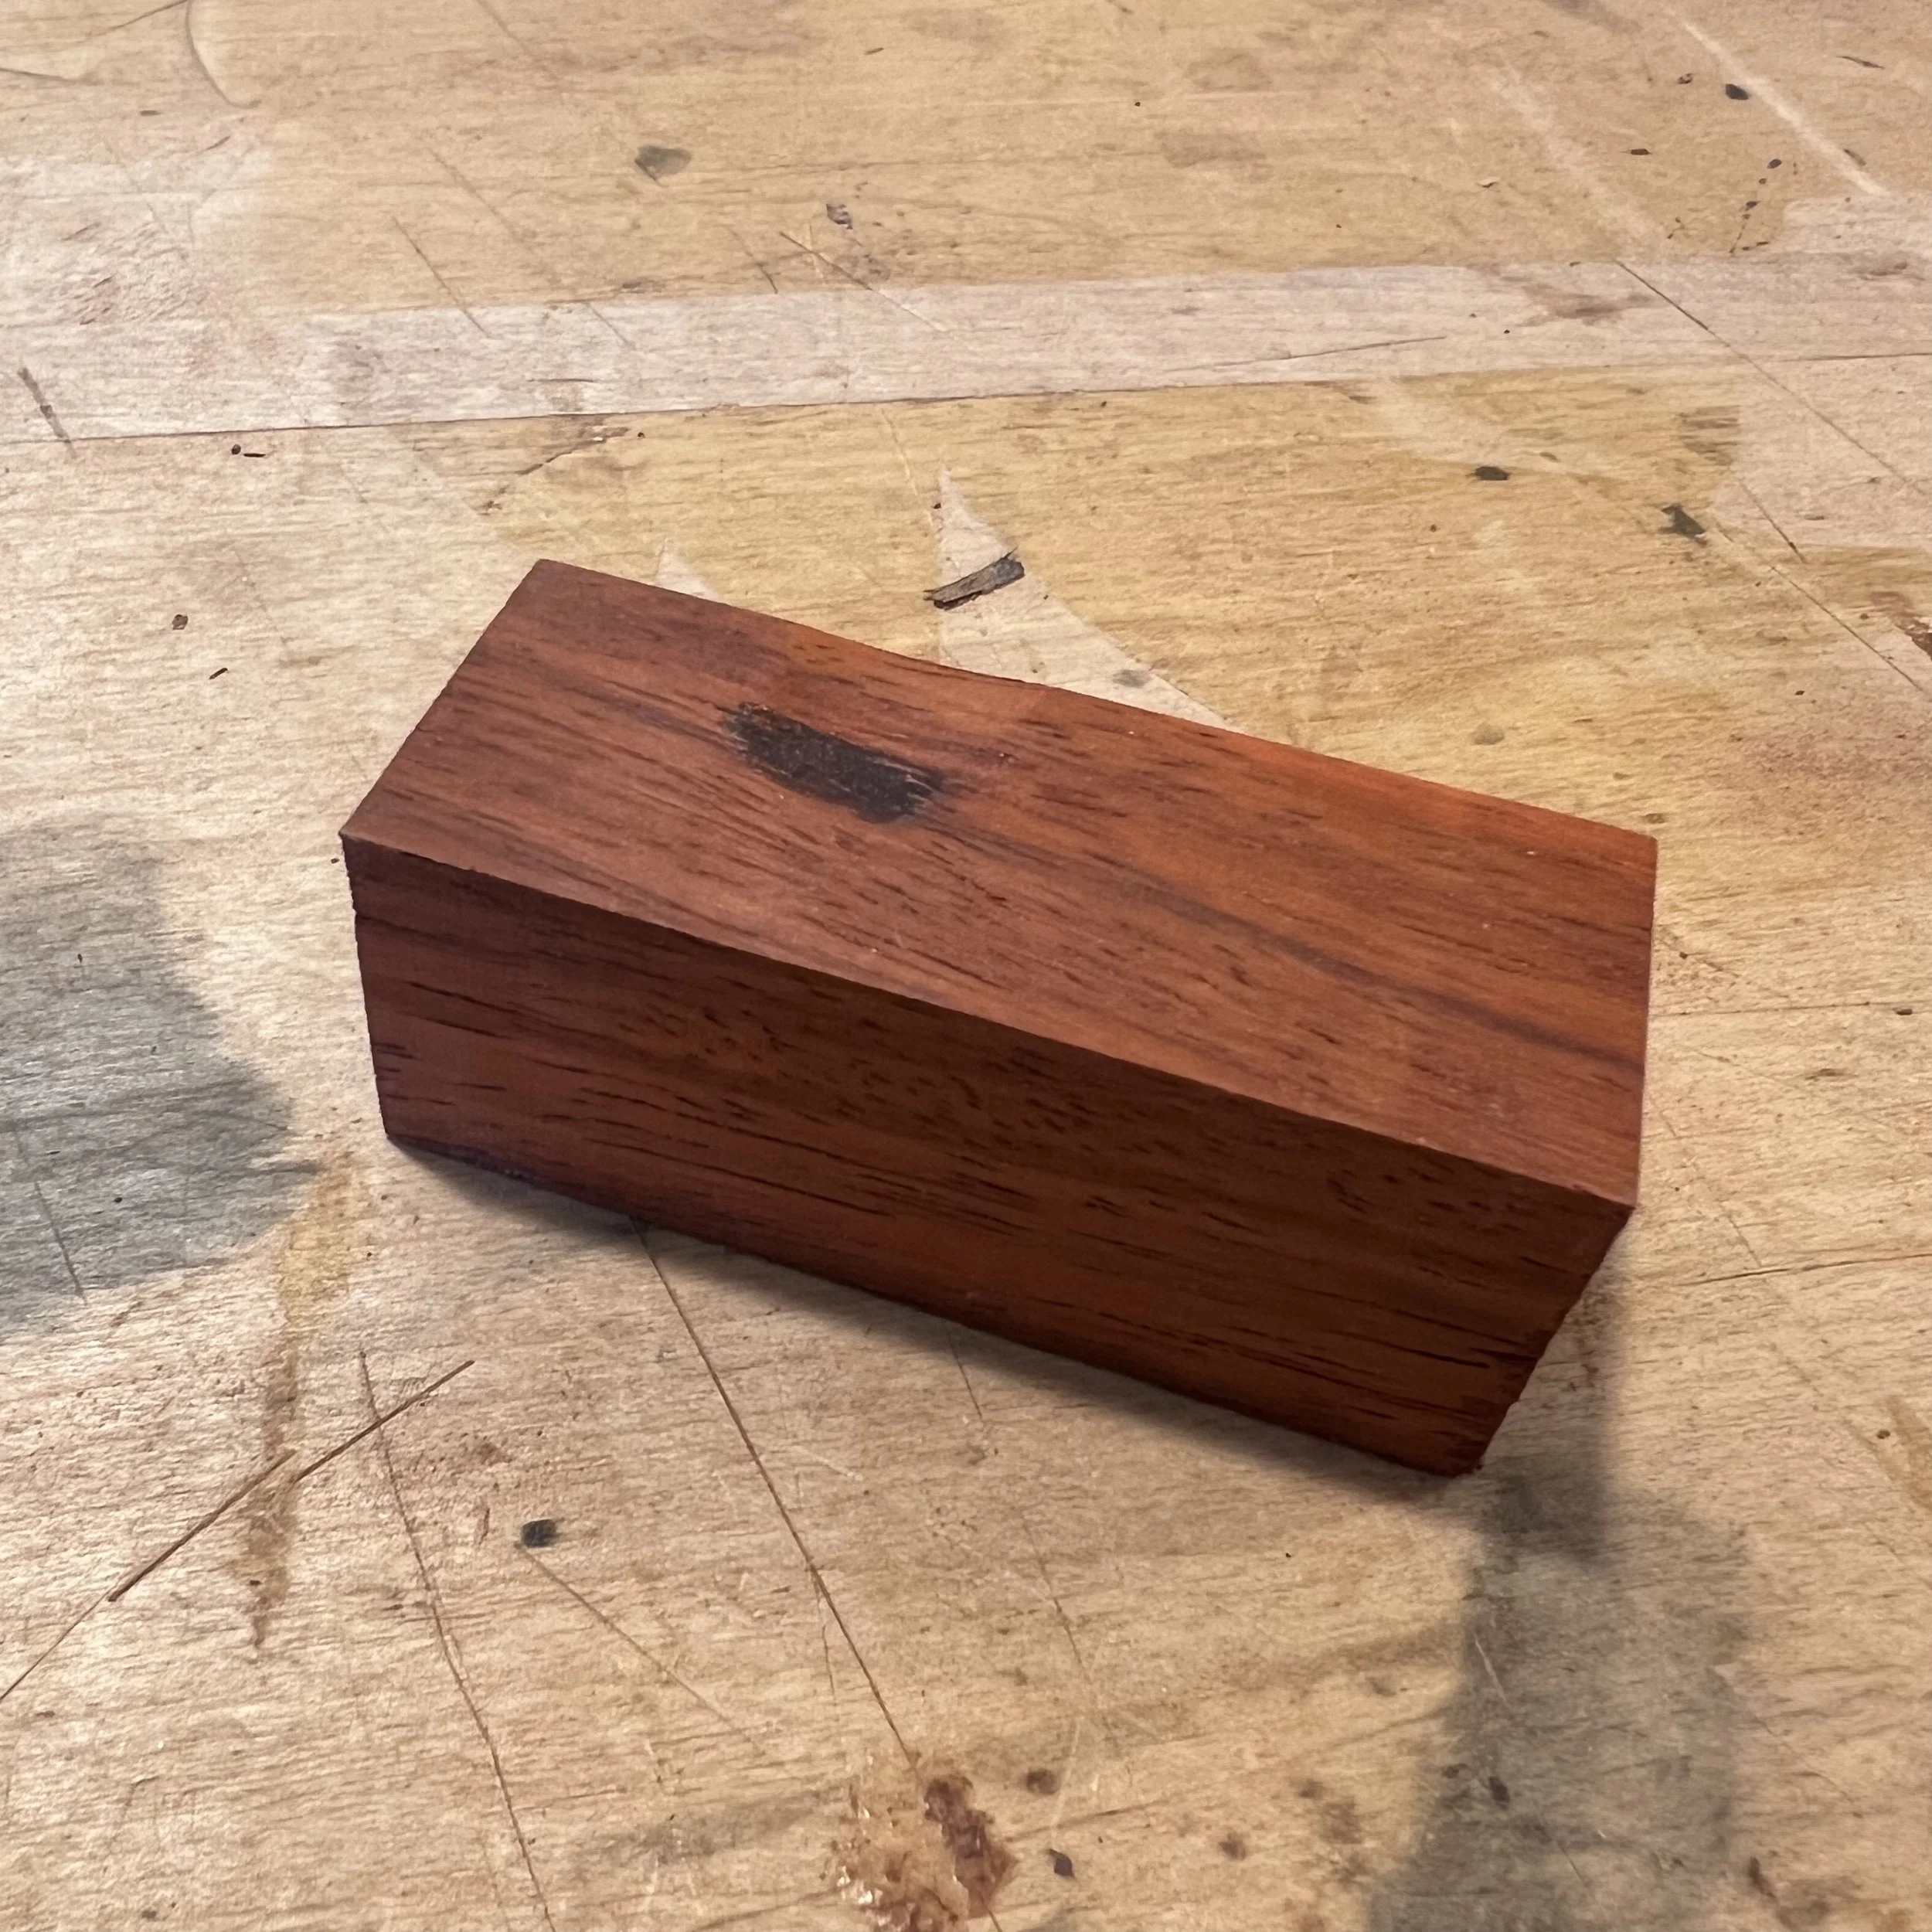
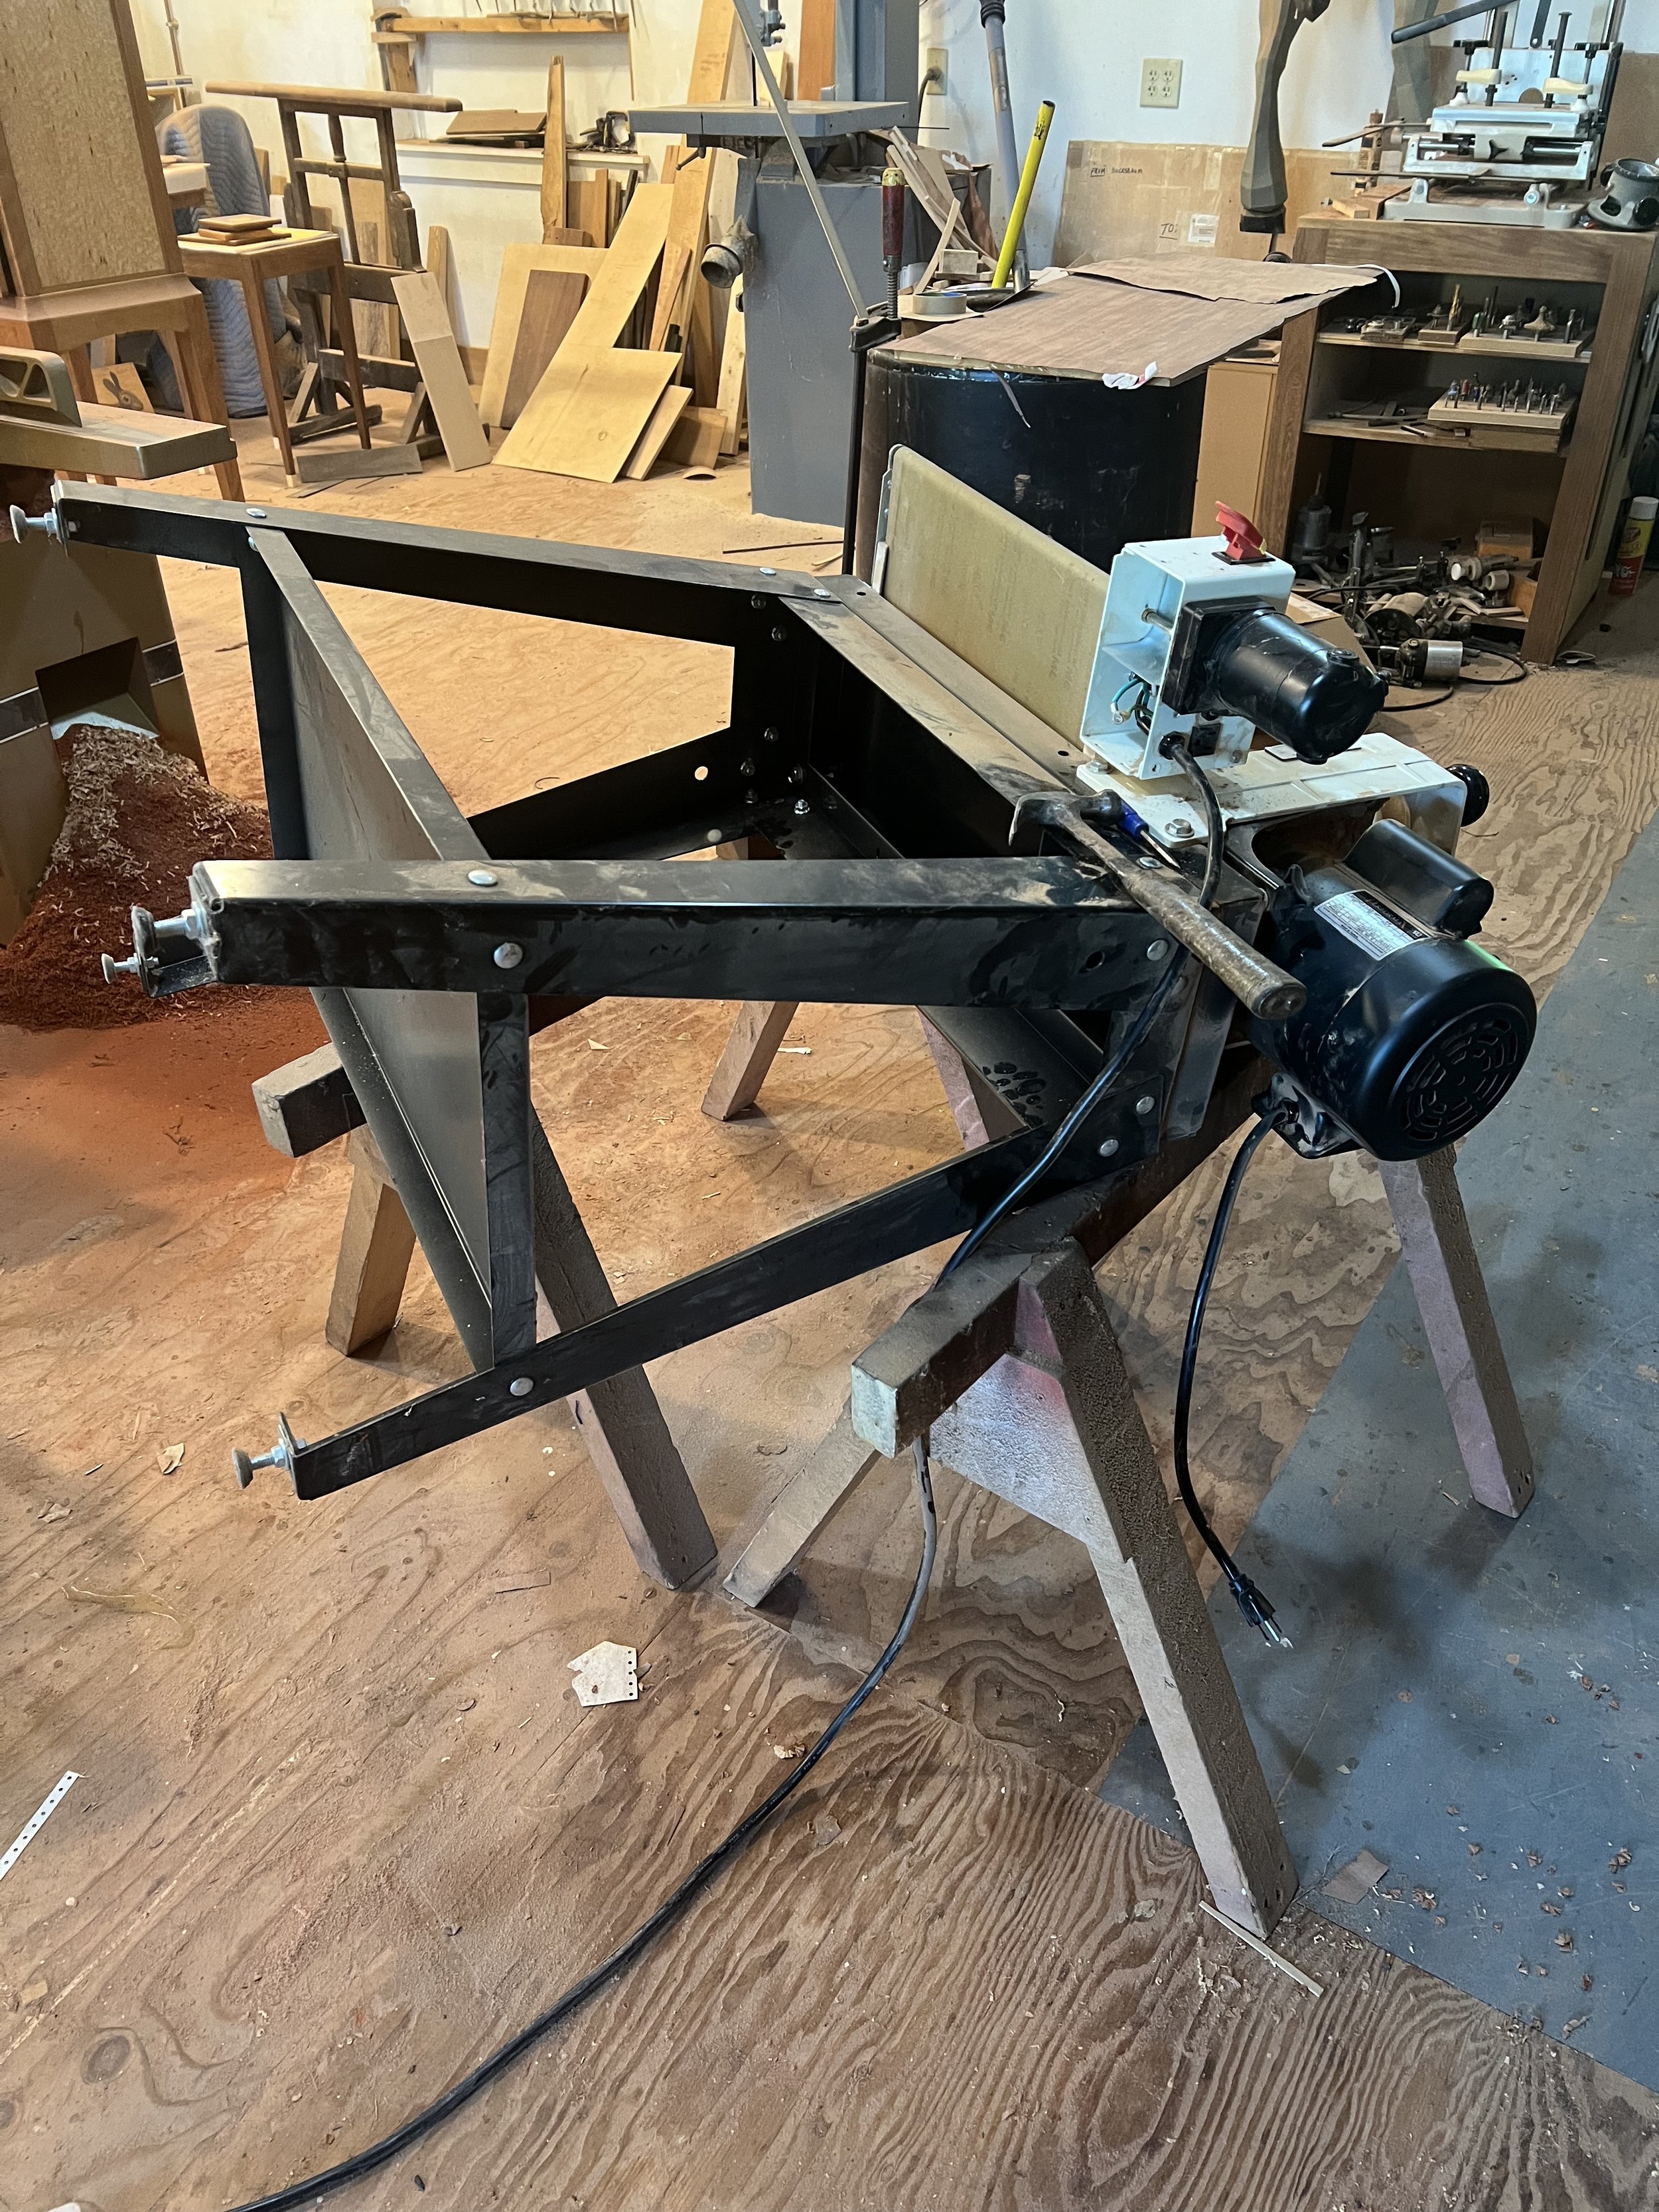
I spent a long time sanding each piece for the grill down to a uniform width and height (1” × 1”), using the drum sander. This was difficult because some of the pieces were so short that they got caught in the drum sander and would get over-sanded and burned. Normally, I would use longer pieces of wood, which would avoid this problem, but I only had so much material to work with from my board of padauk.
The drum sander also broke in the process of making the grill (unrelated to the problem described above – a switch needed to be replaced). Luckily, I had almost finished sanding all my grill pieces when that happened, but I missed having a drum sander while we waited for the replacement part to arrive.
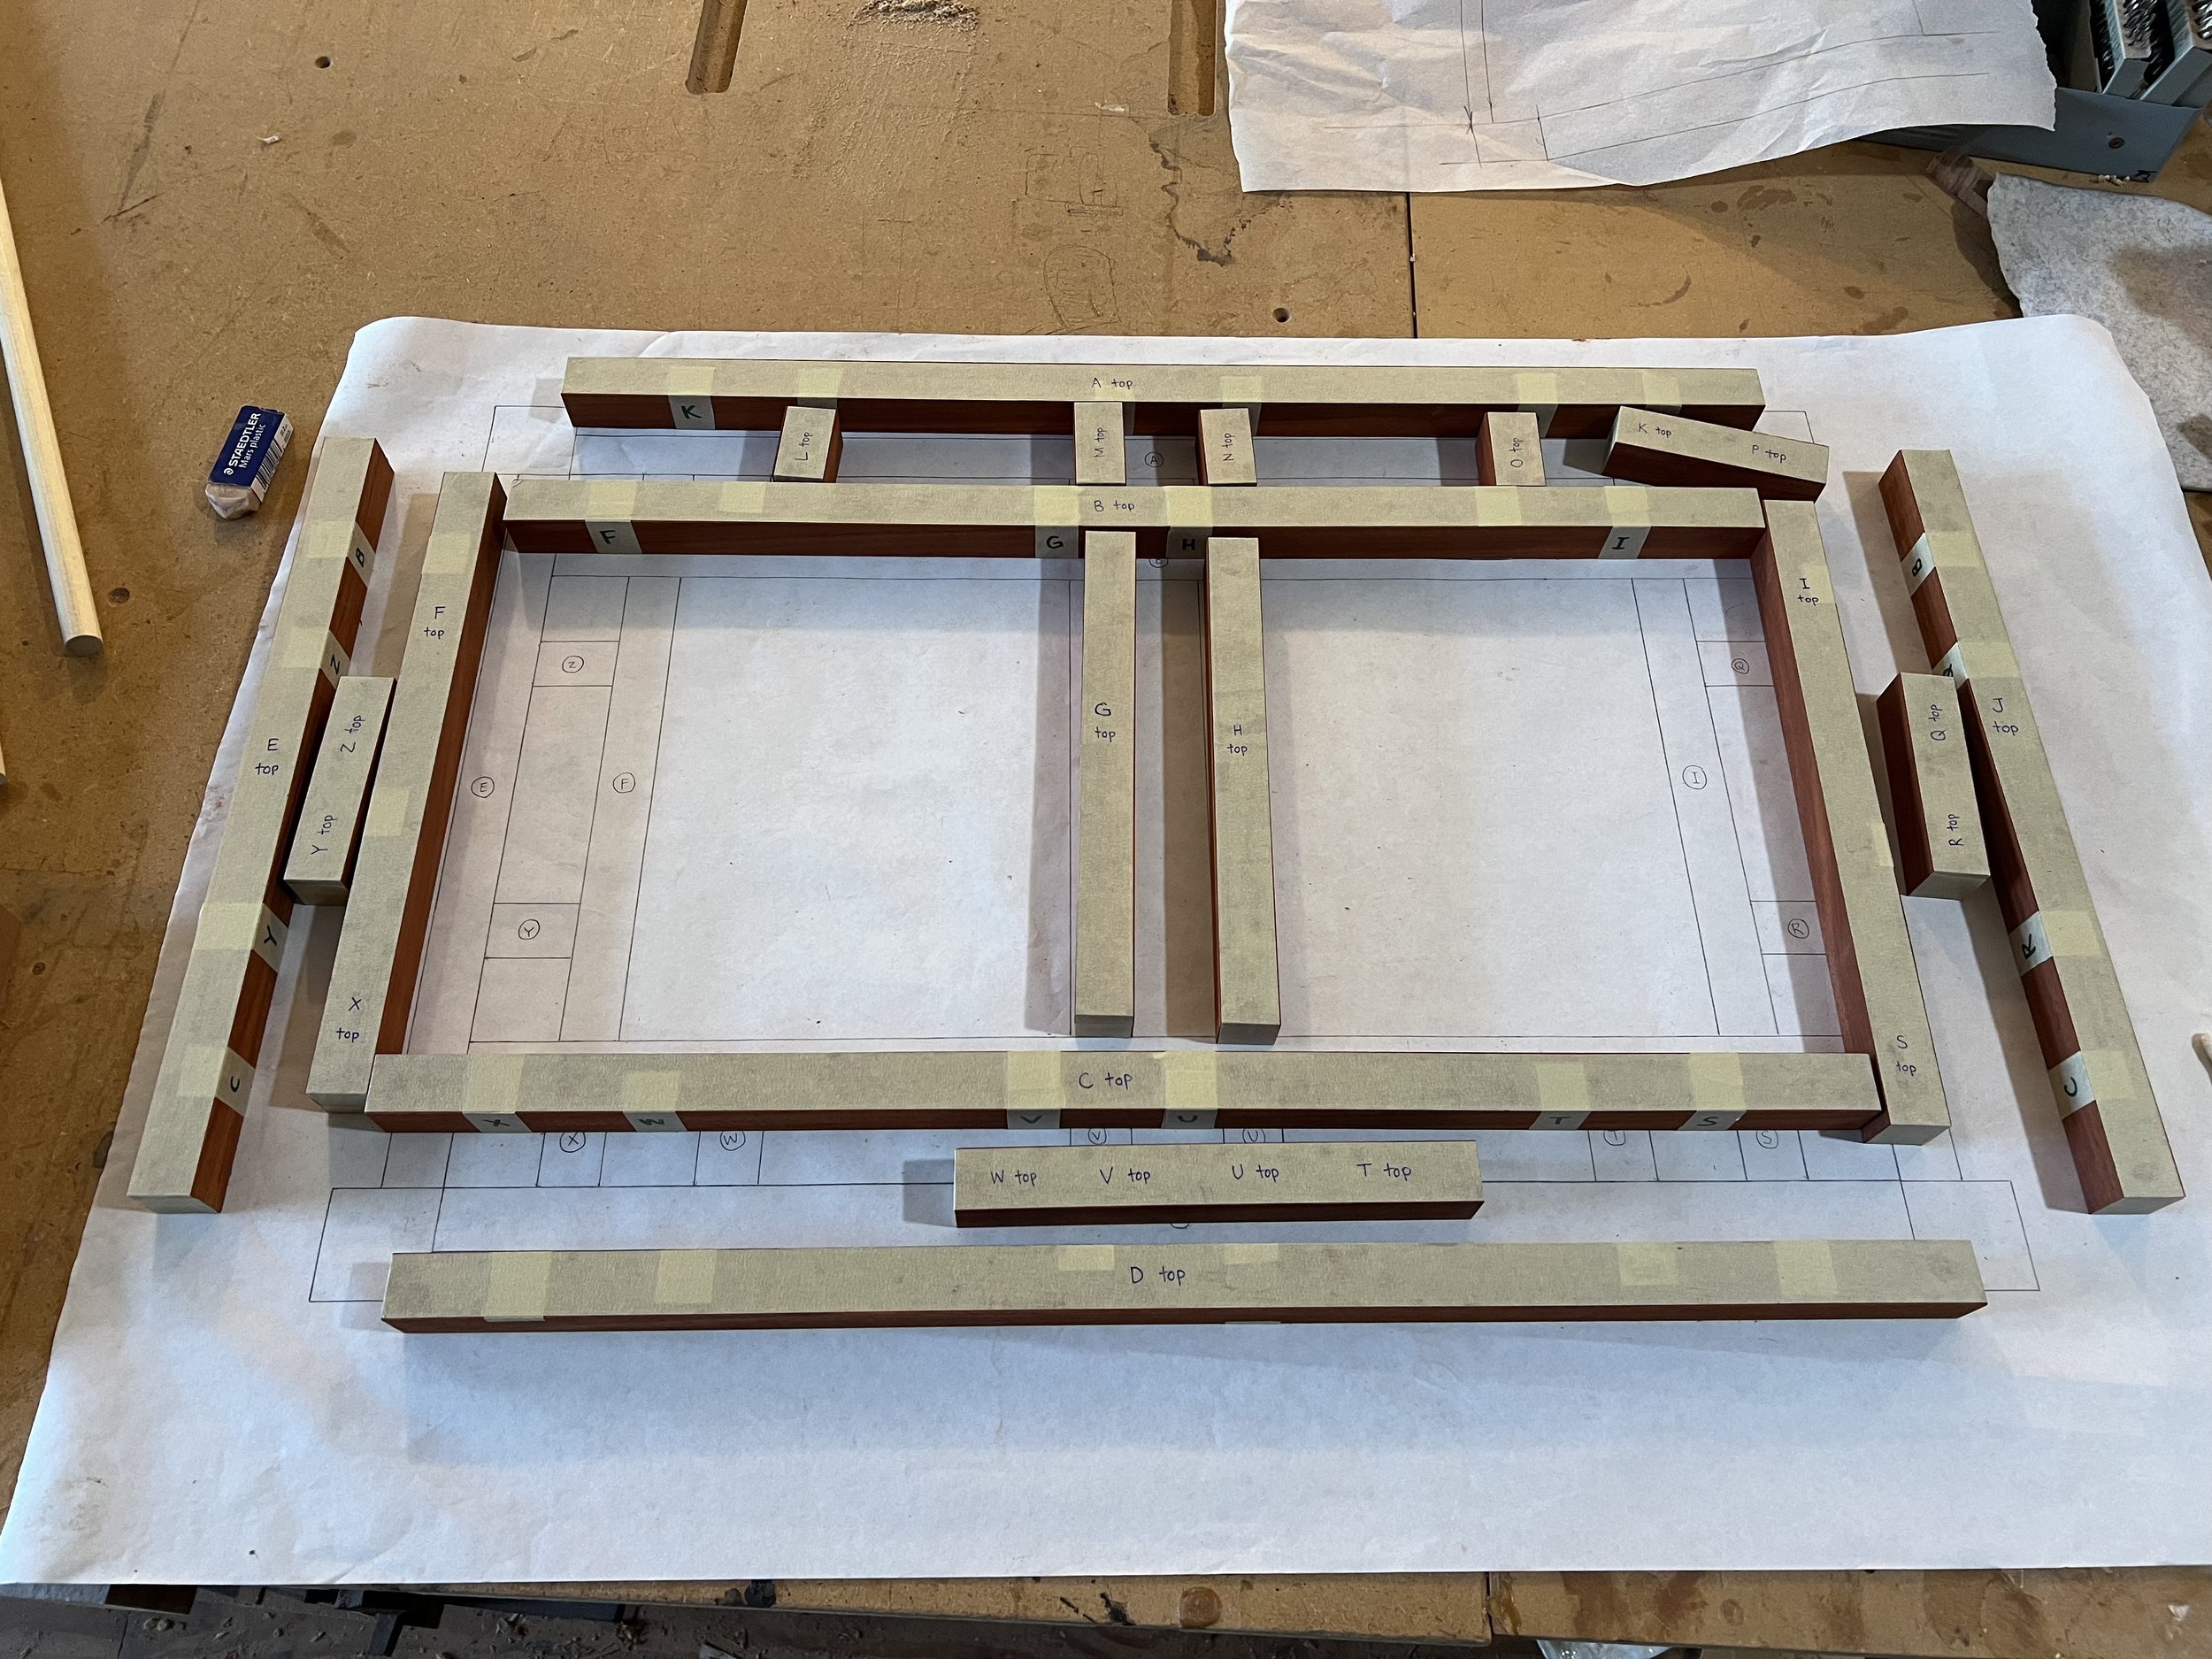
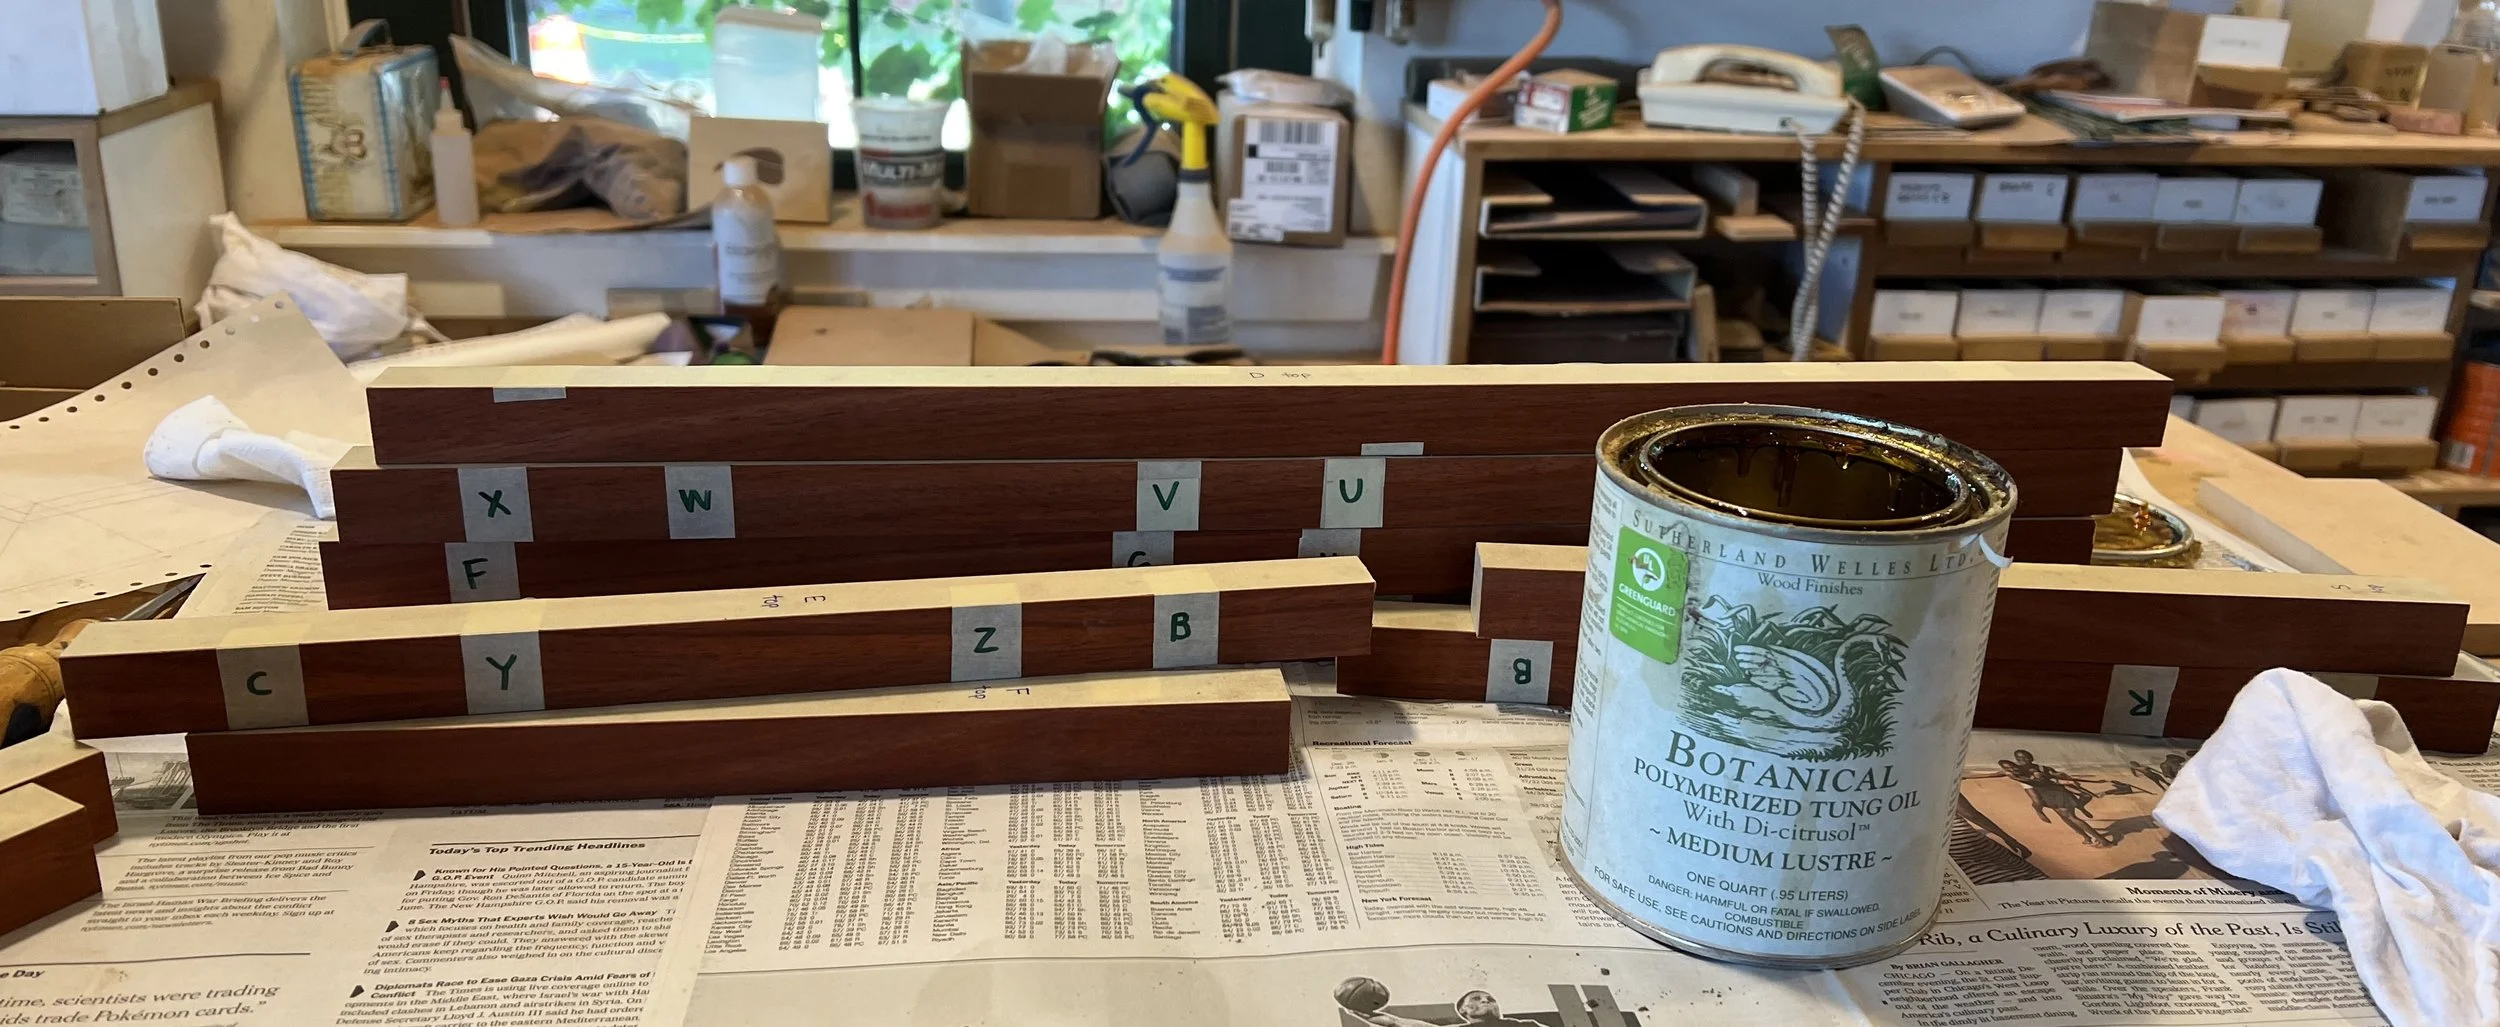
Before I started constructing my grill, I pre-oiled the sides of each piece, since it would be difficult to oil the inside corners once the grill was constructed, and because it would be easier to remove excess glue if the sides were oiled. I put masking tape on all the parts of the padauk that should not get oil on them.
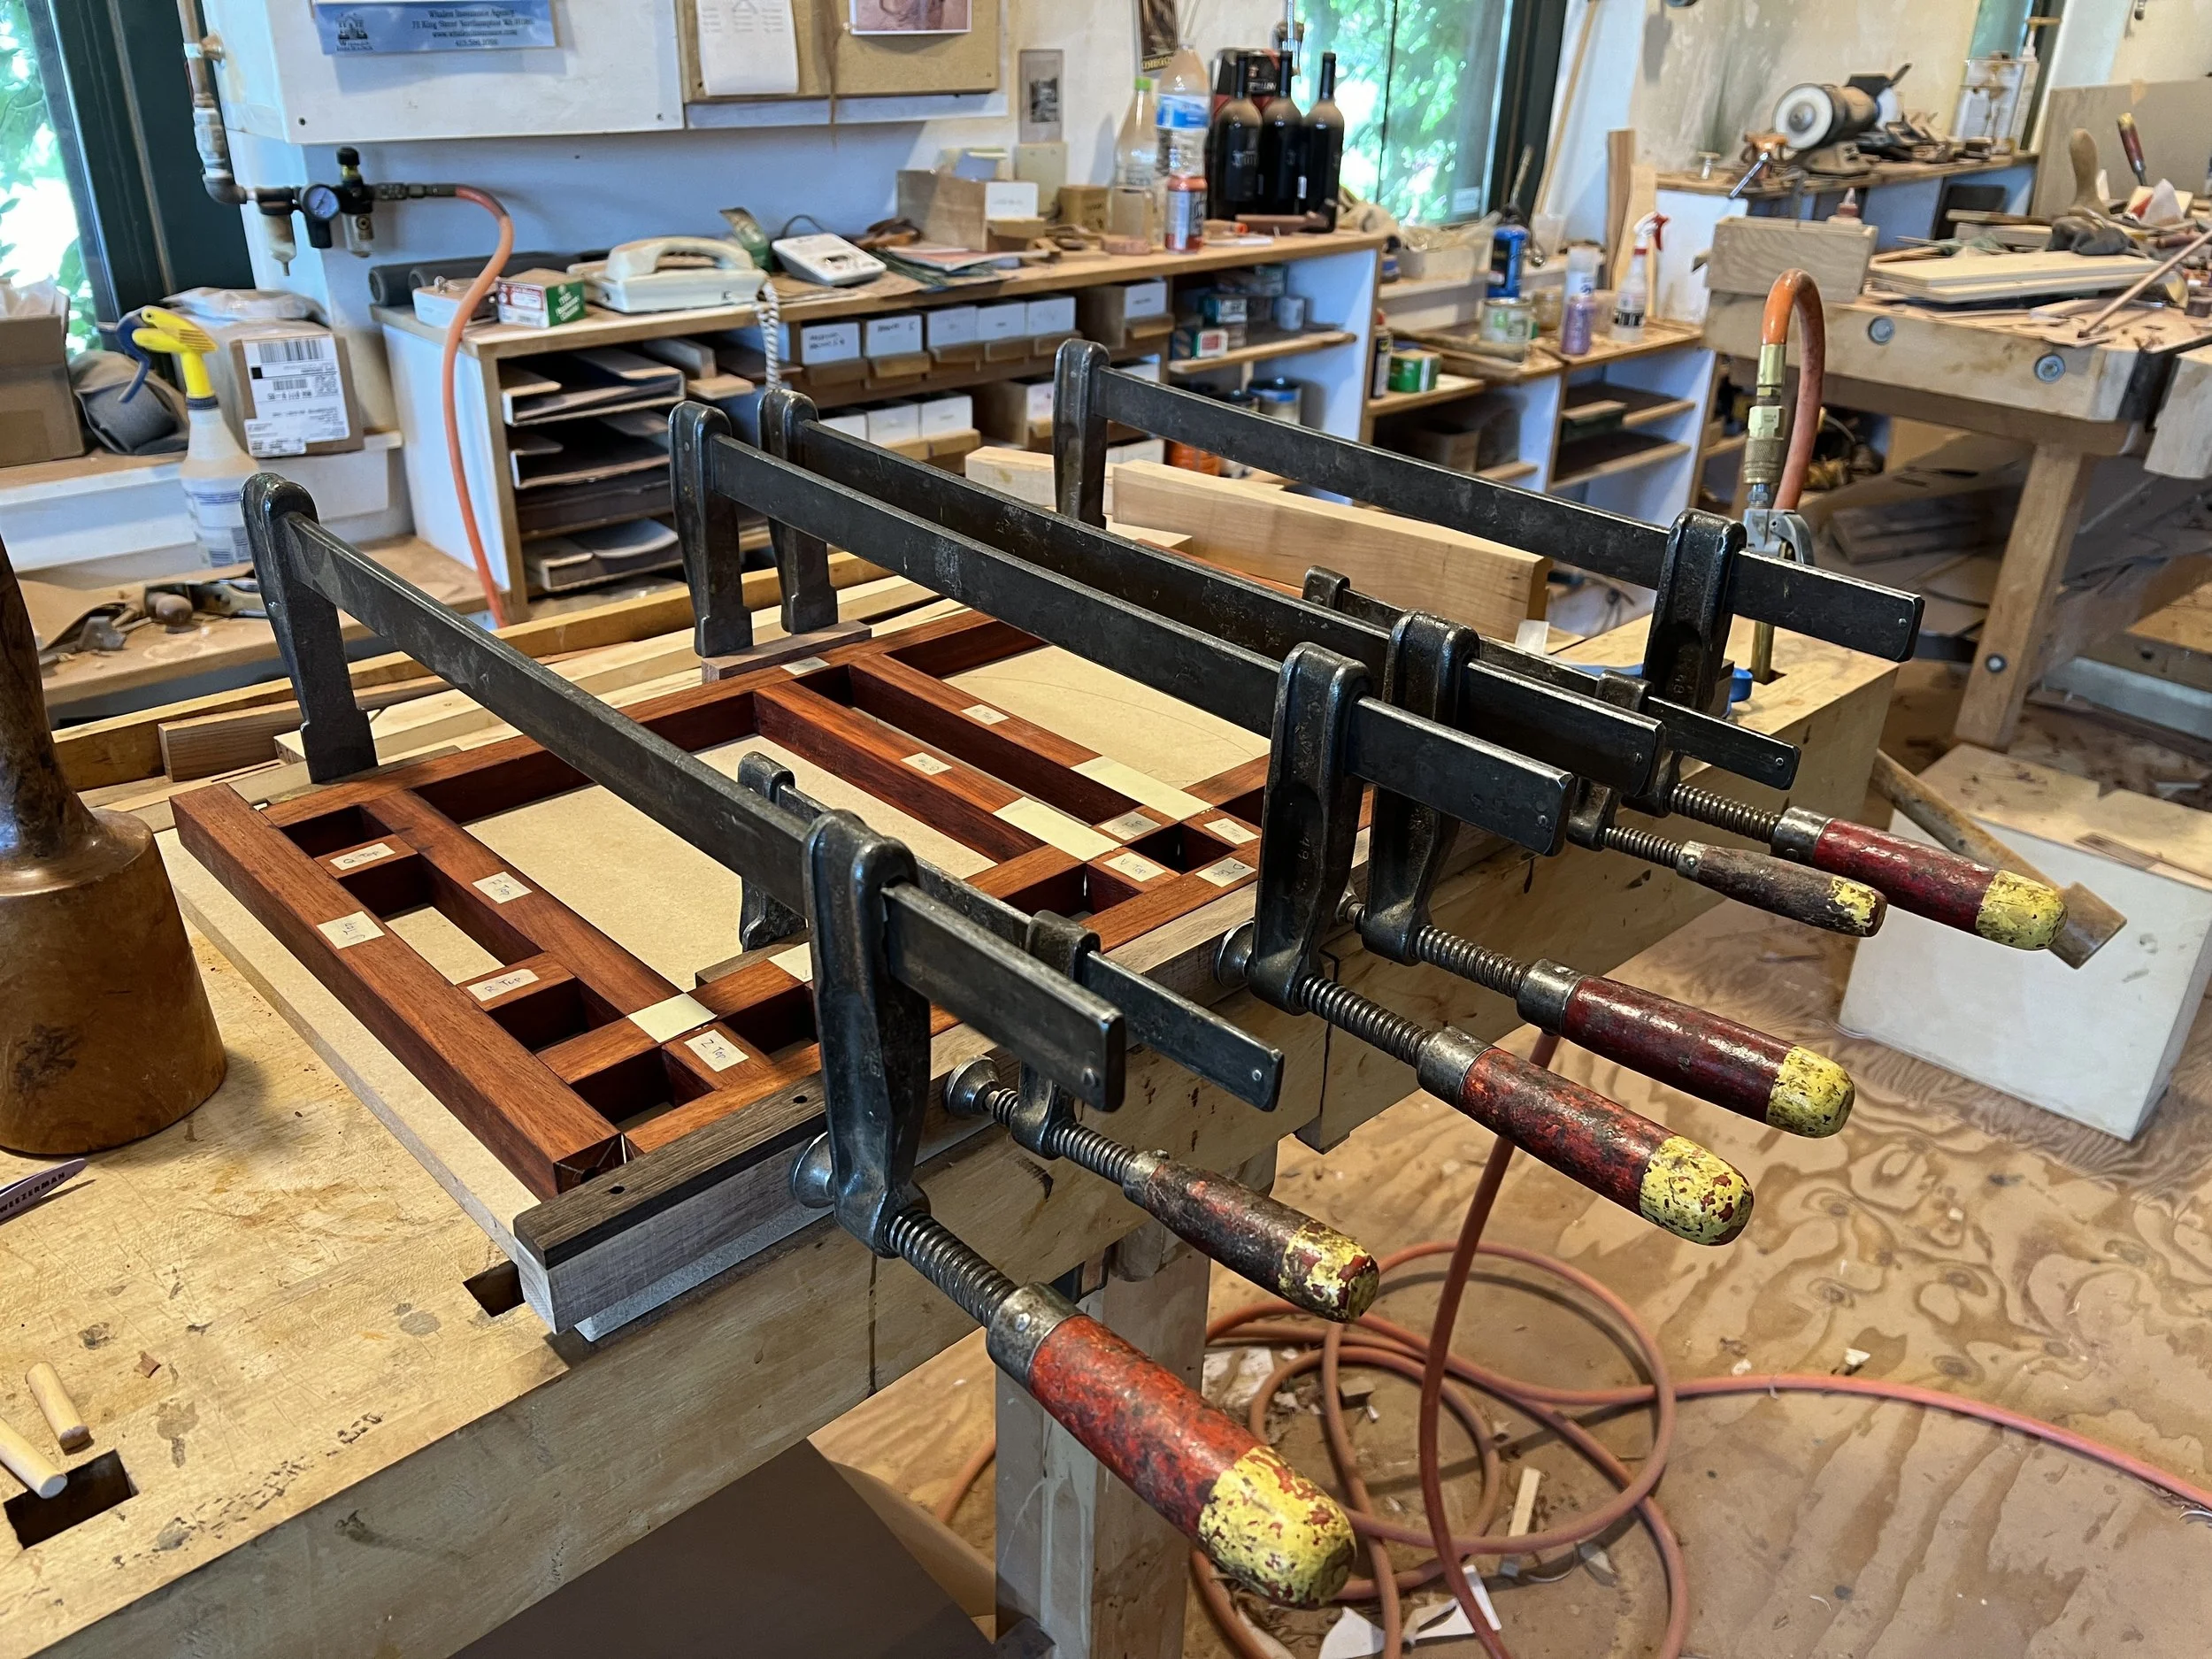
Once I had put a few coats of oil on the wood, I was ready to glue the grill together.
I couldn’t simply glue all these pieces together, though, for a reason that will probably be obvious to anyone who does woodworking: end grain doesn’t hold well with glue alone.
For people who don’t have woodworking experience, end grain is what you see when you cut down a tree and look at the growth rings. If you try to glue an end grain surface to another surface, that joint will be very weak. If you glued two pieces of wood together in the arrangement pictured below, that joint would probably fall apart under pressure, unless you took additional steps to strengthen the joint.
My grill was completely made up of arrangements like the one pictured above. The glue on the end grain held it together enough that I could pick it up carefully and work on it, but it wouldn’t hold together permanently.
I ended up using two different methods to strengthen the joints of the grill.
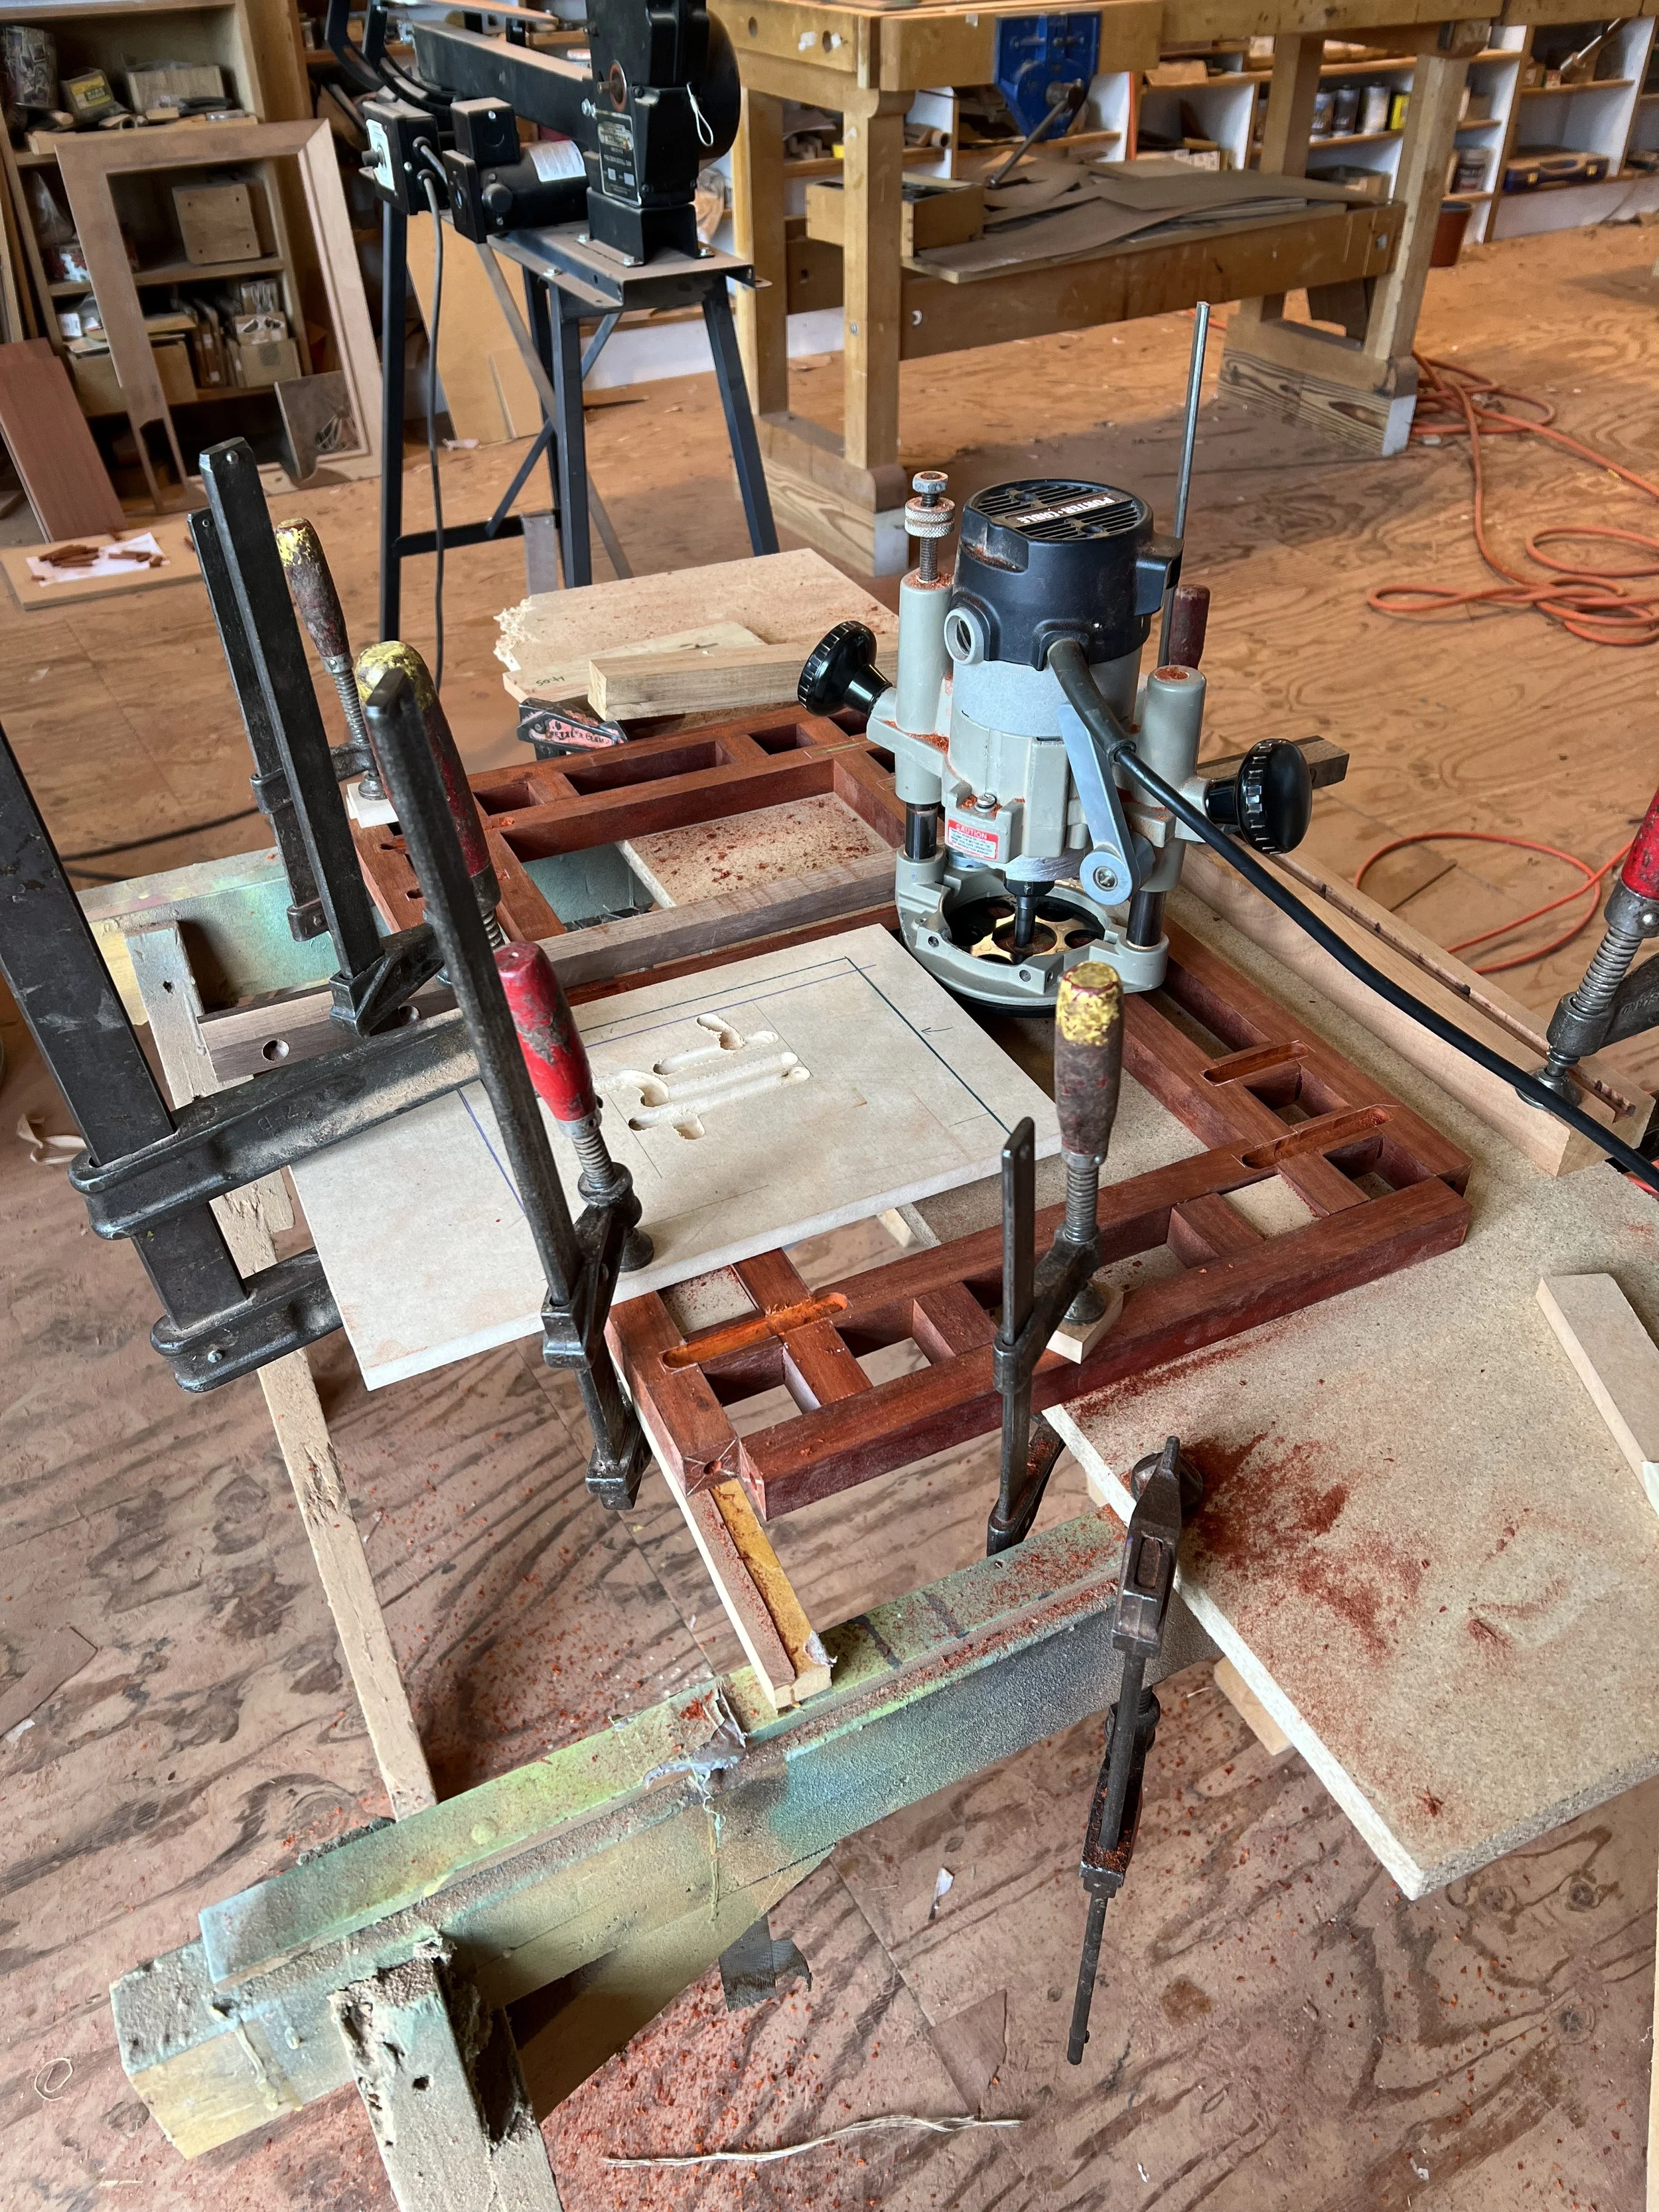
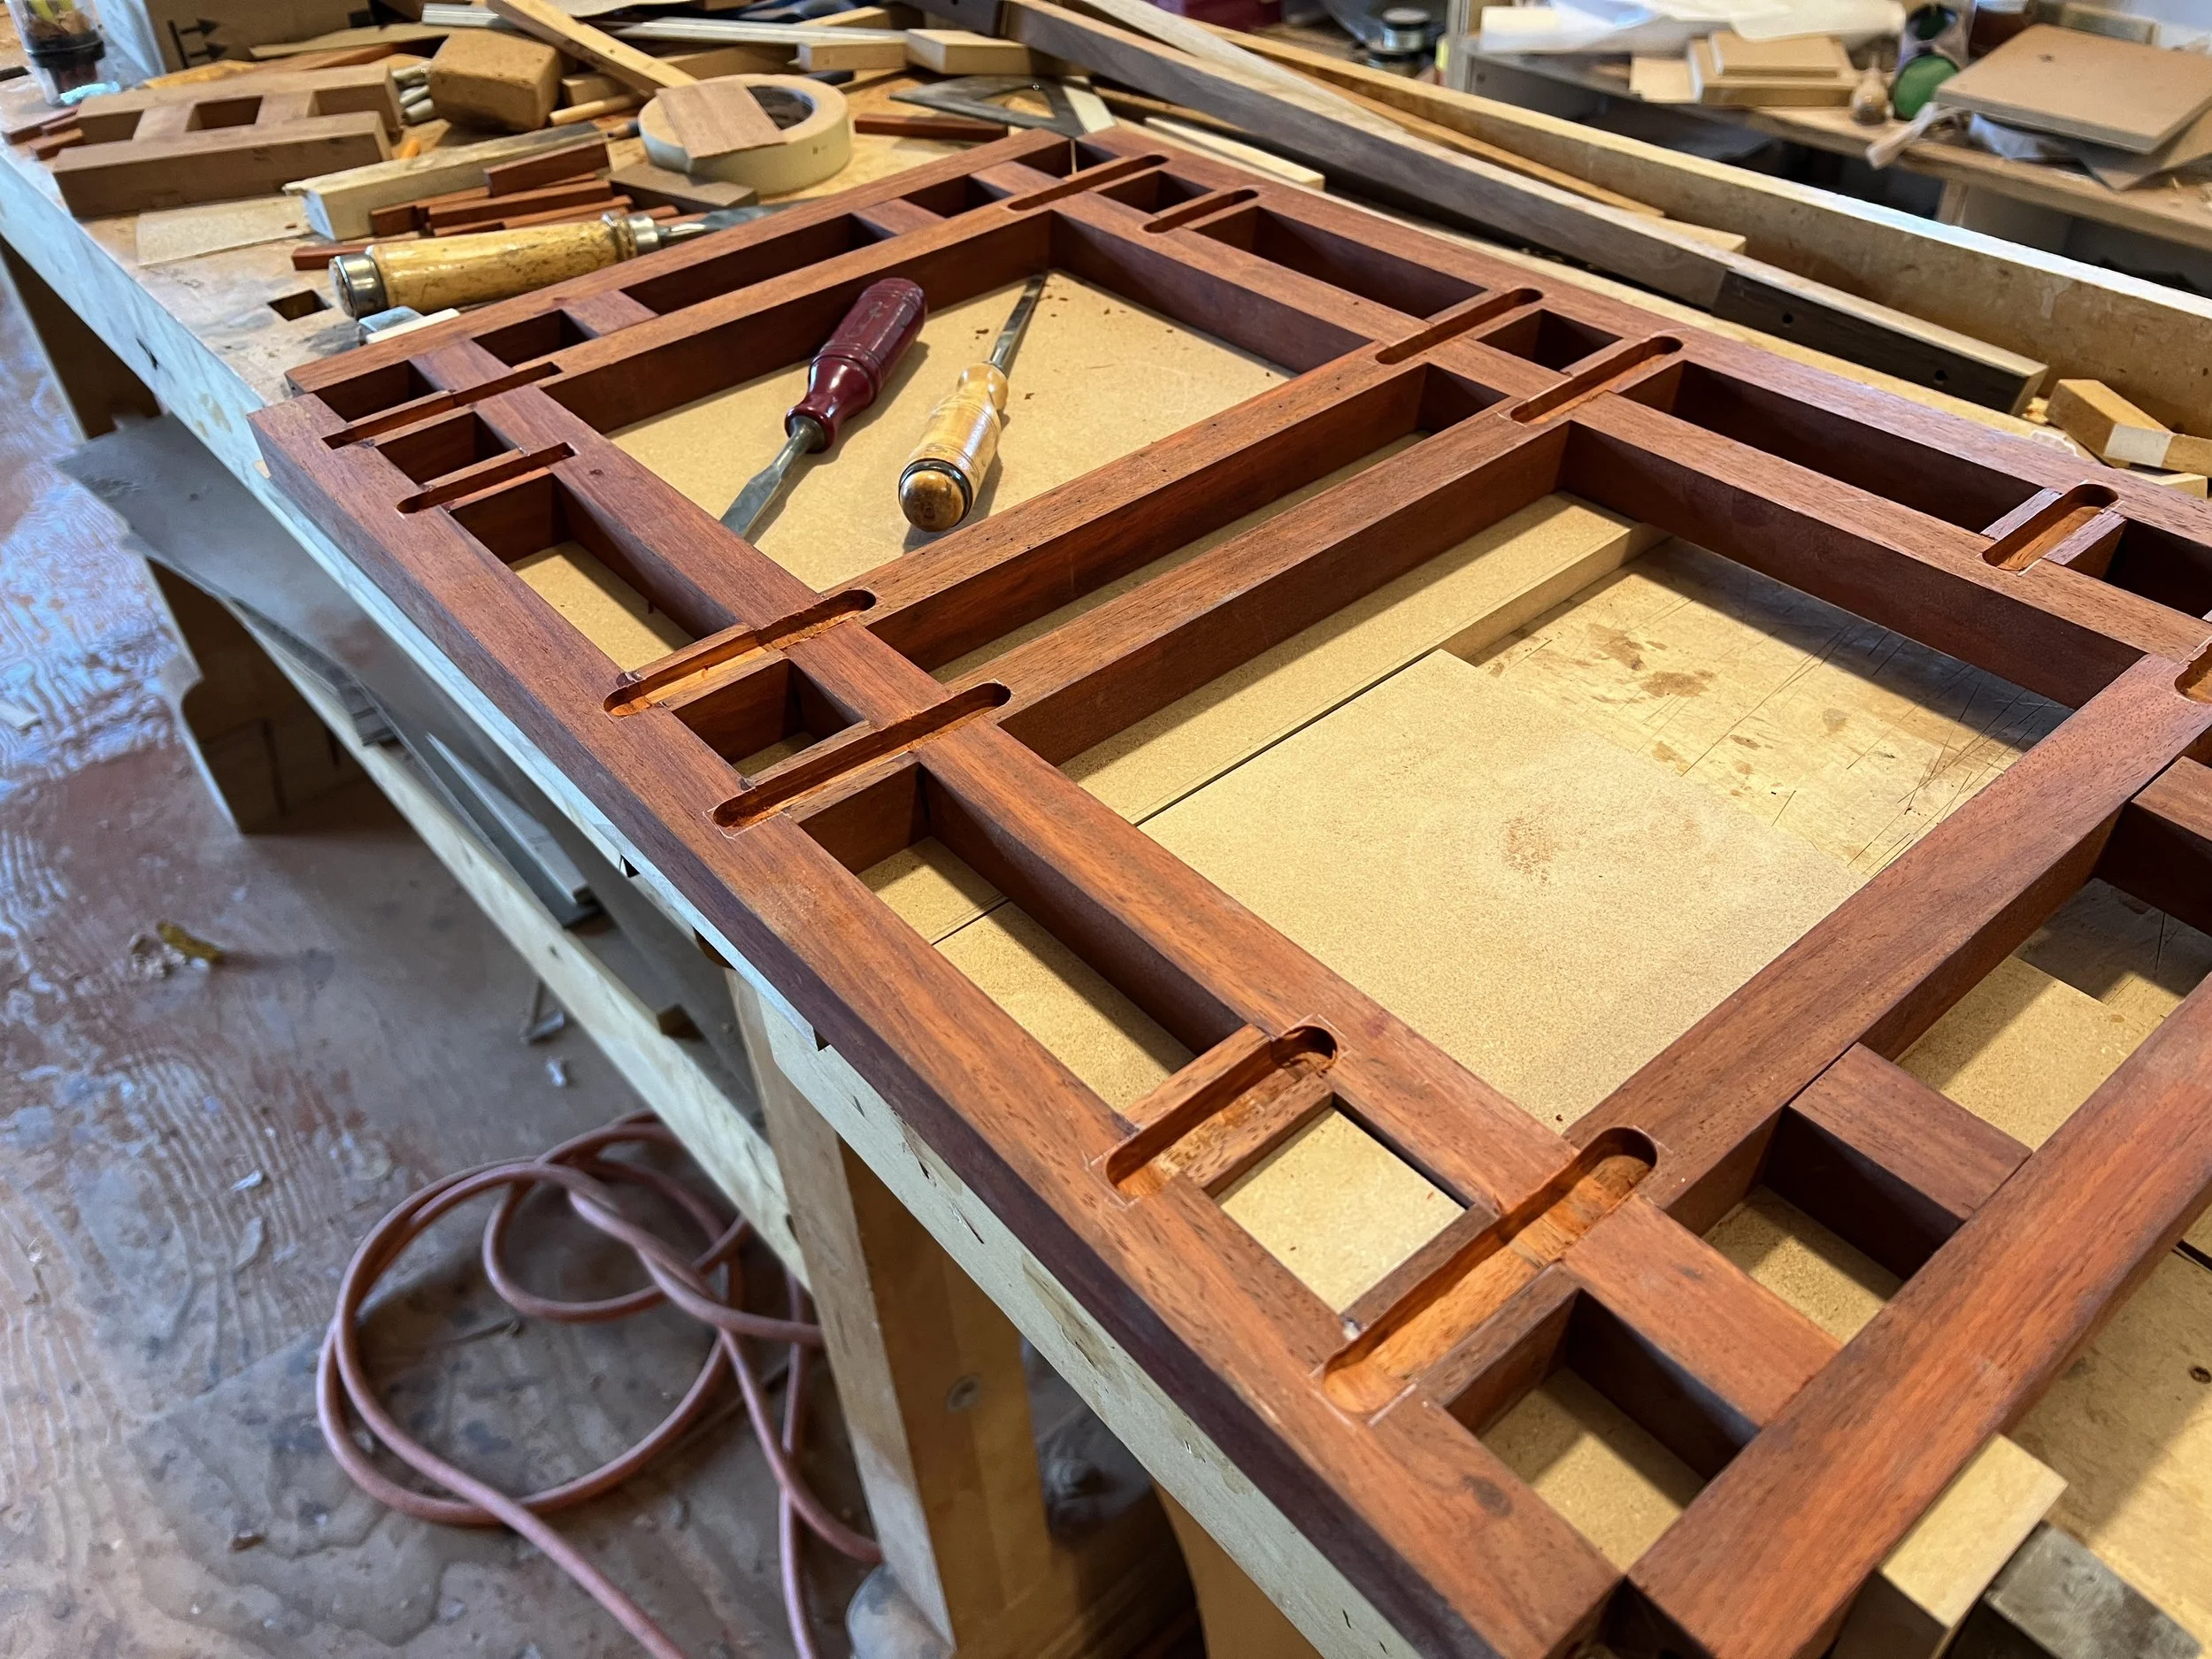
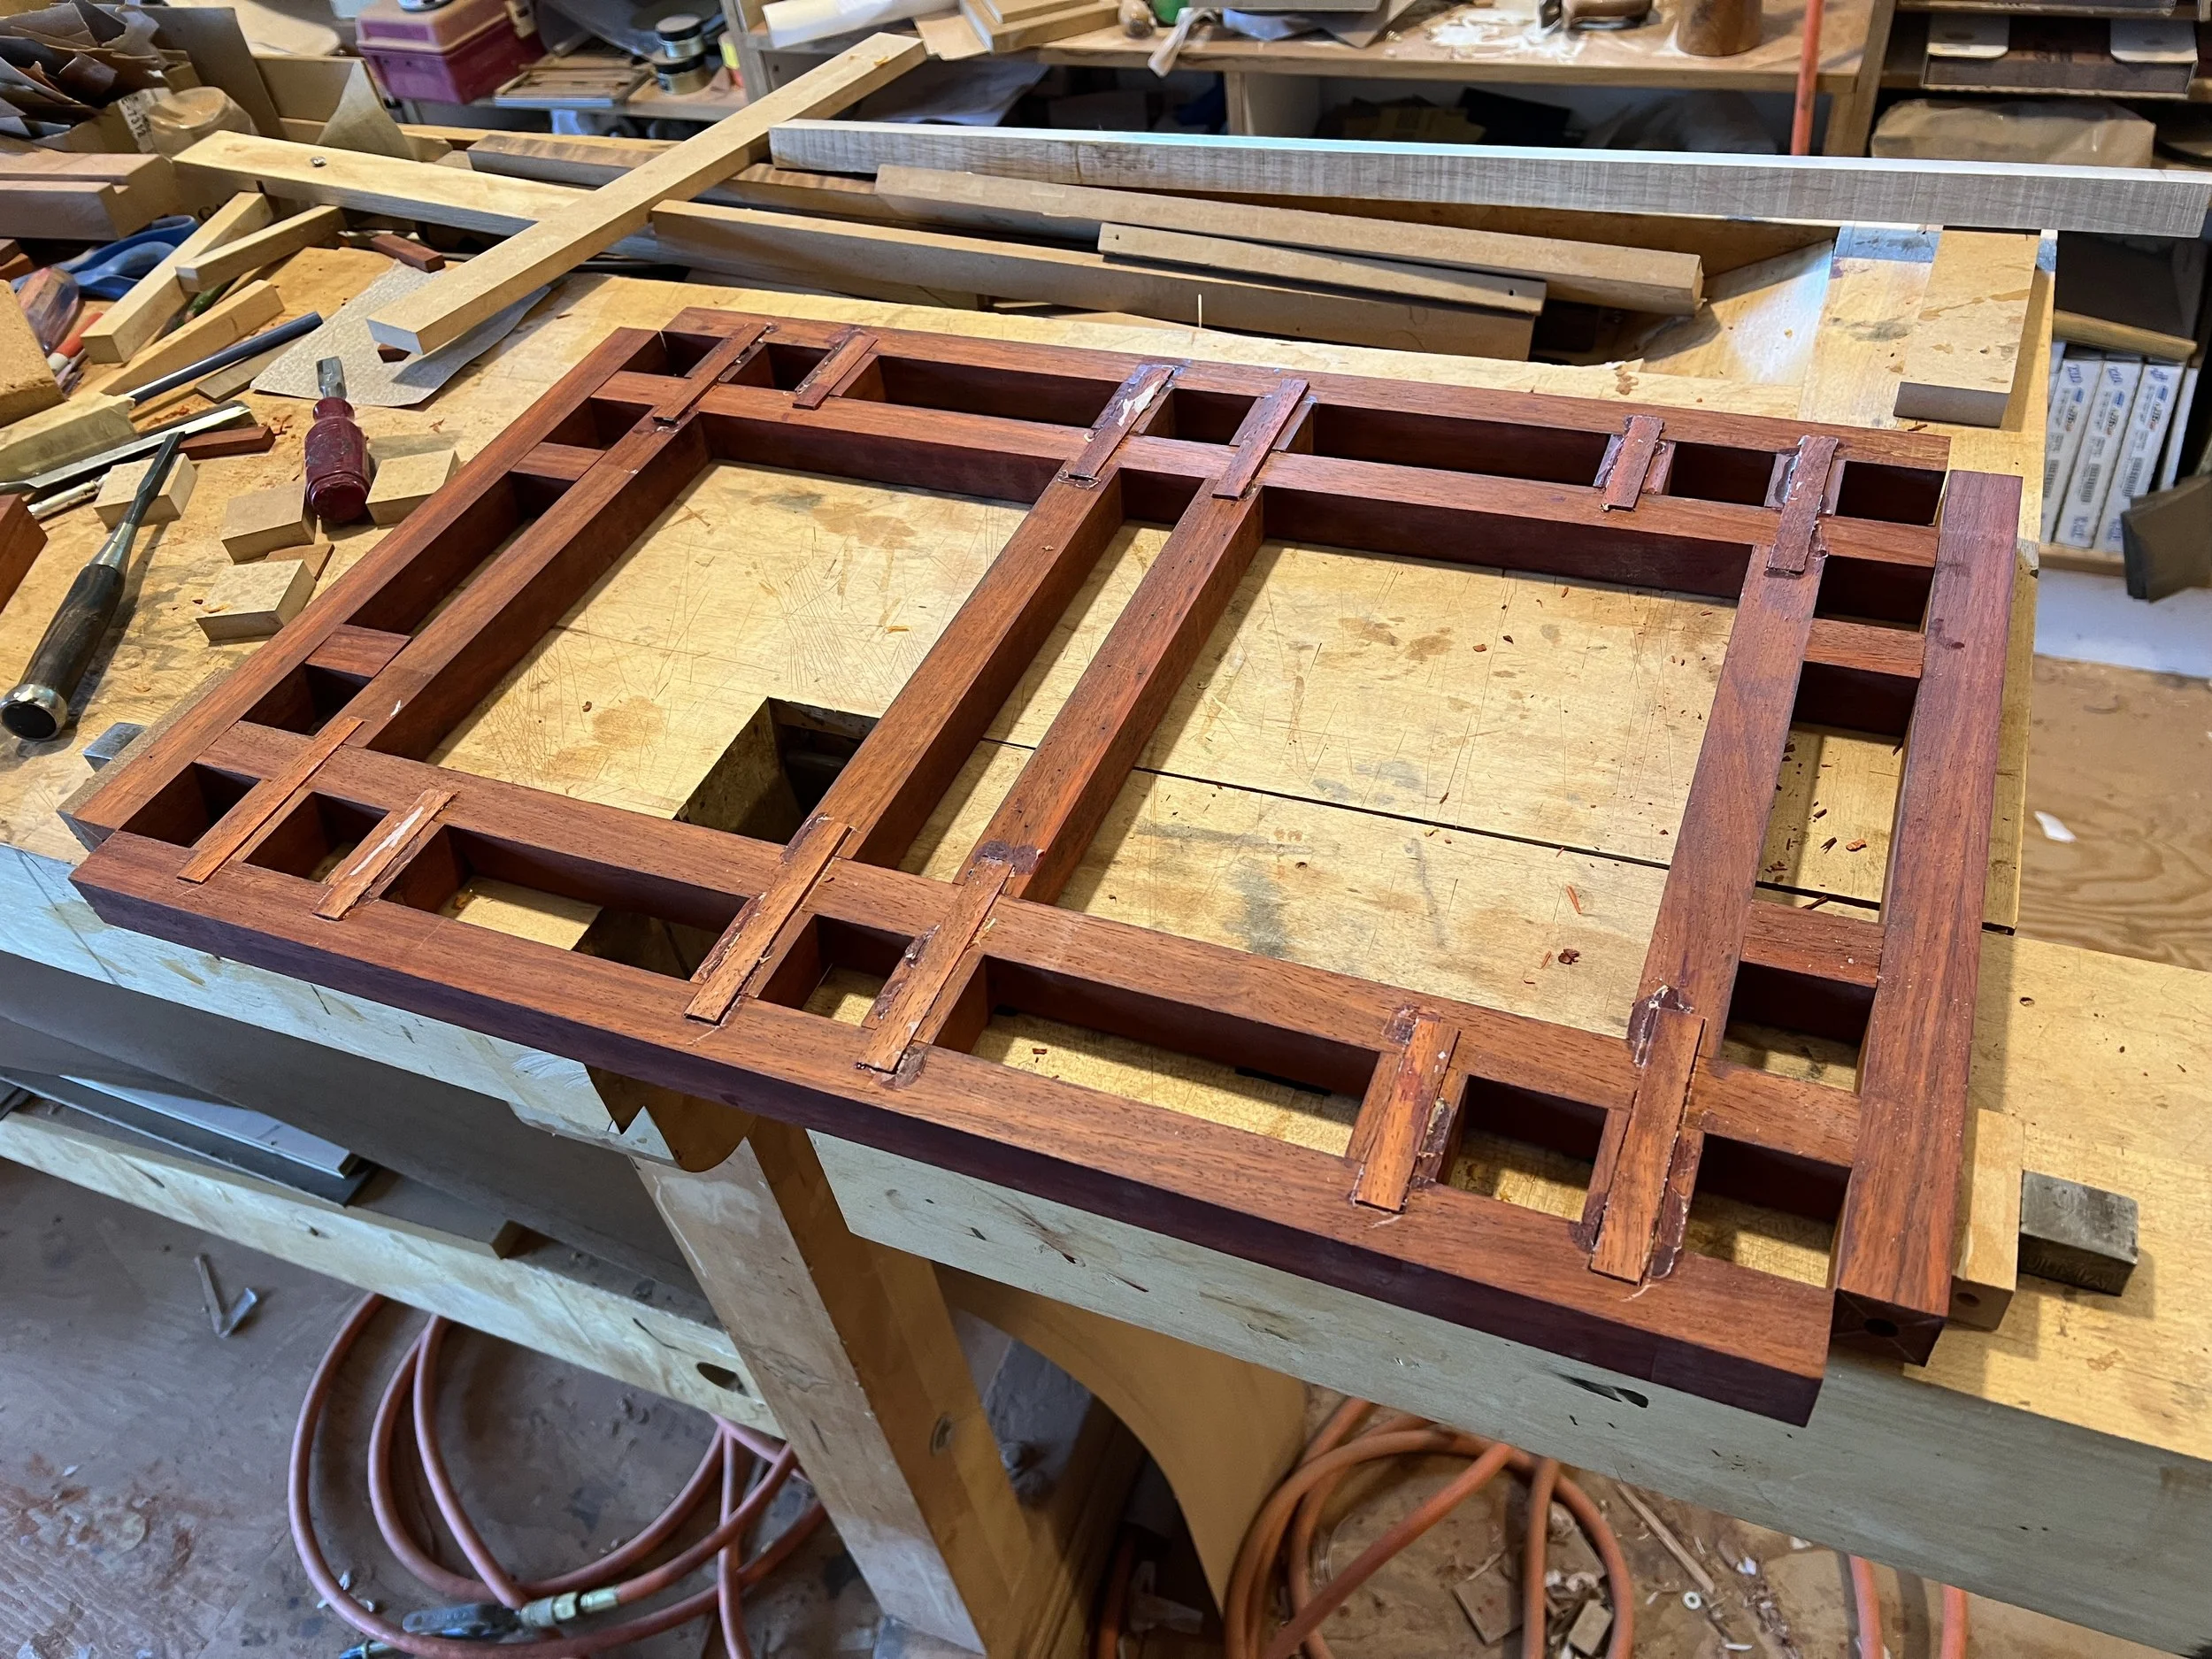
The first method was to use a router and chisel to carve out grooves along the joints on the underside of the grill.
Then I glued thin tabs of wood into the grooves.
Since the tabs were on the underside of the grill, they would be only a few inches off the floor and would not be seen unless the cabinet was flipped over. They would be completely invisible from the top.
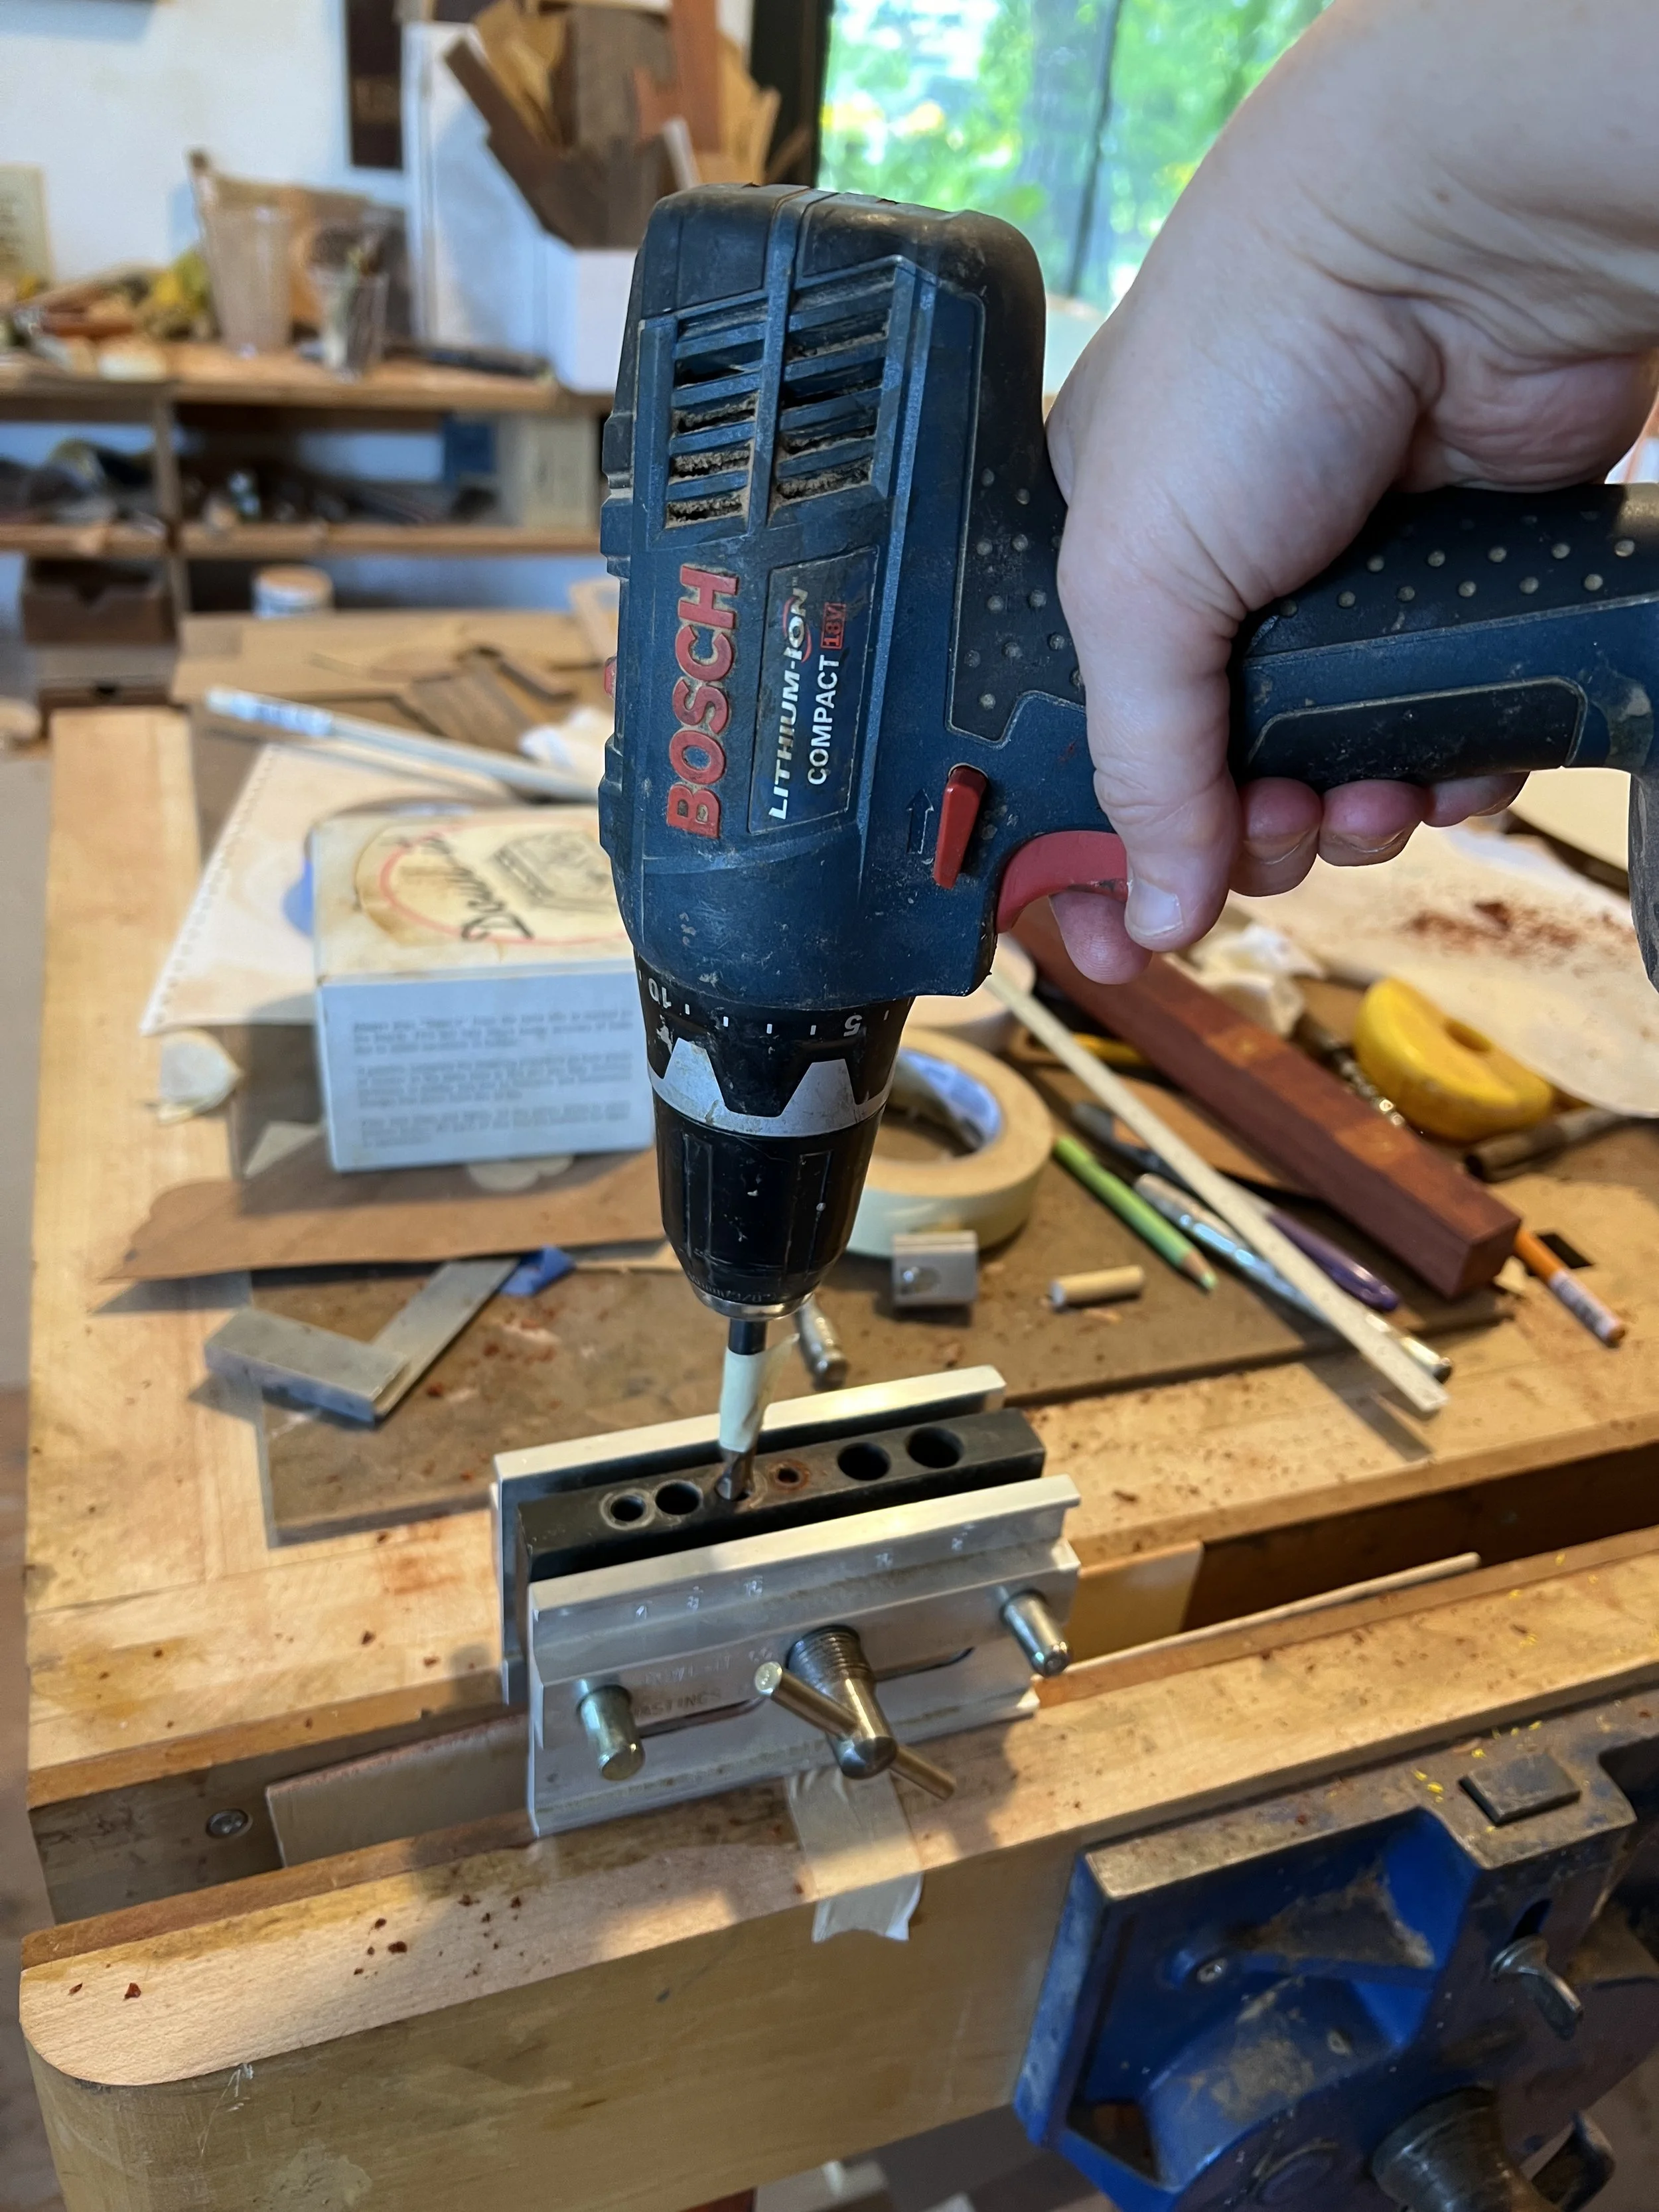
My second method for strengthening the joints on the grill was to use dowels. If you’ve ever assembled a piece of Ikea furniture where you inserted pegs into round holes to attach two pieces together, it’s the same idea. I used this method for the portions of the grill that would attach to the legs, as well as for some other joints.
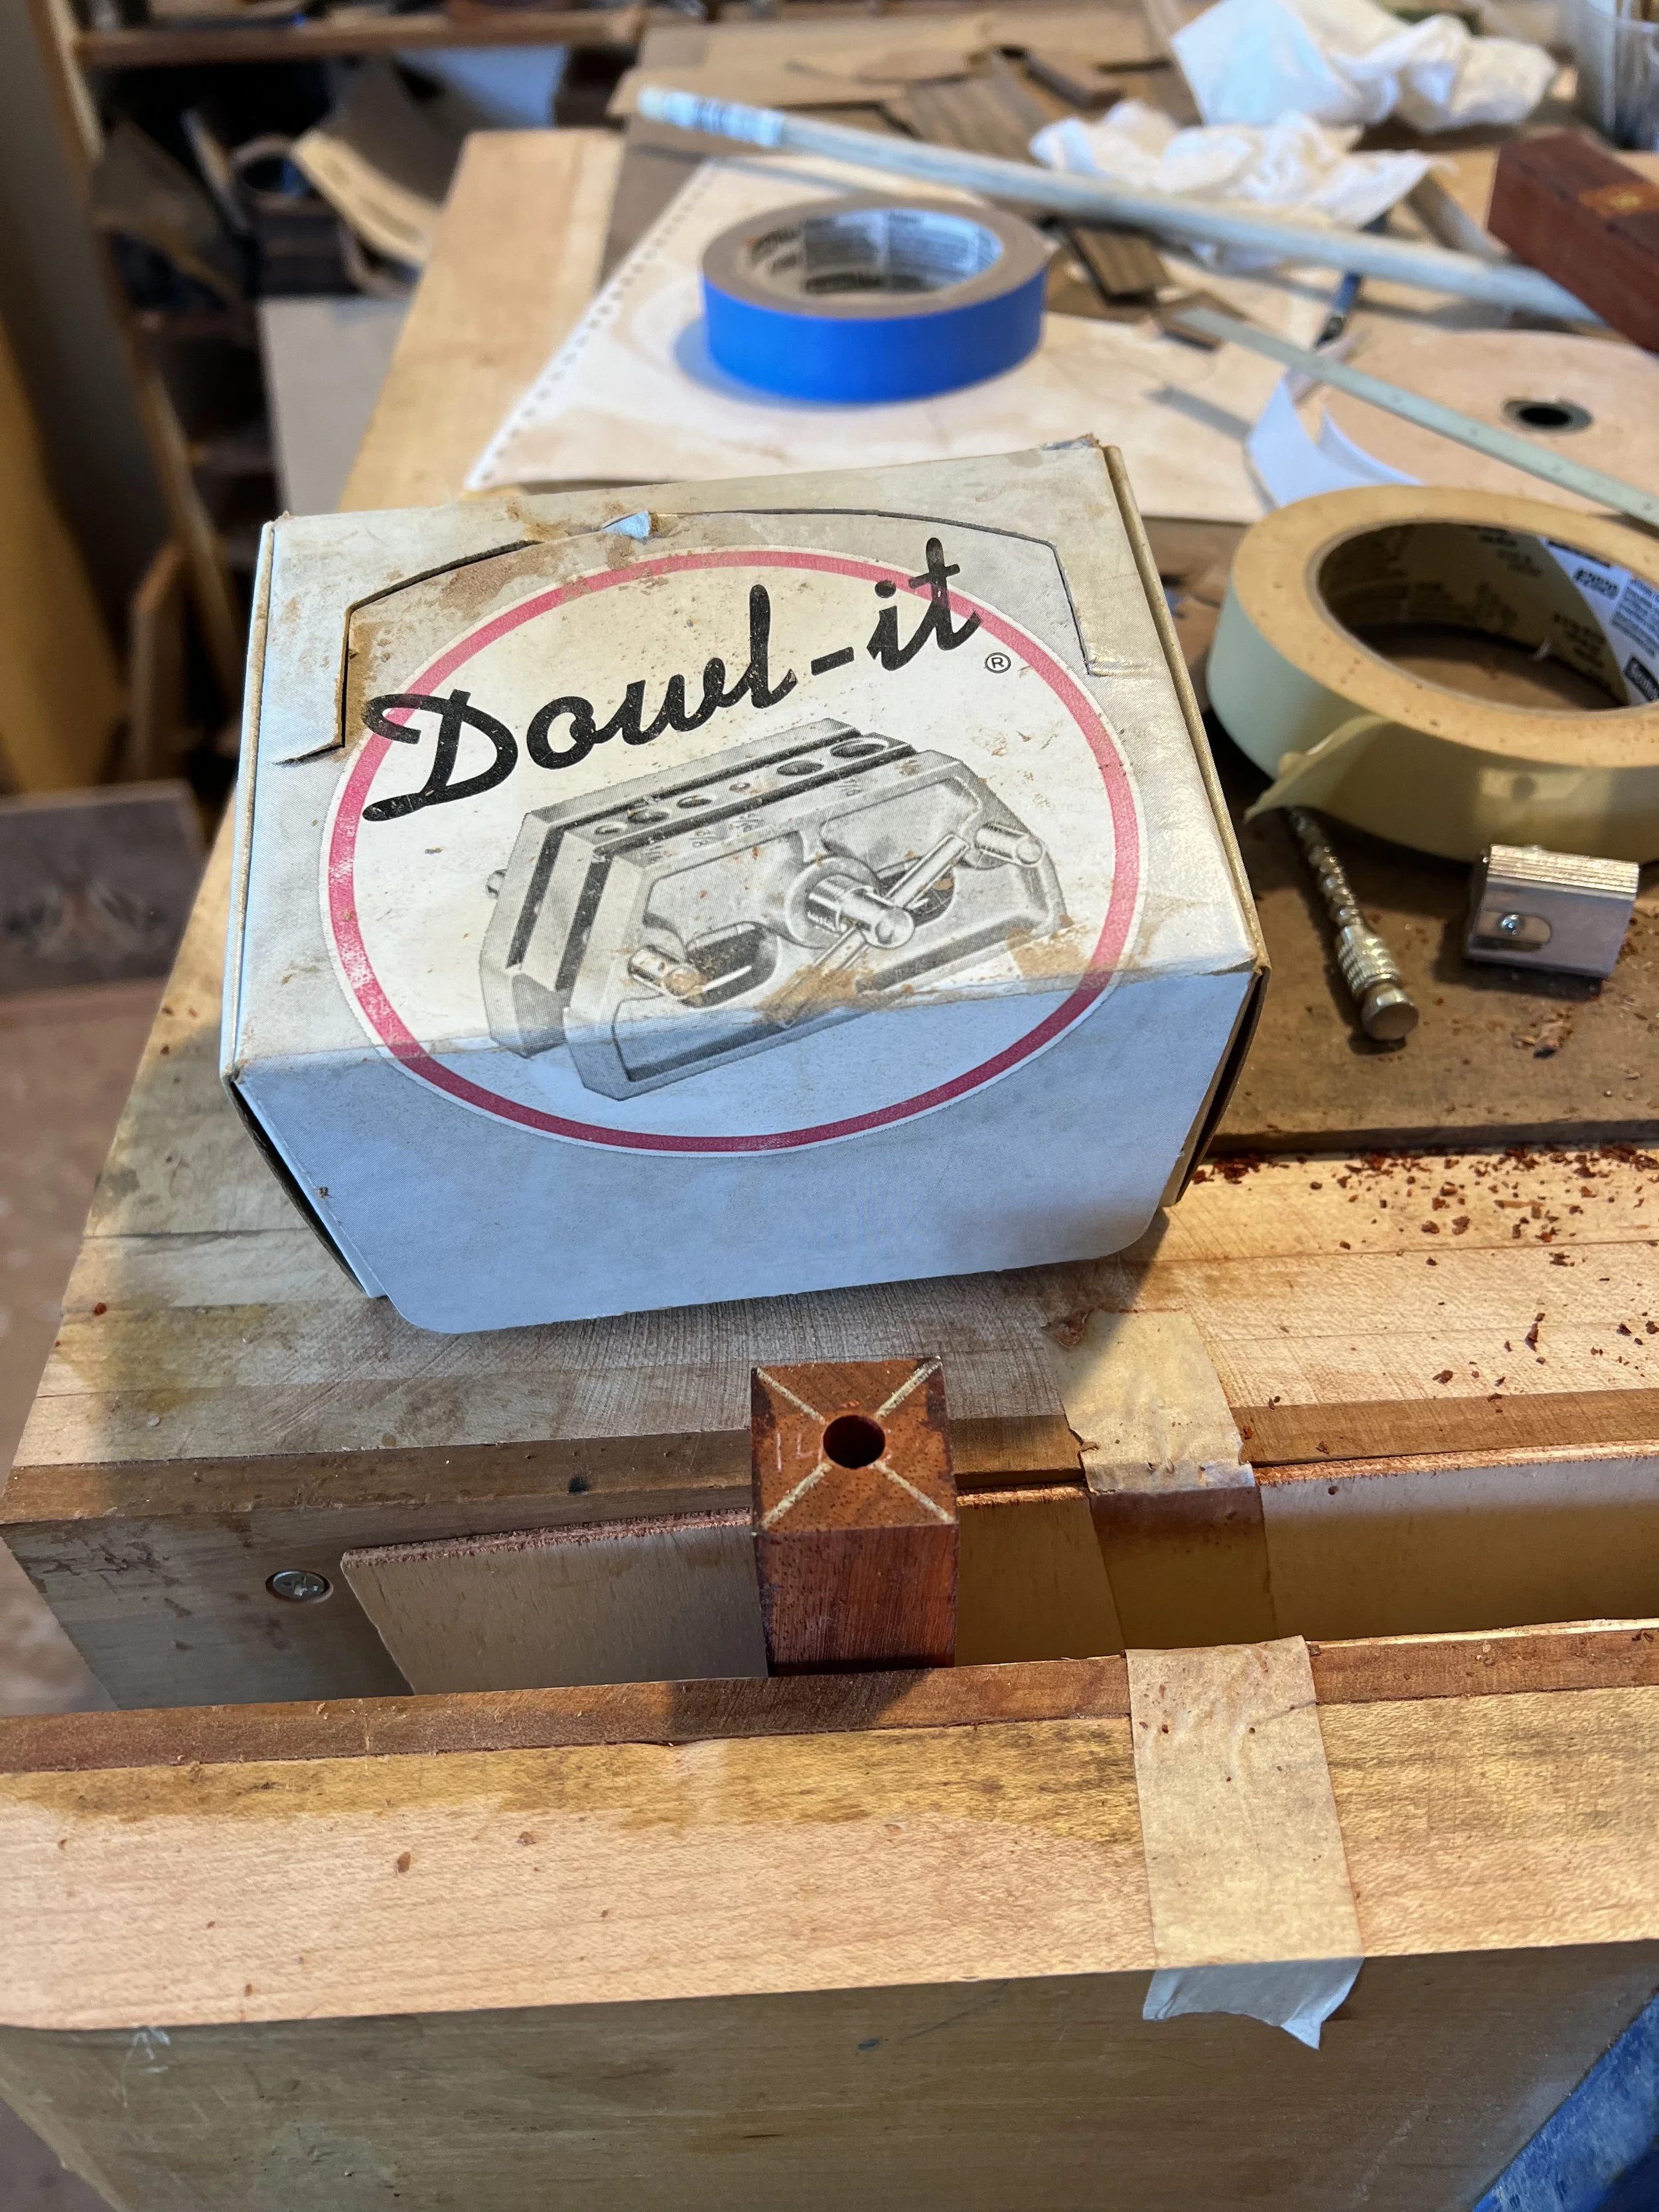
To make the dowel holes, I used two gadgets that my dad had around the shop but hadn’t used in decades. One was called a Dowl-It. It’s a little jig that clamps onto a piece of wood and helps ensure that when you drill a hole into the wood, the hole is straight and centered properly.
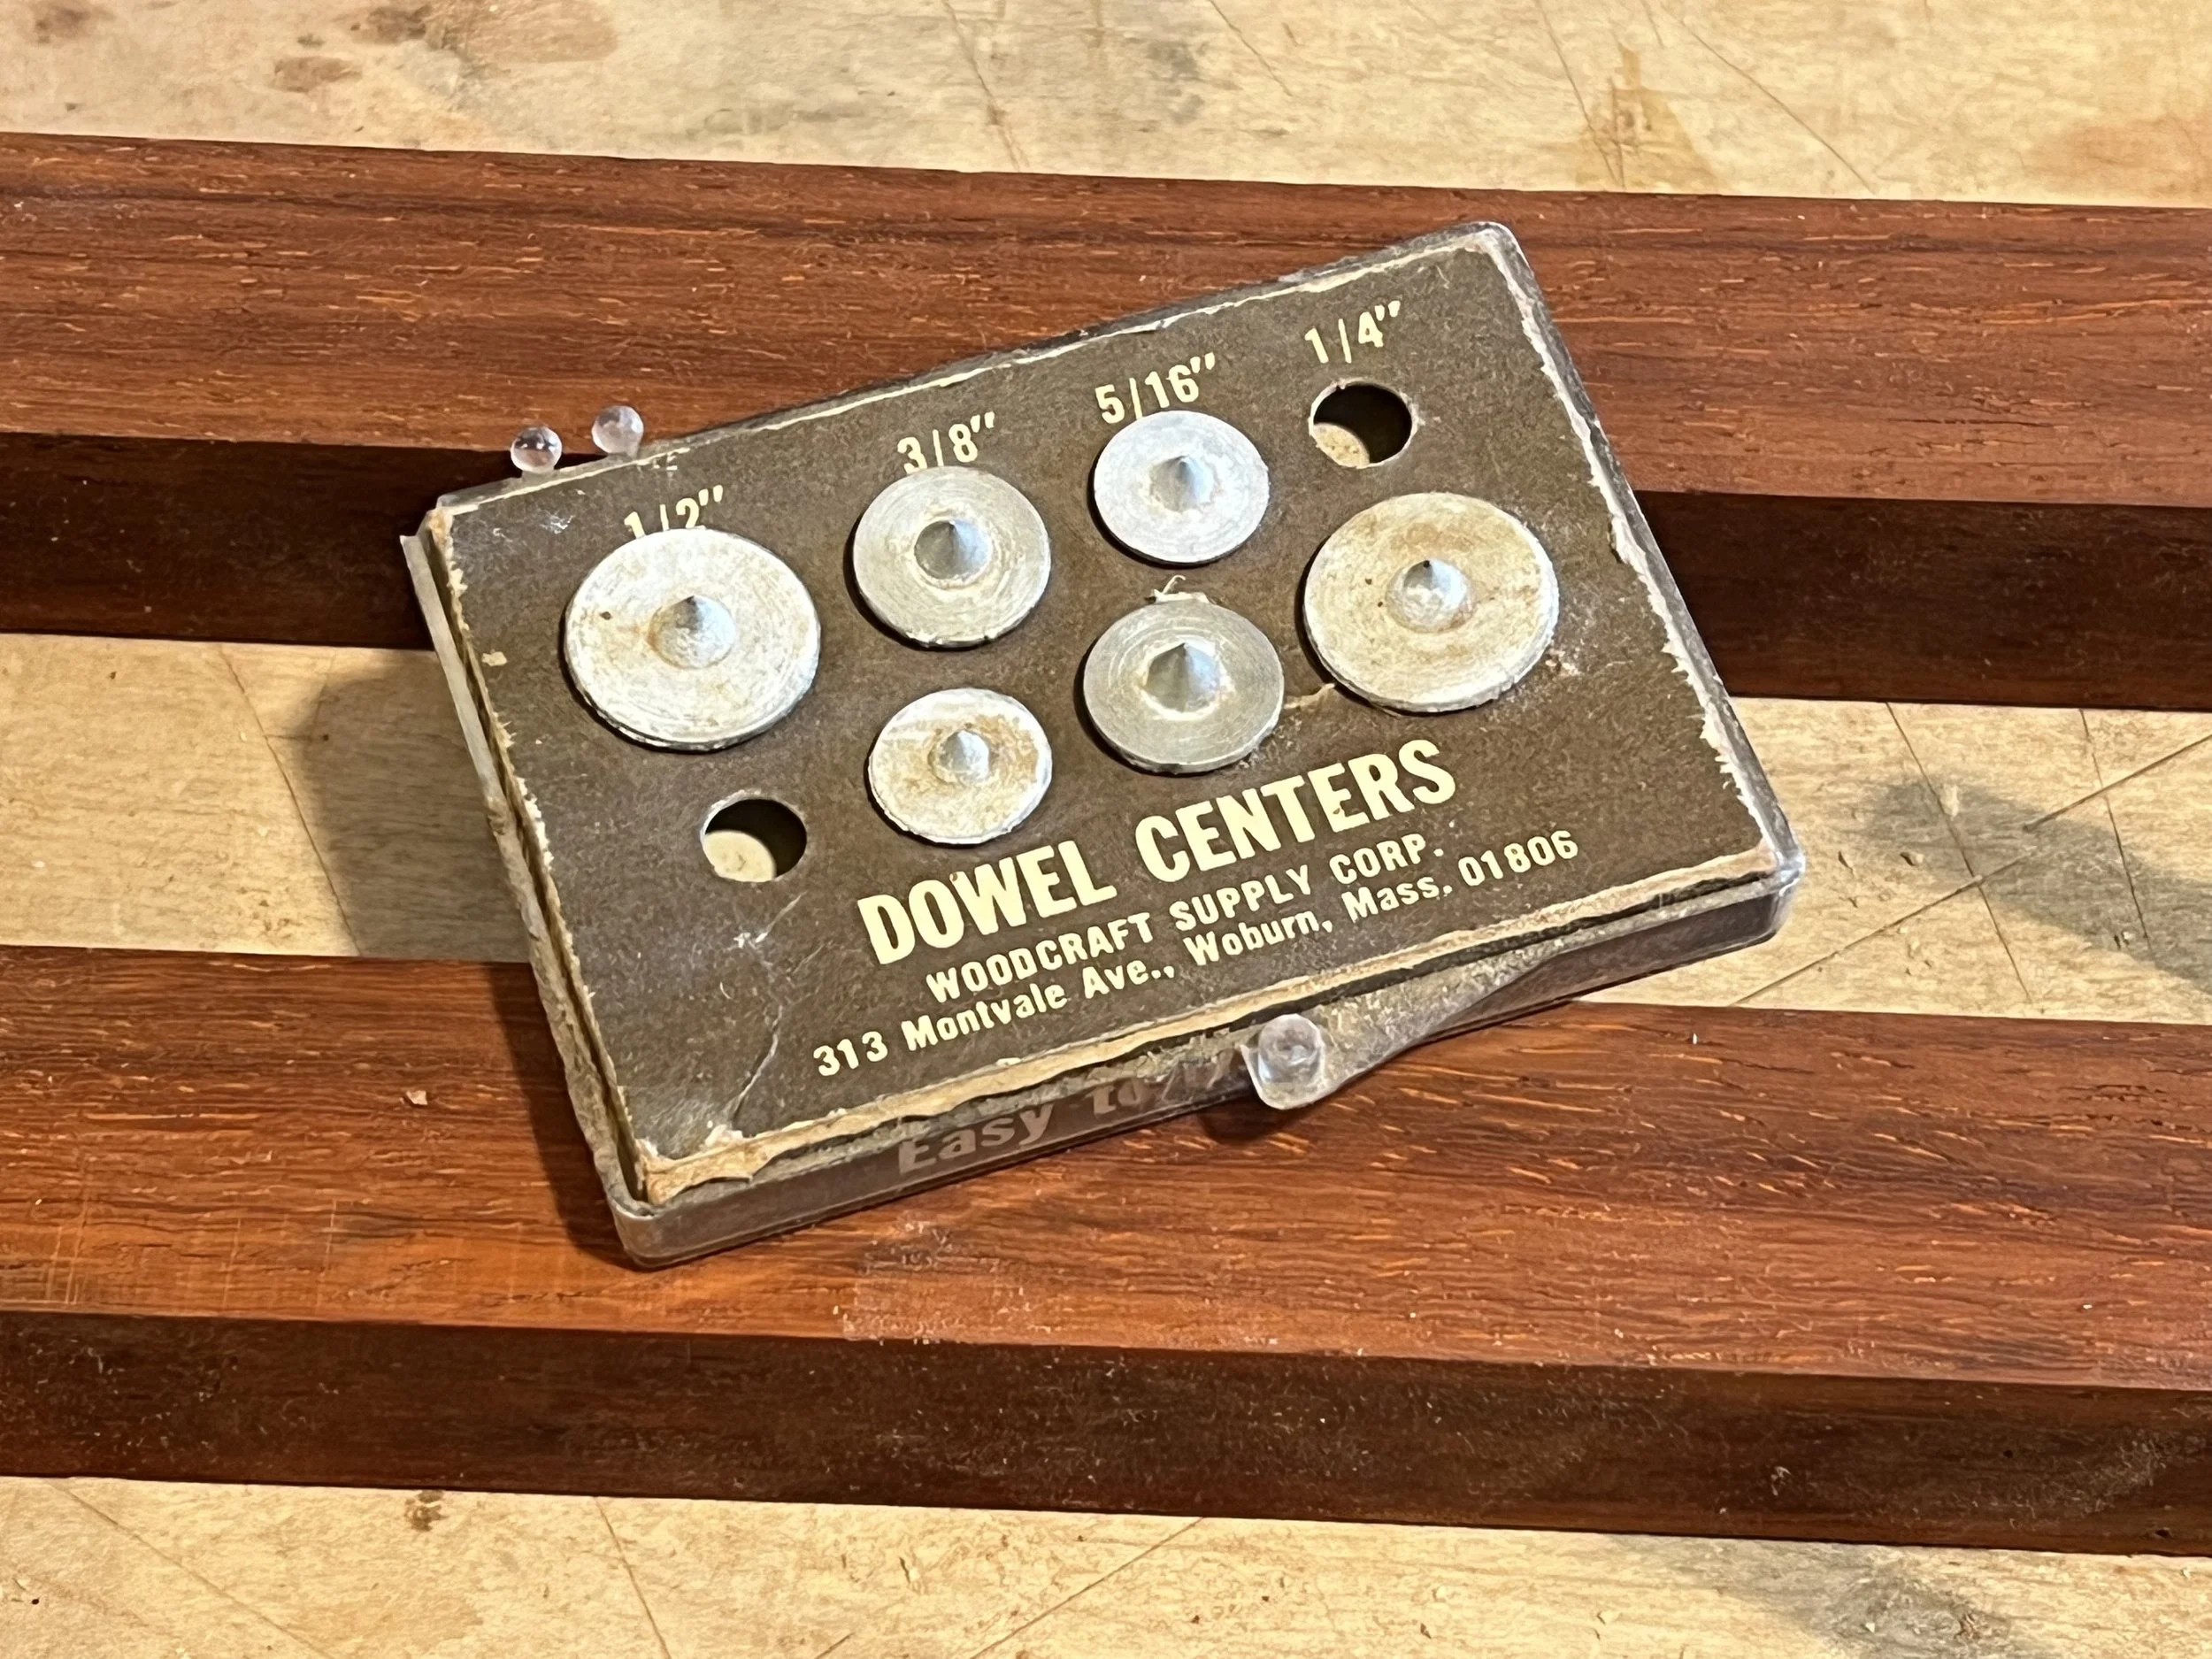
The other gadget that I used was dowel centers. These are little cylinders with sharp points that help to line up where dowel holes should go. Once you’ve drilled a dowel hole in your first piece of wood, you put the dowel center into the hole and press it against your second piece of wood where you want them to meet up. The sharp point on the dowel center leaves a mark that shows you where you should drill the hole on your second piece of wood.

